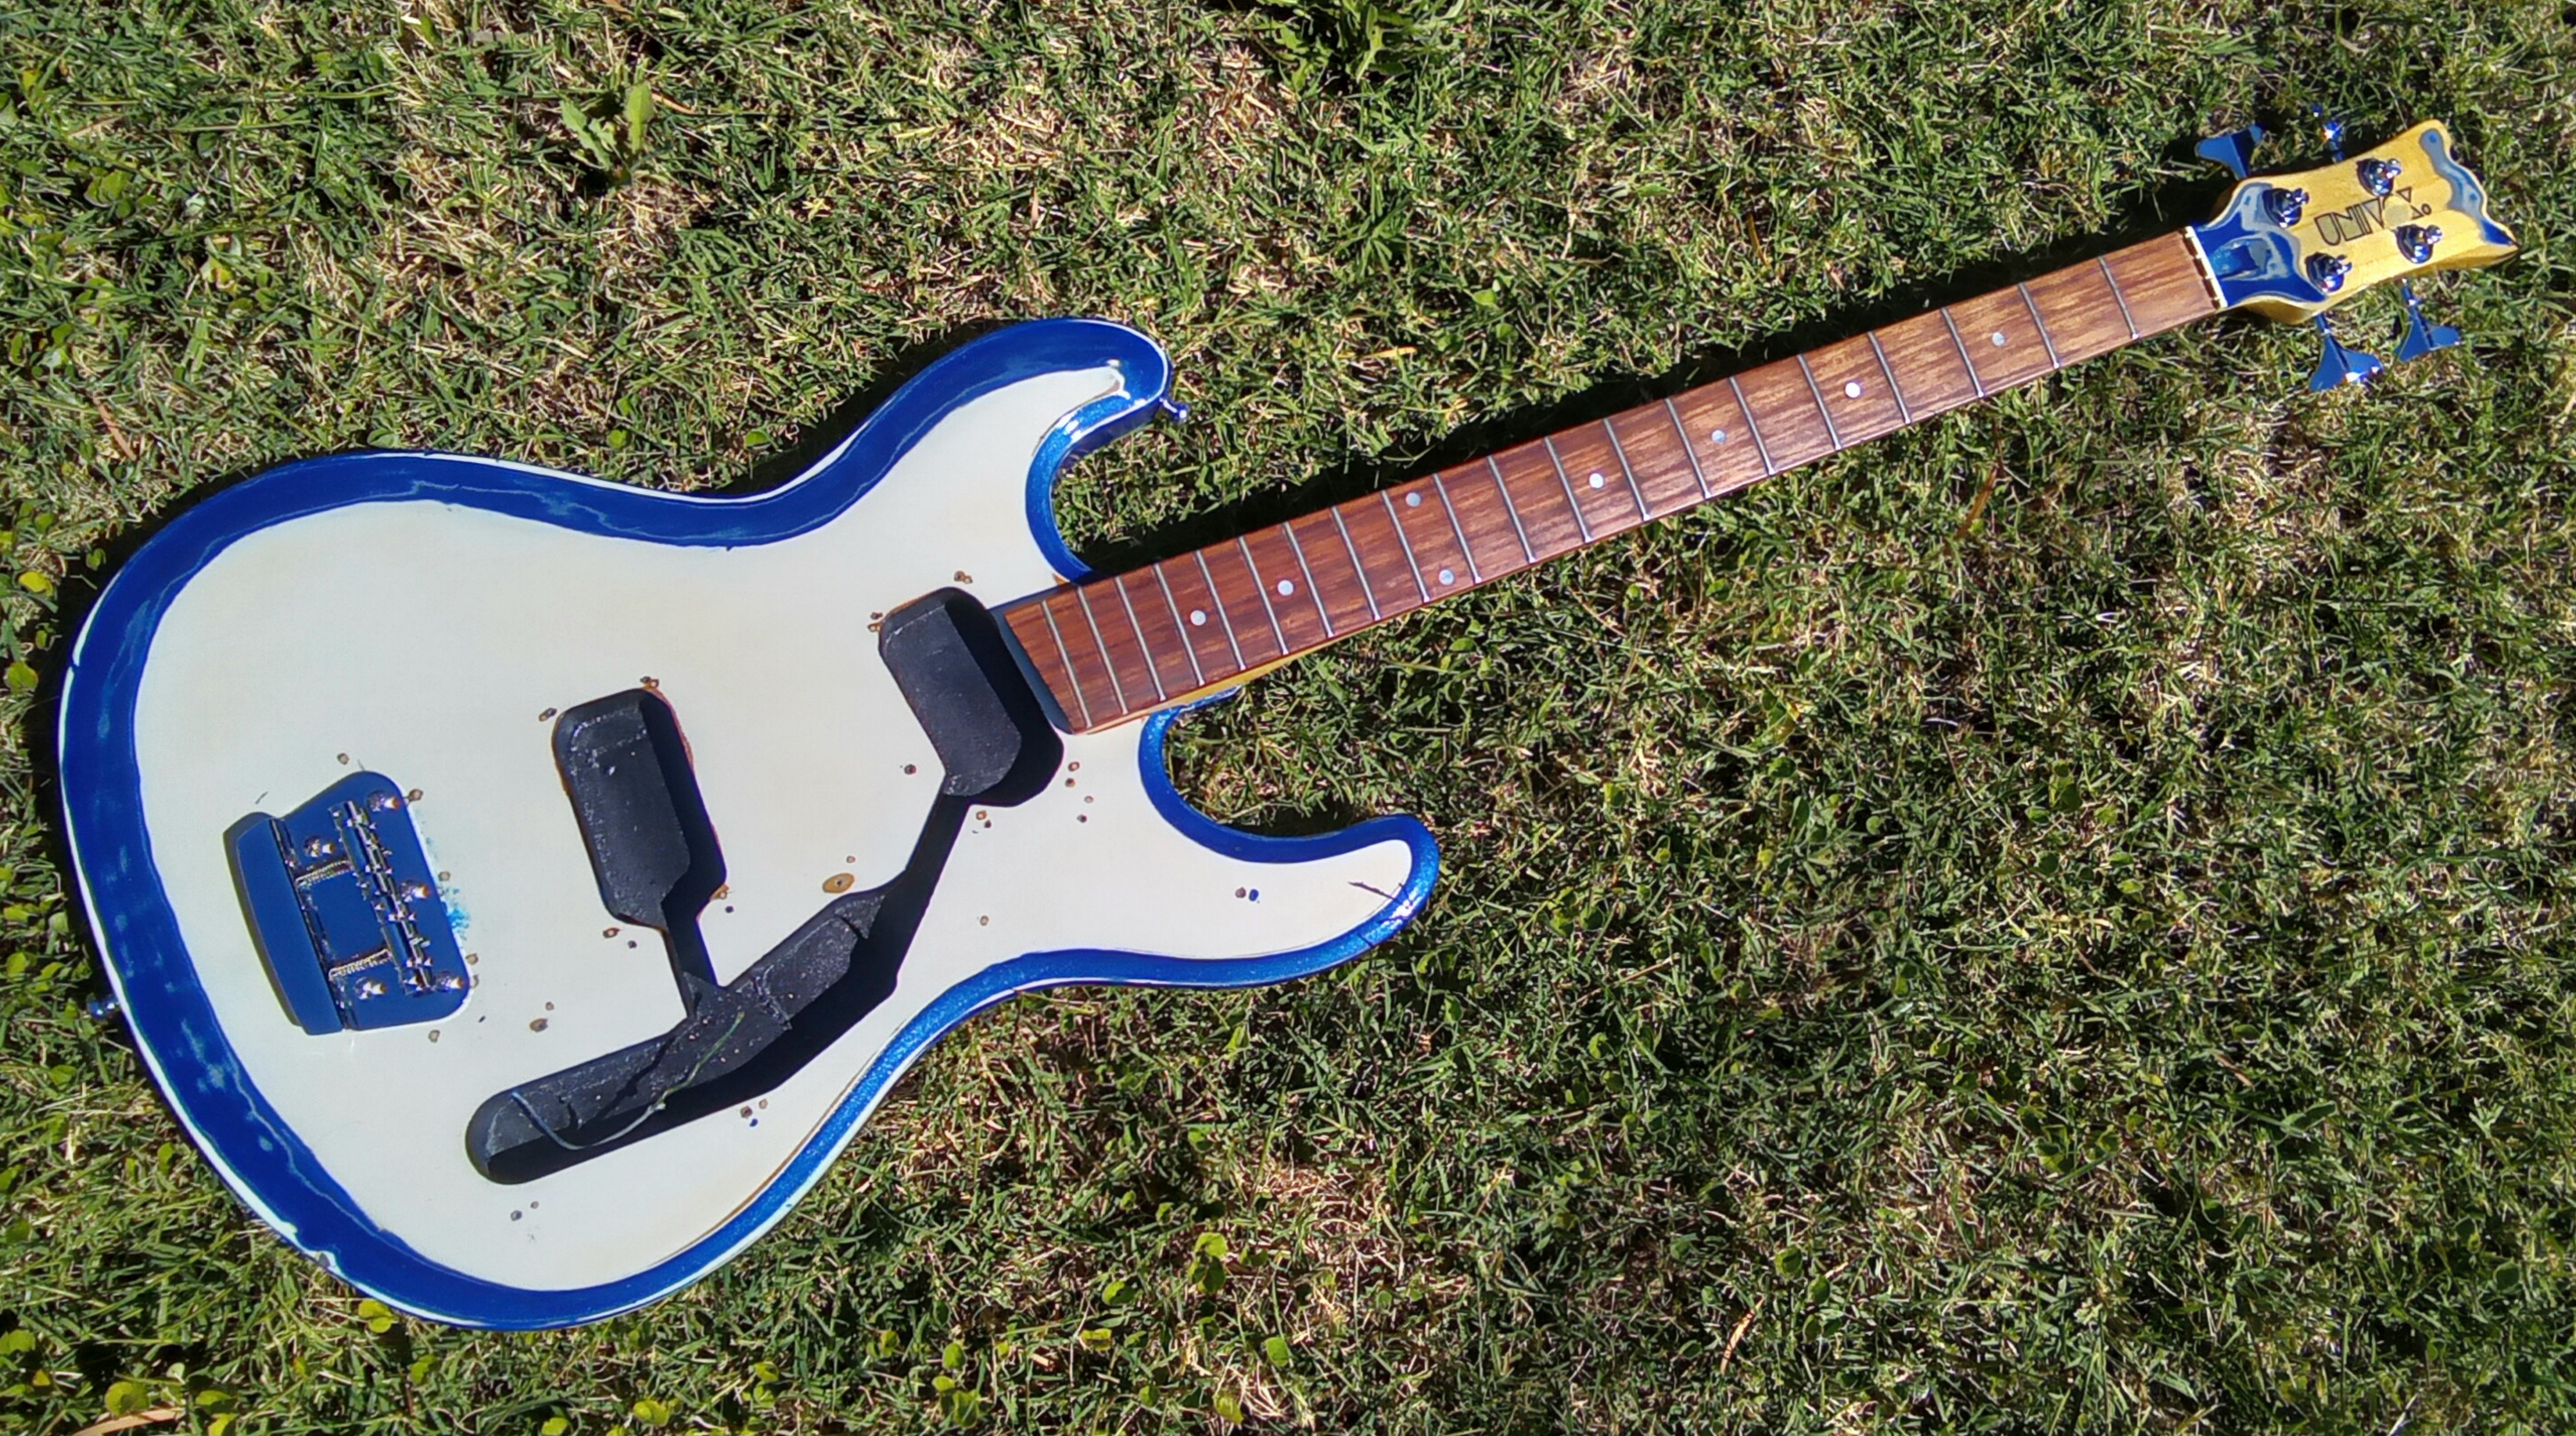
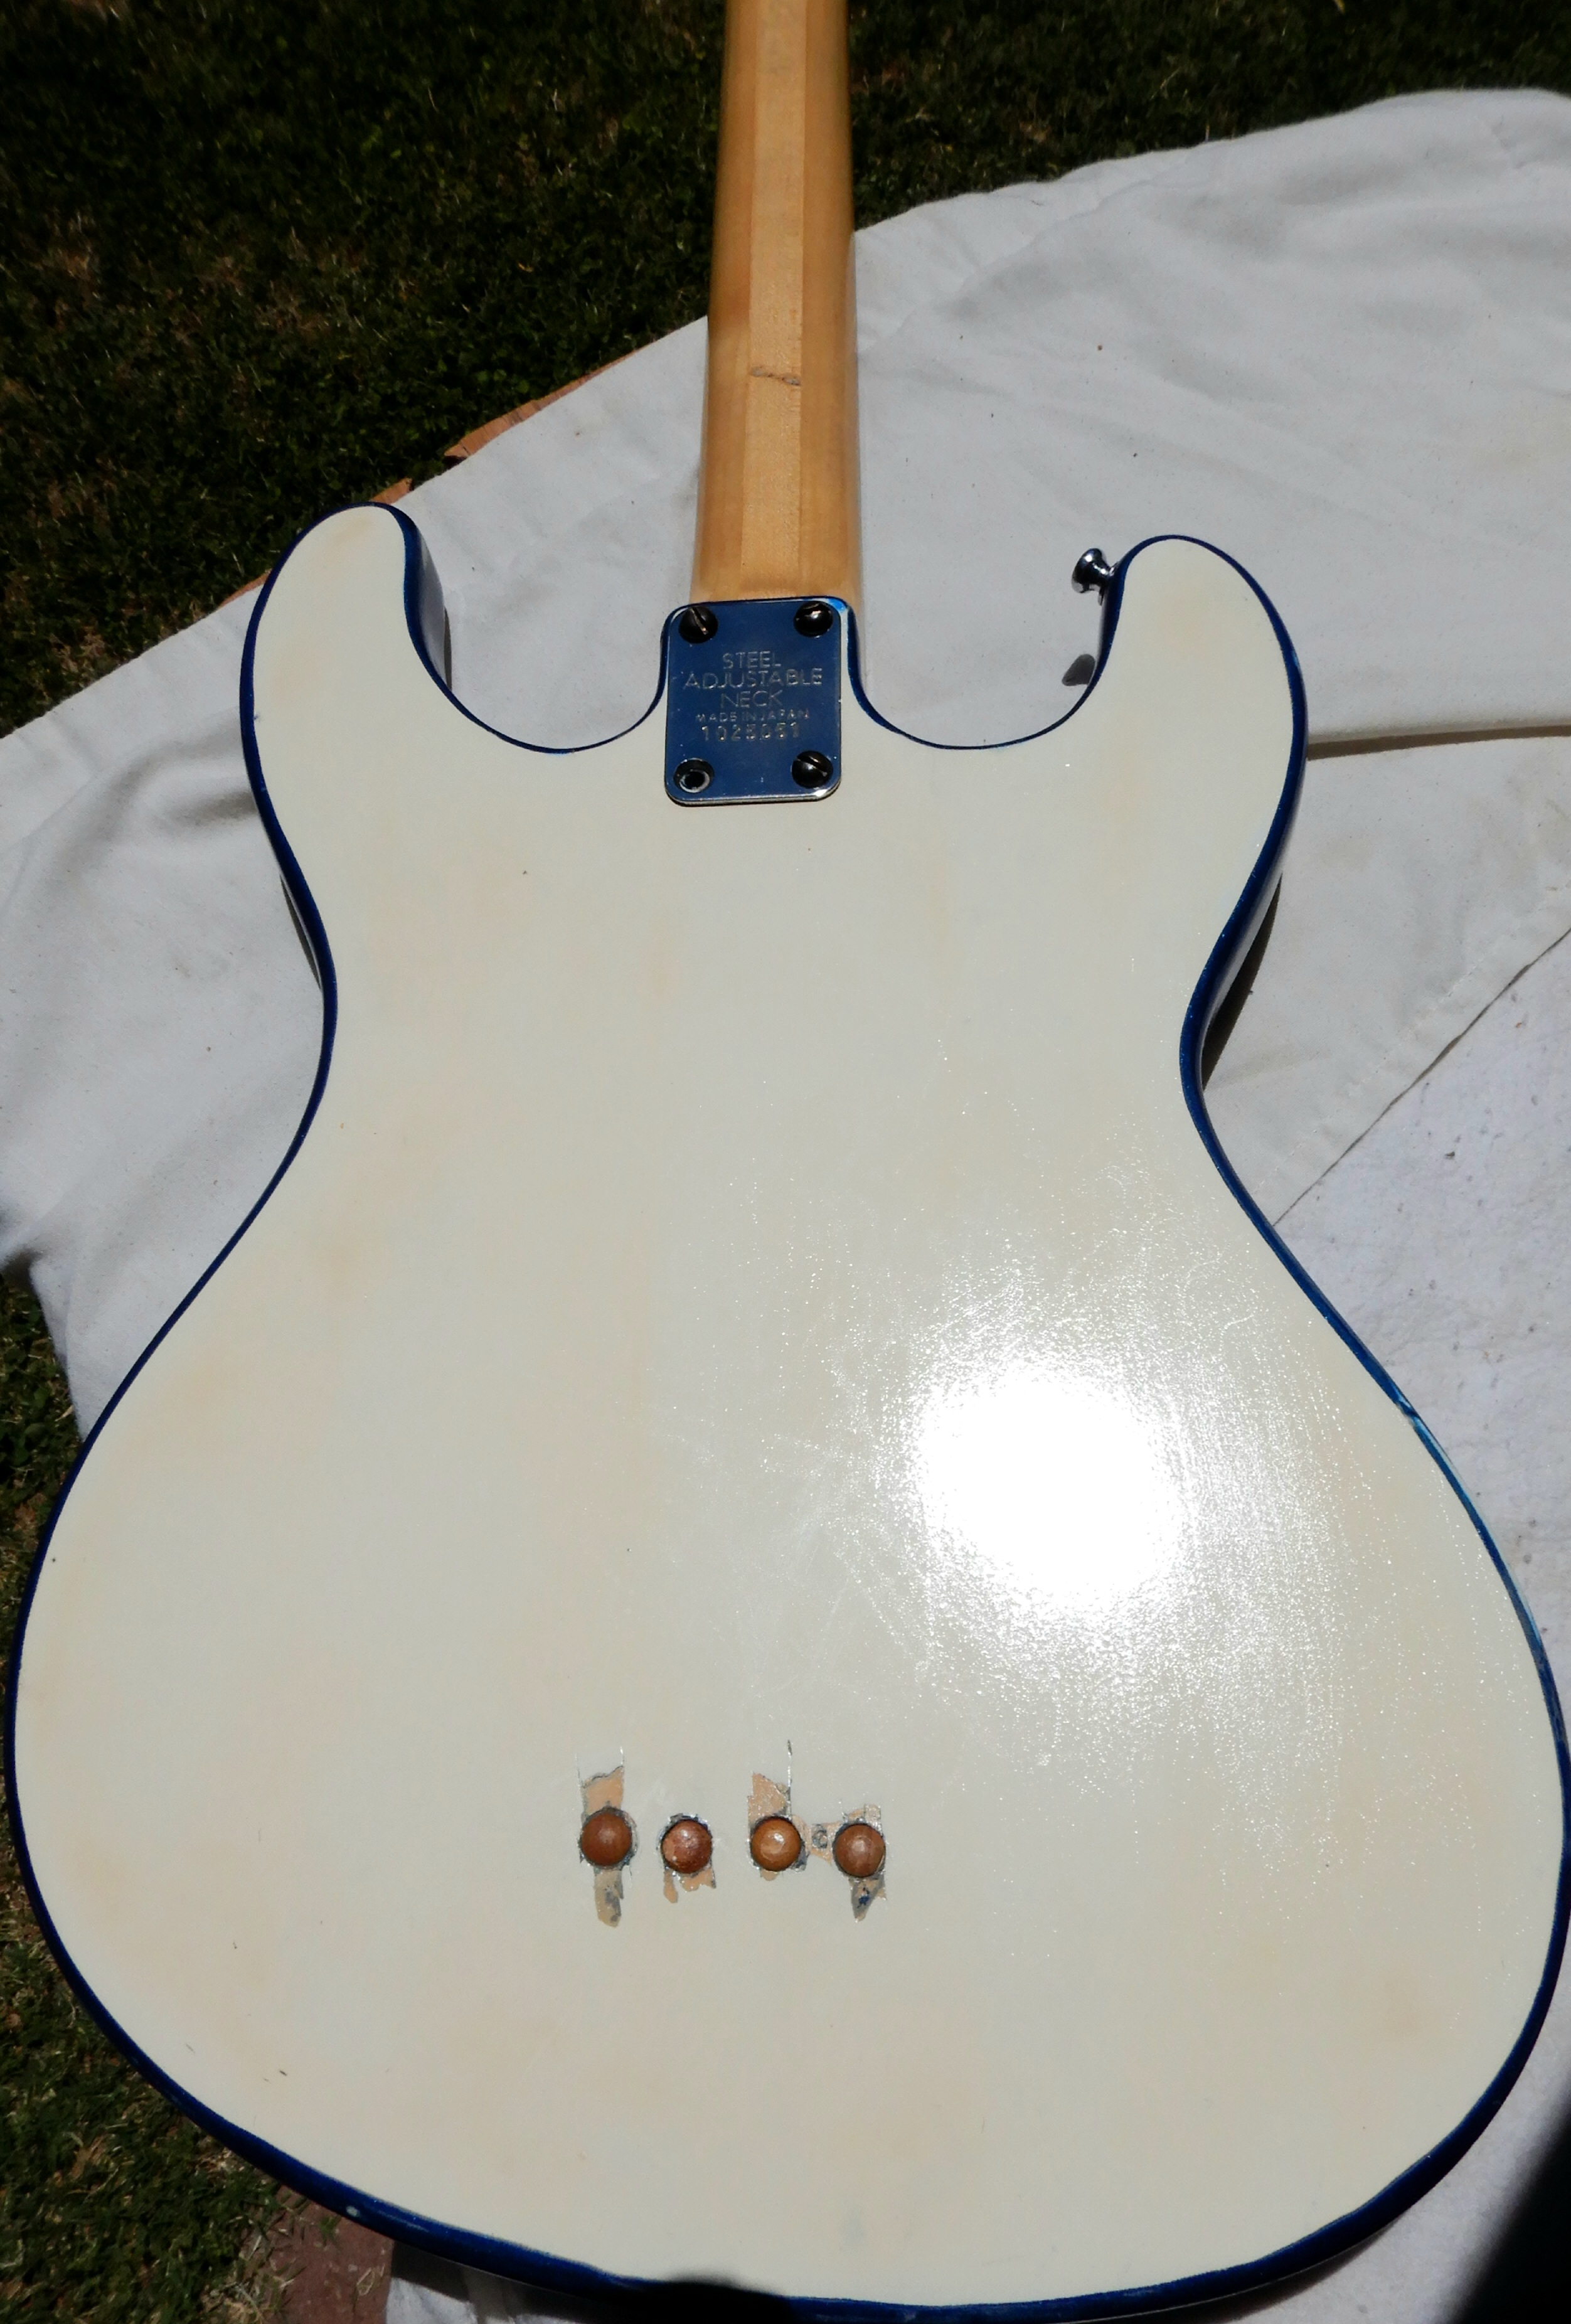
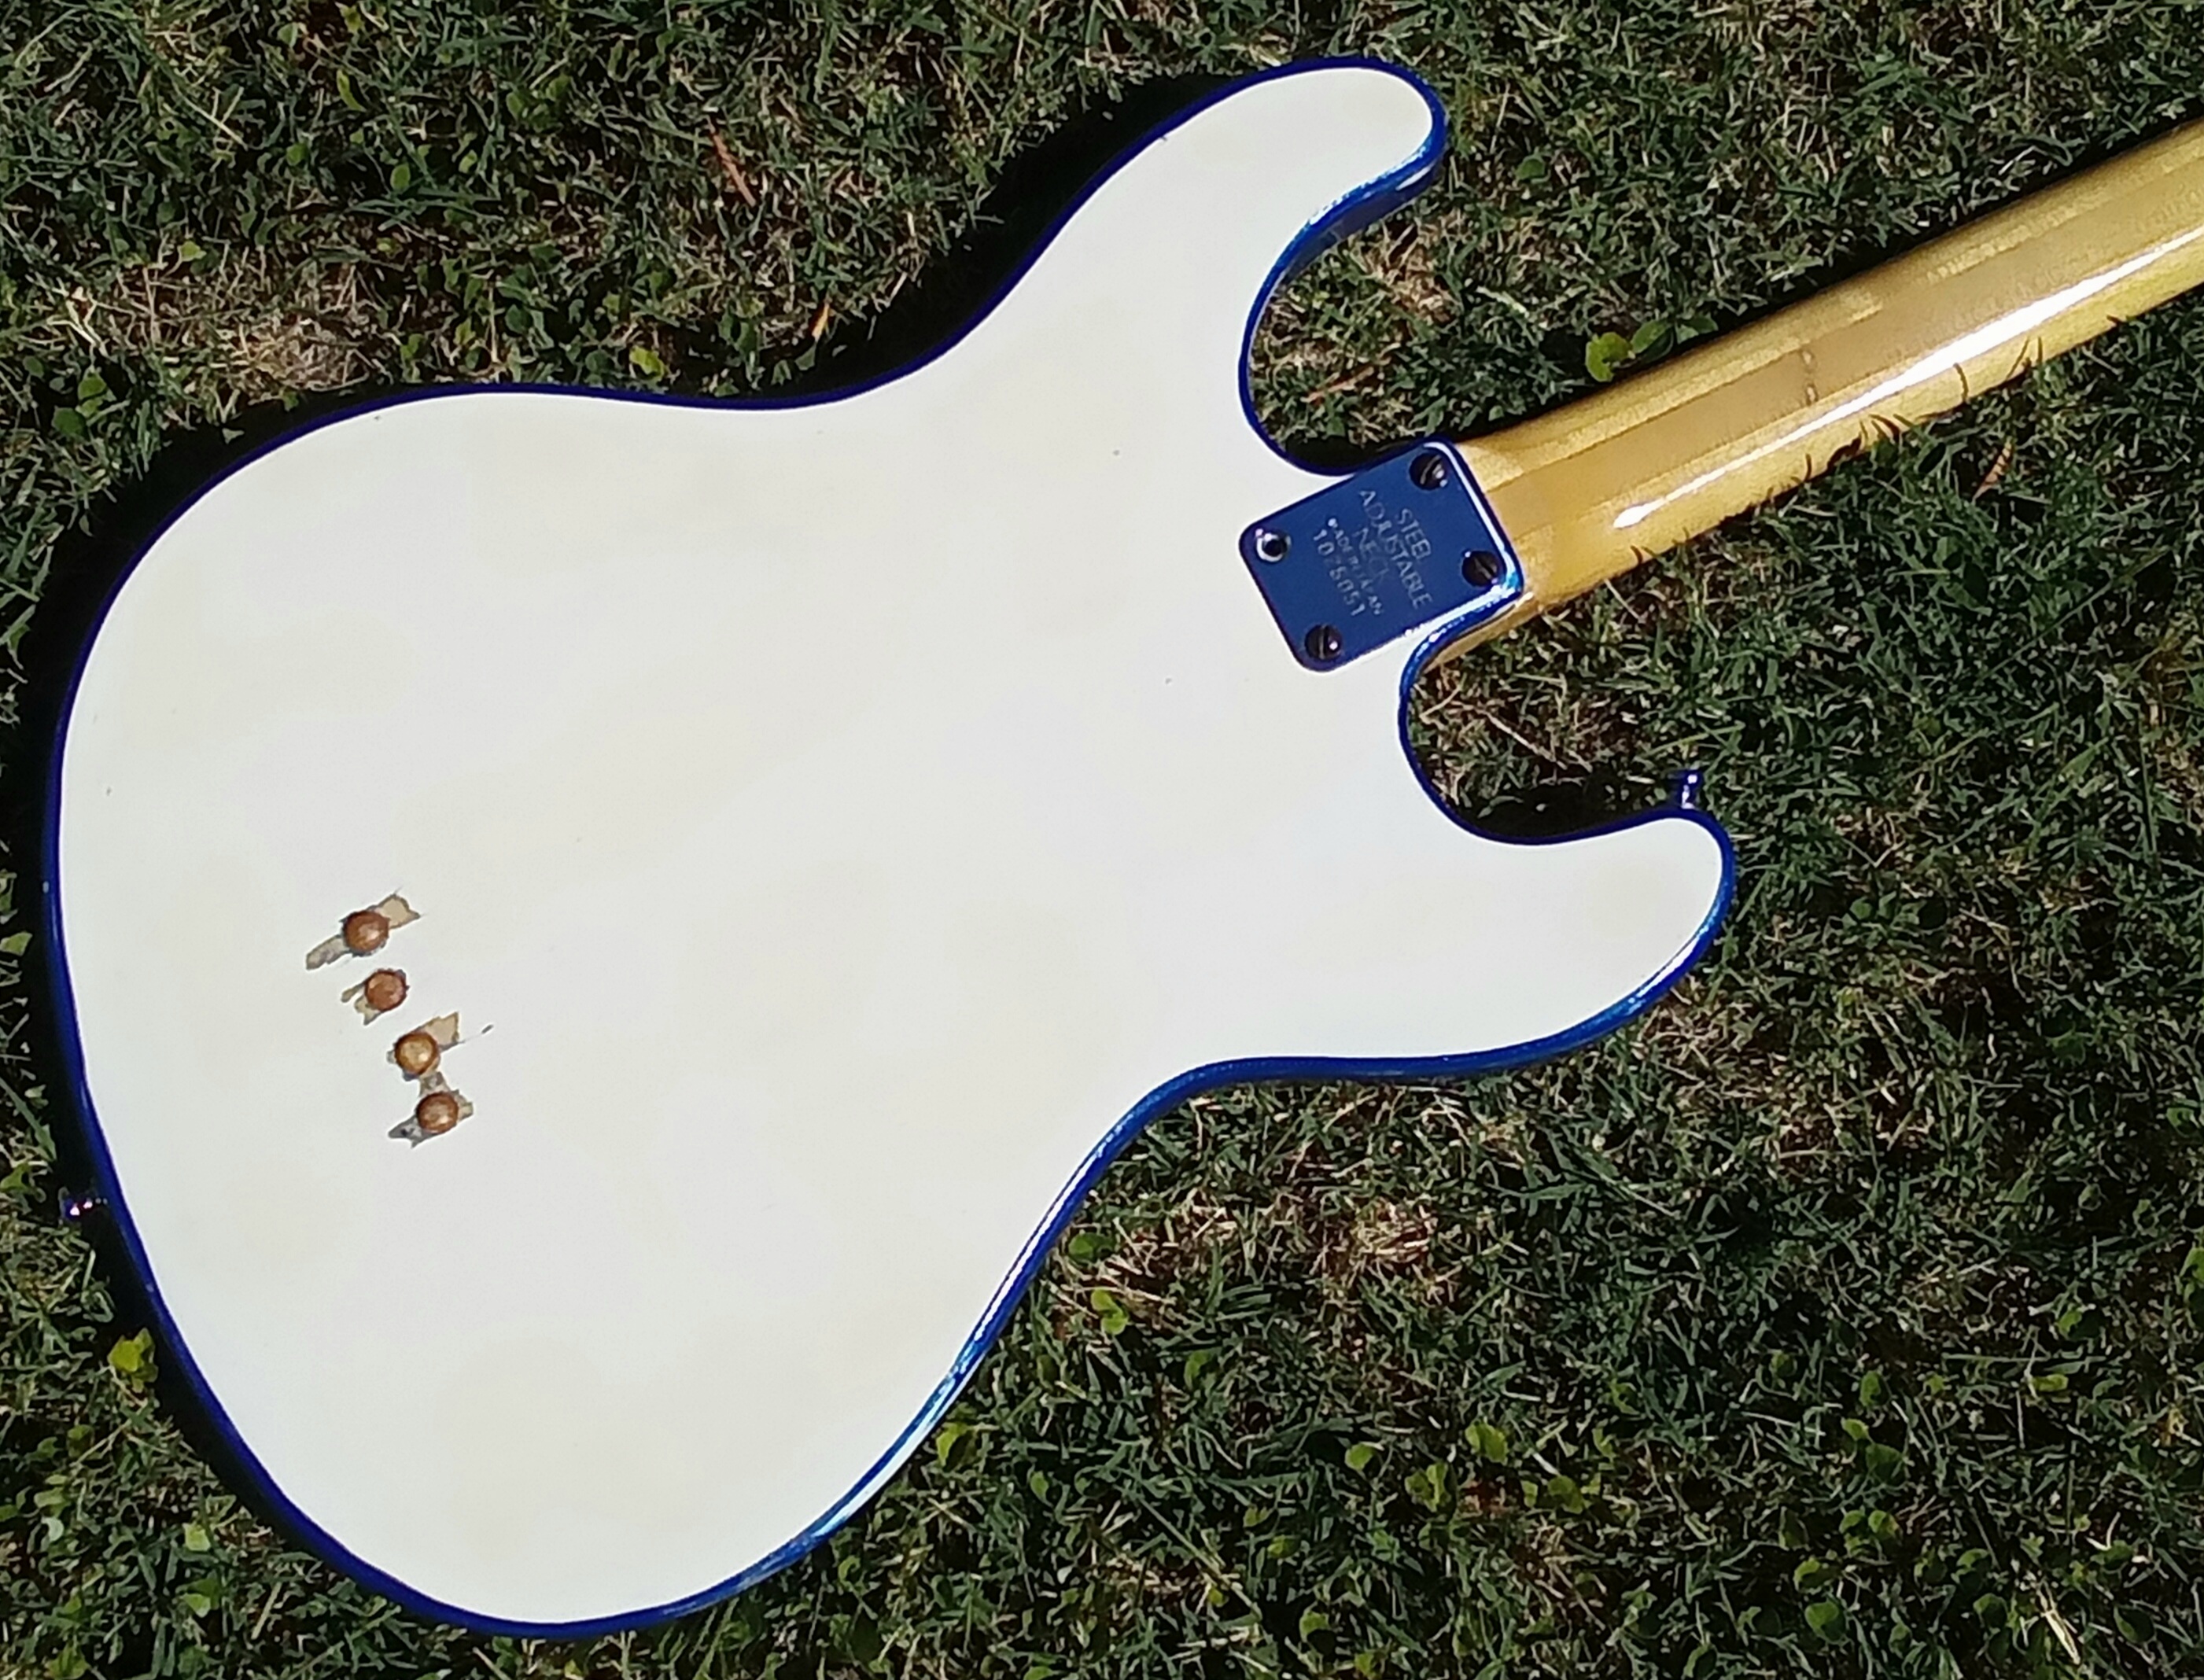
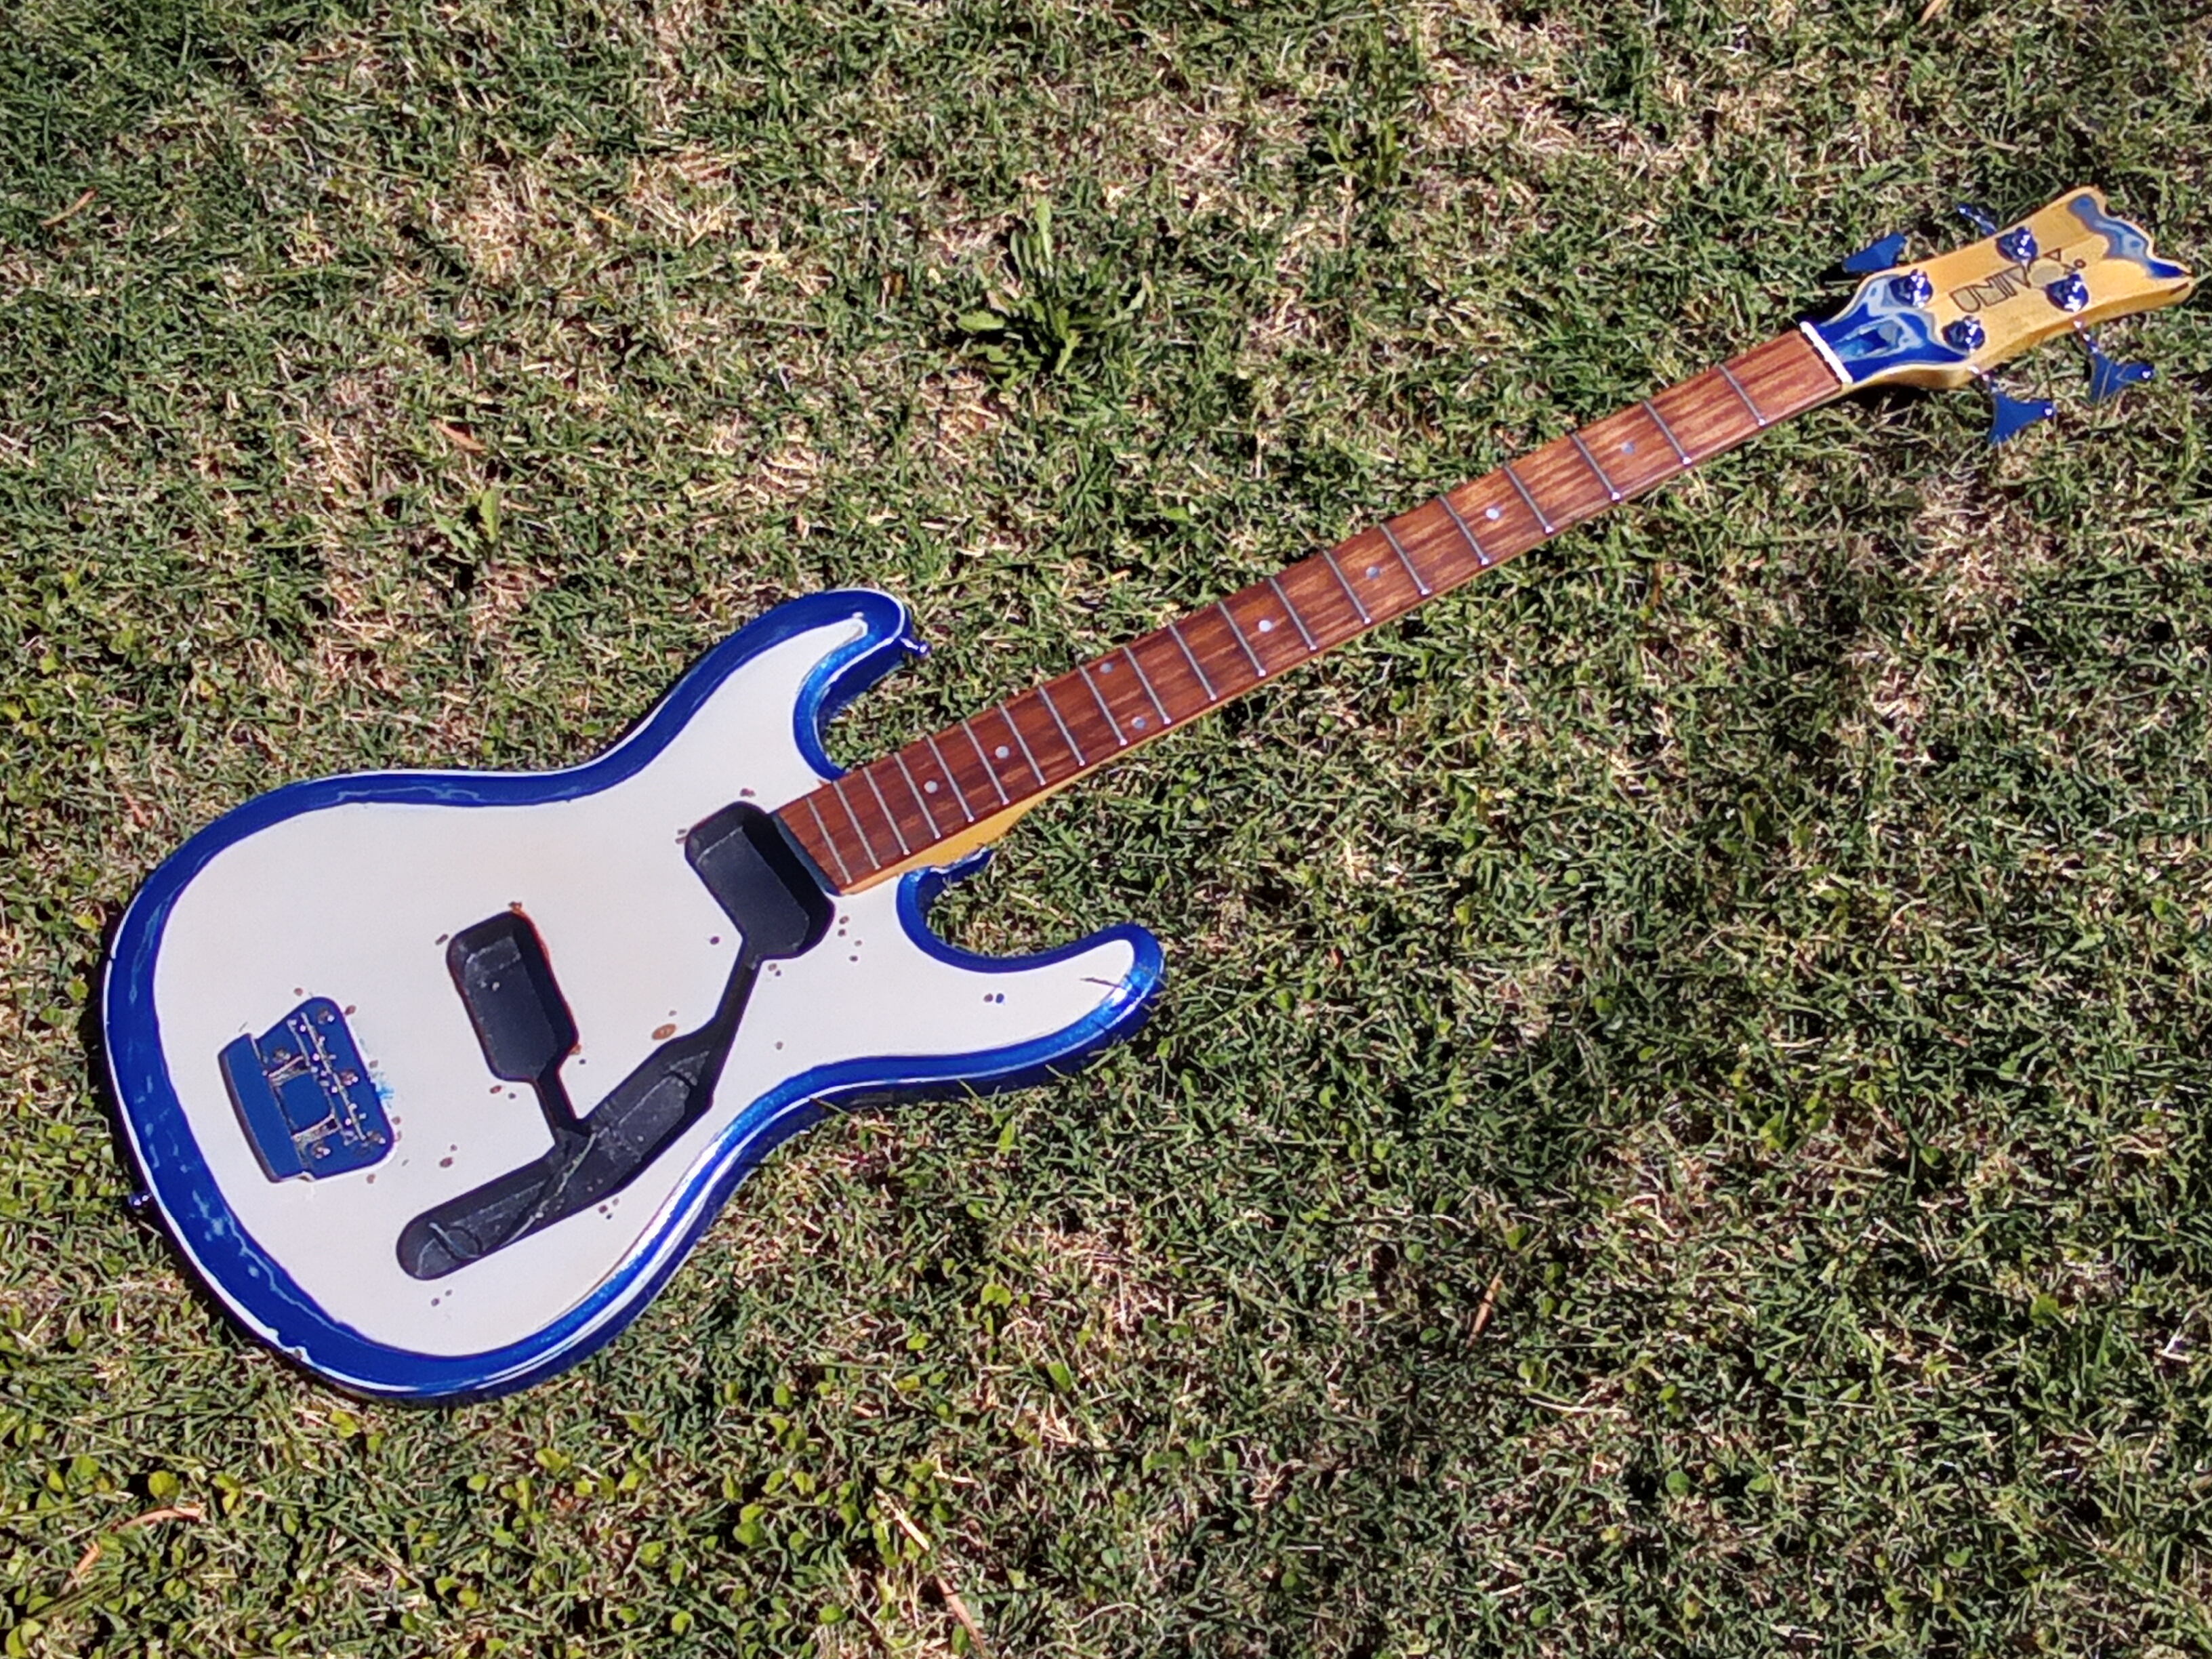
Here’s the 1970s Japanese Univox Hi-Flyer short-scale 4-string piccolo bass project nearing completion, I hope.
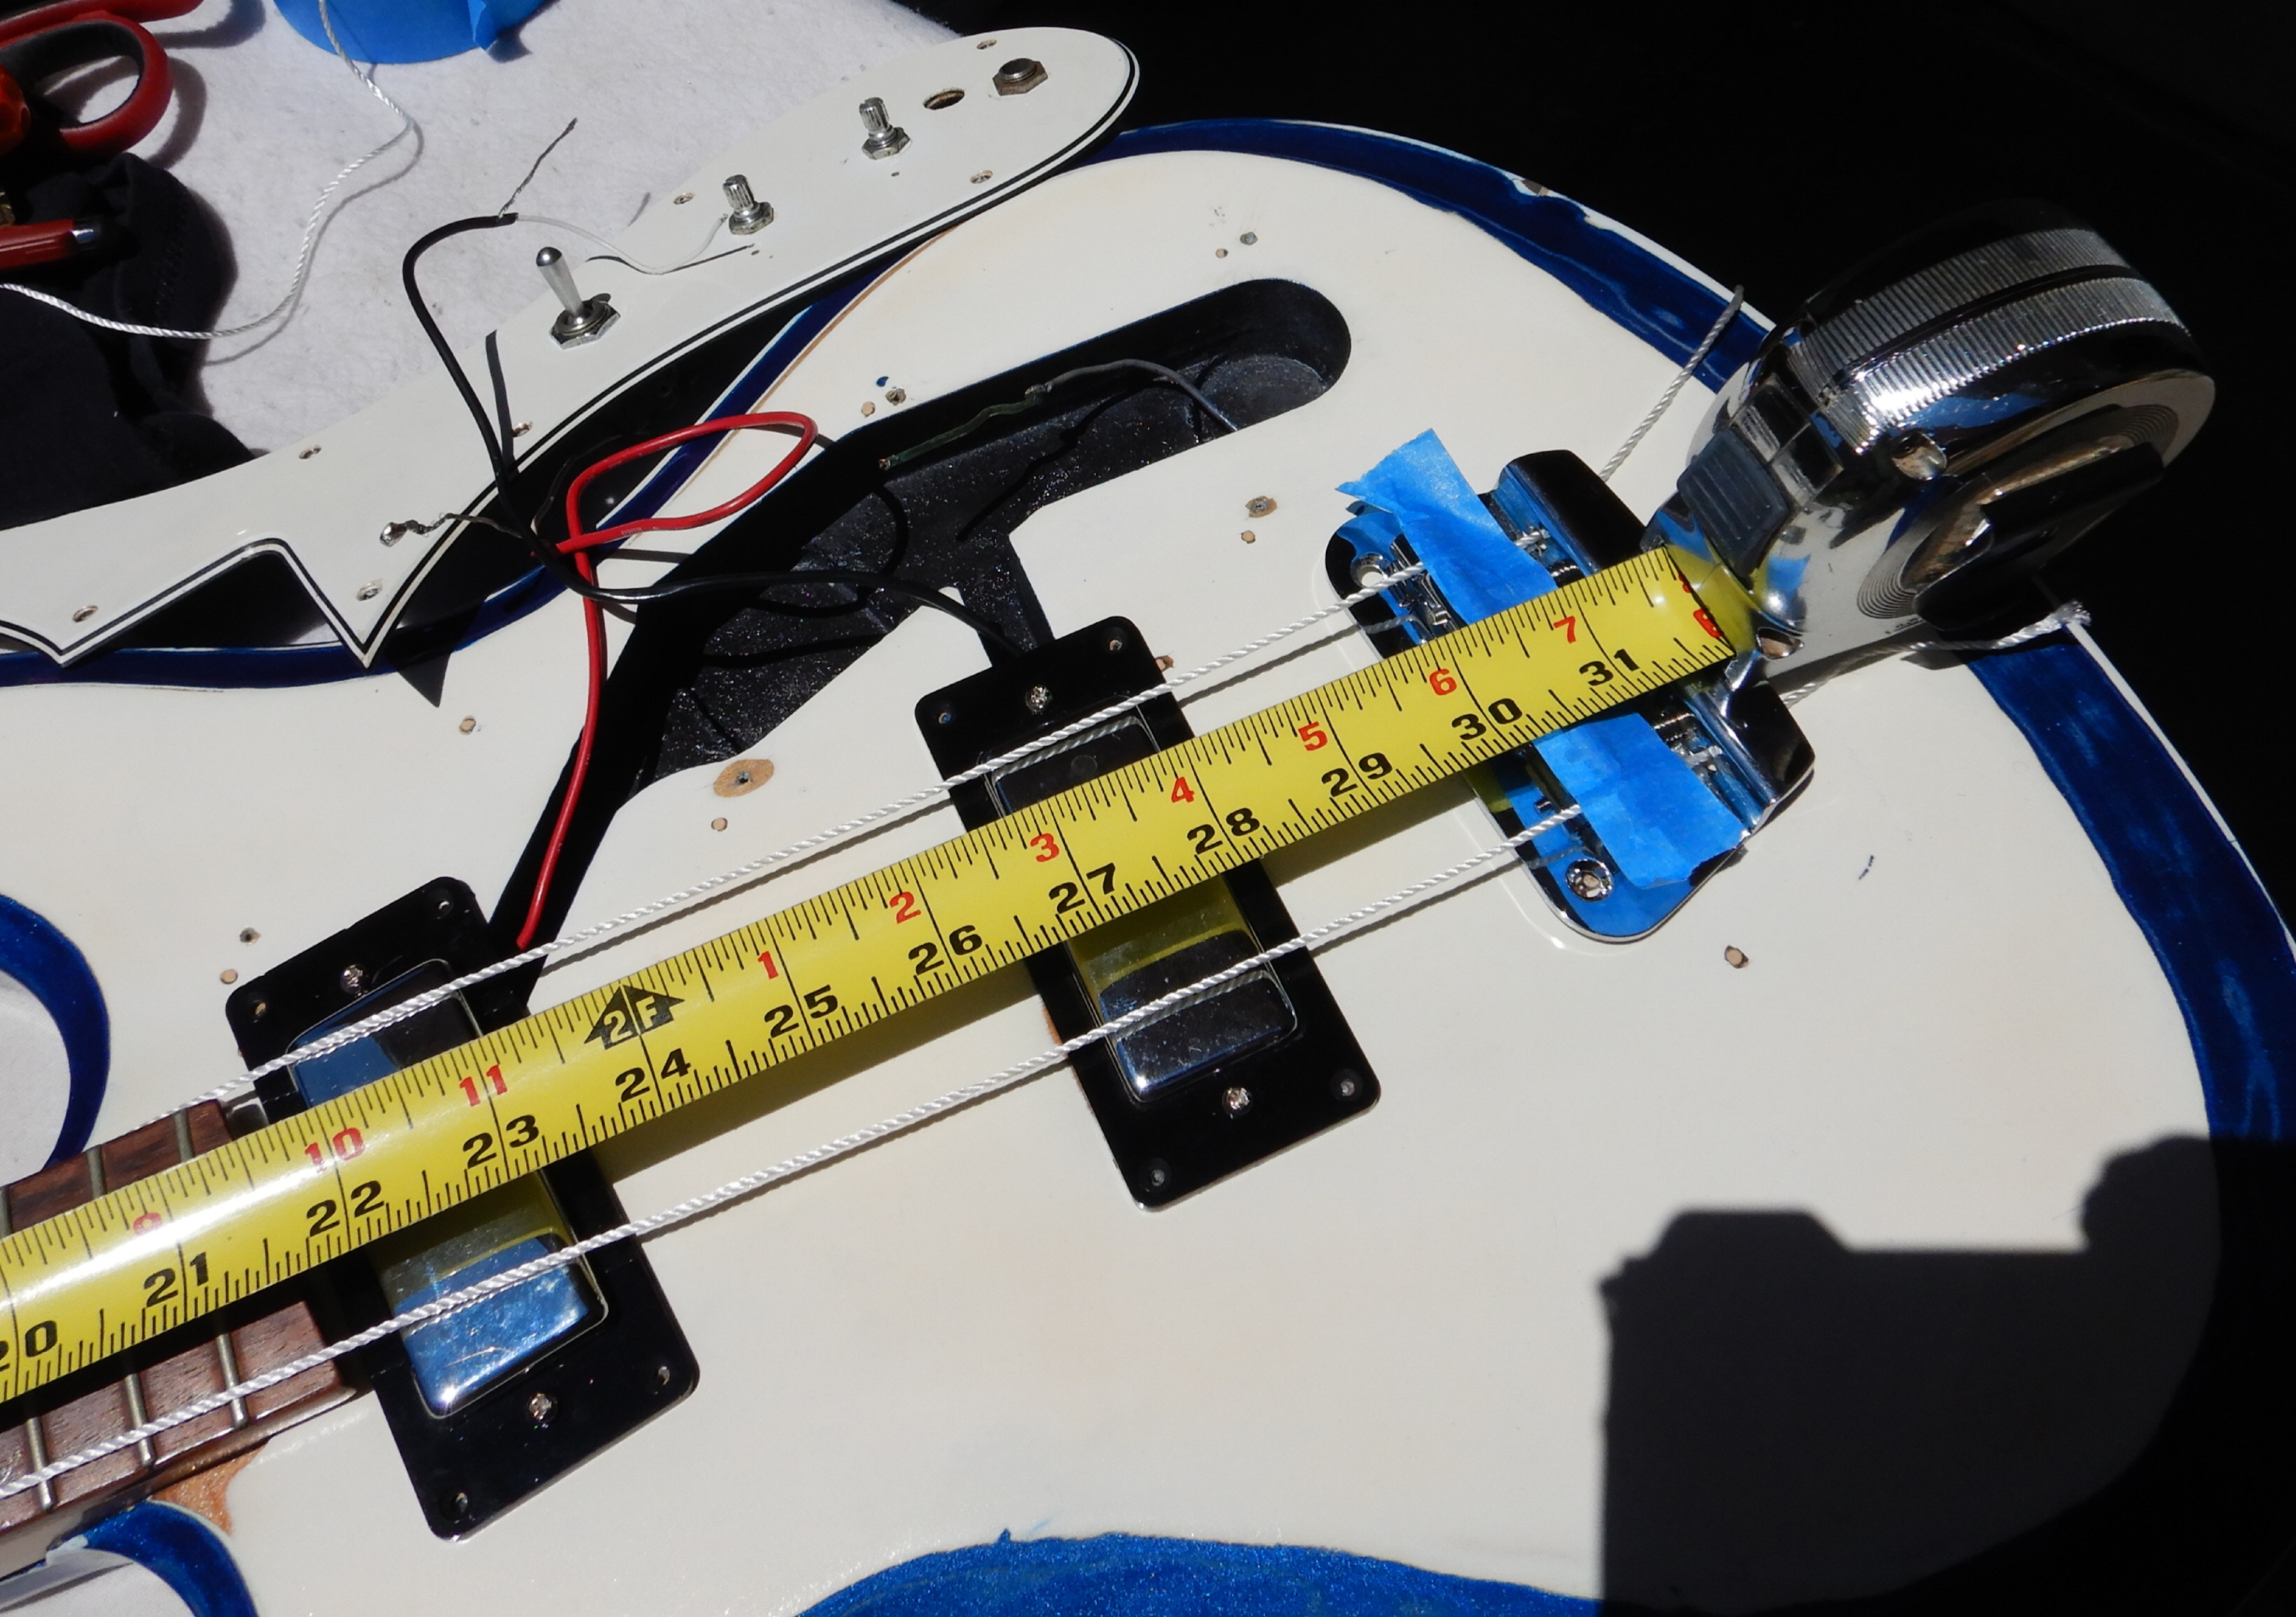
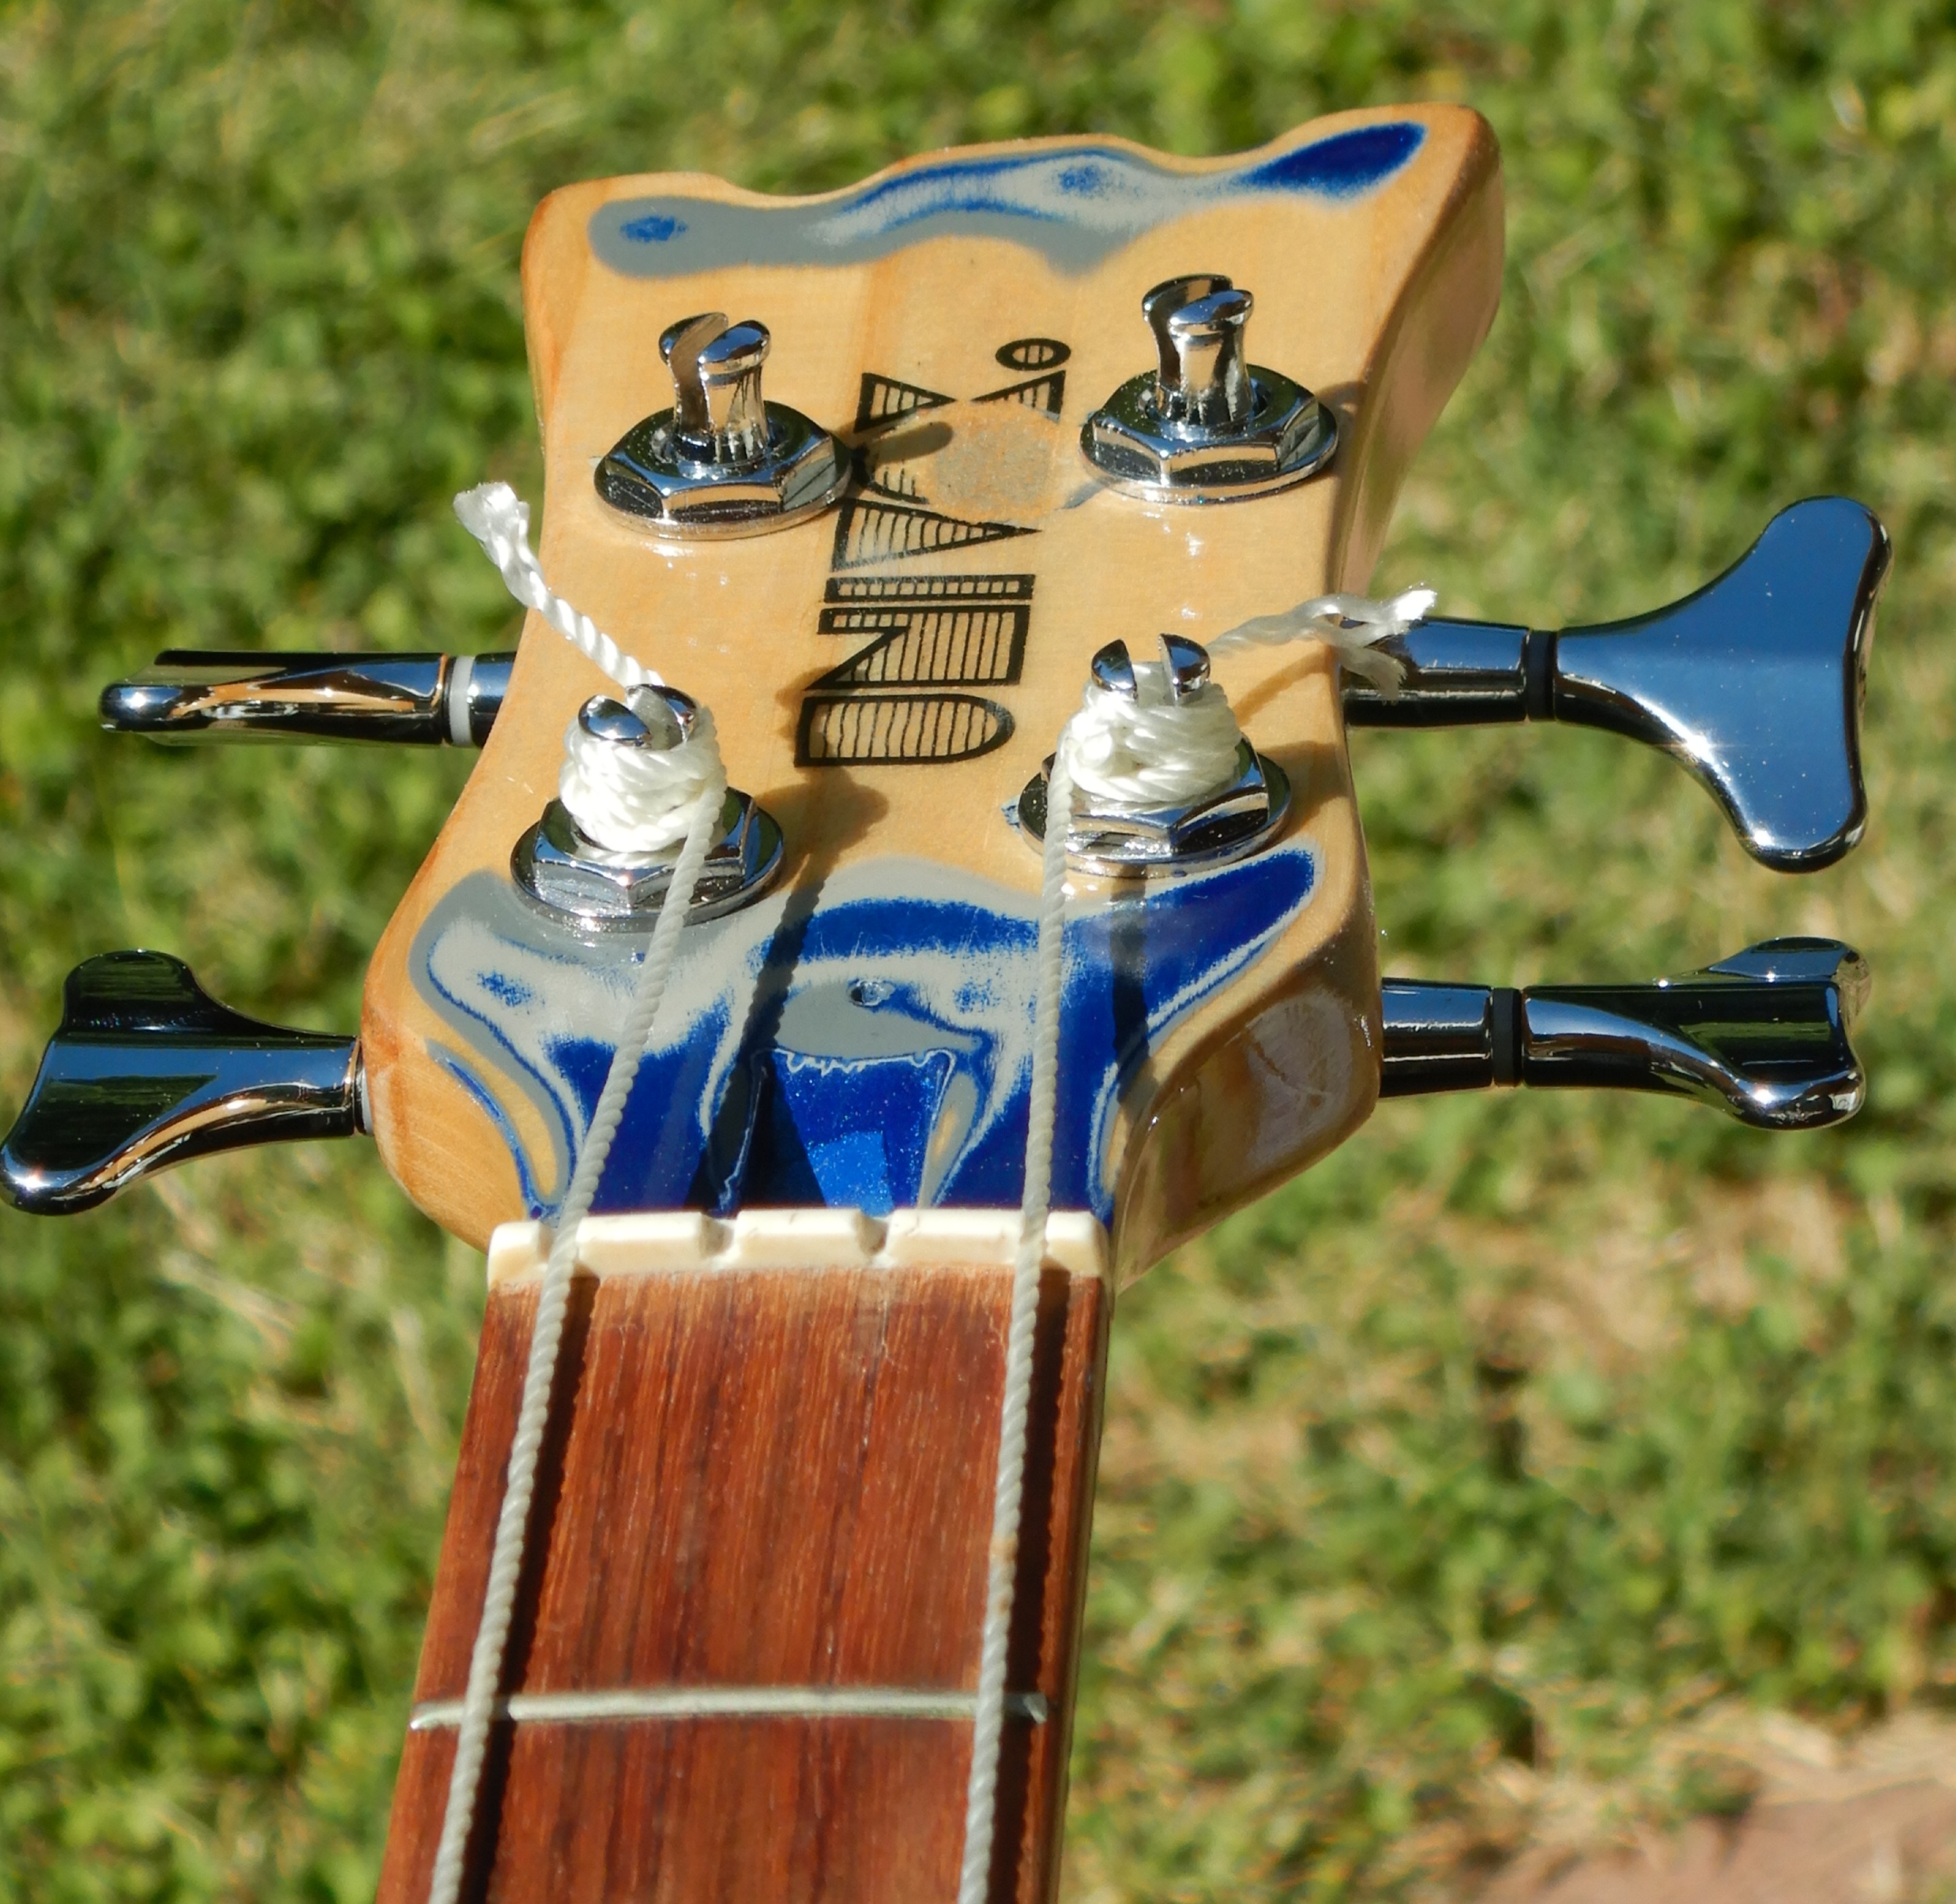
The scale length is supposed to be 30.5 inches so I rigged up garden twine to simulate strings for side movement and measured for length from nut to saddle.
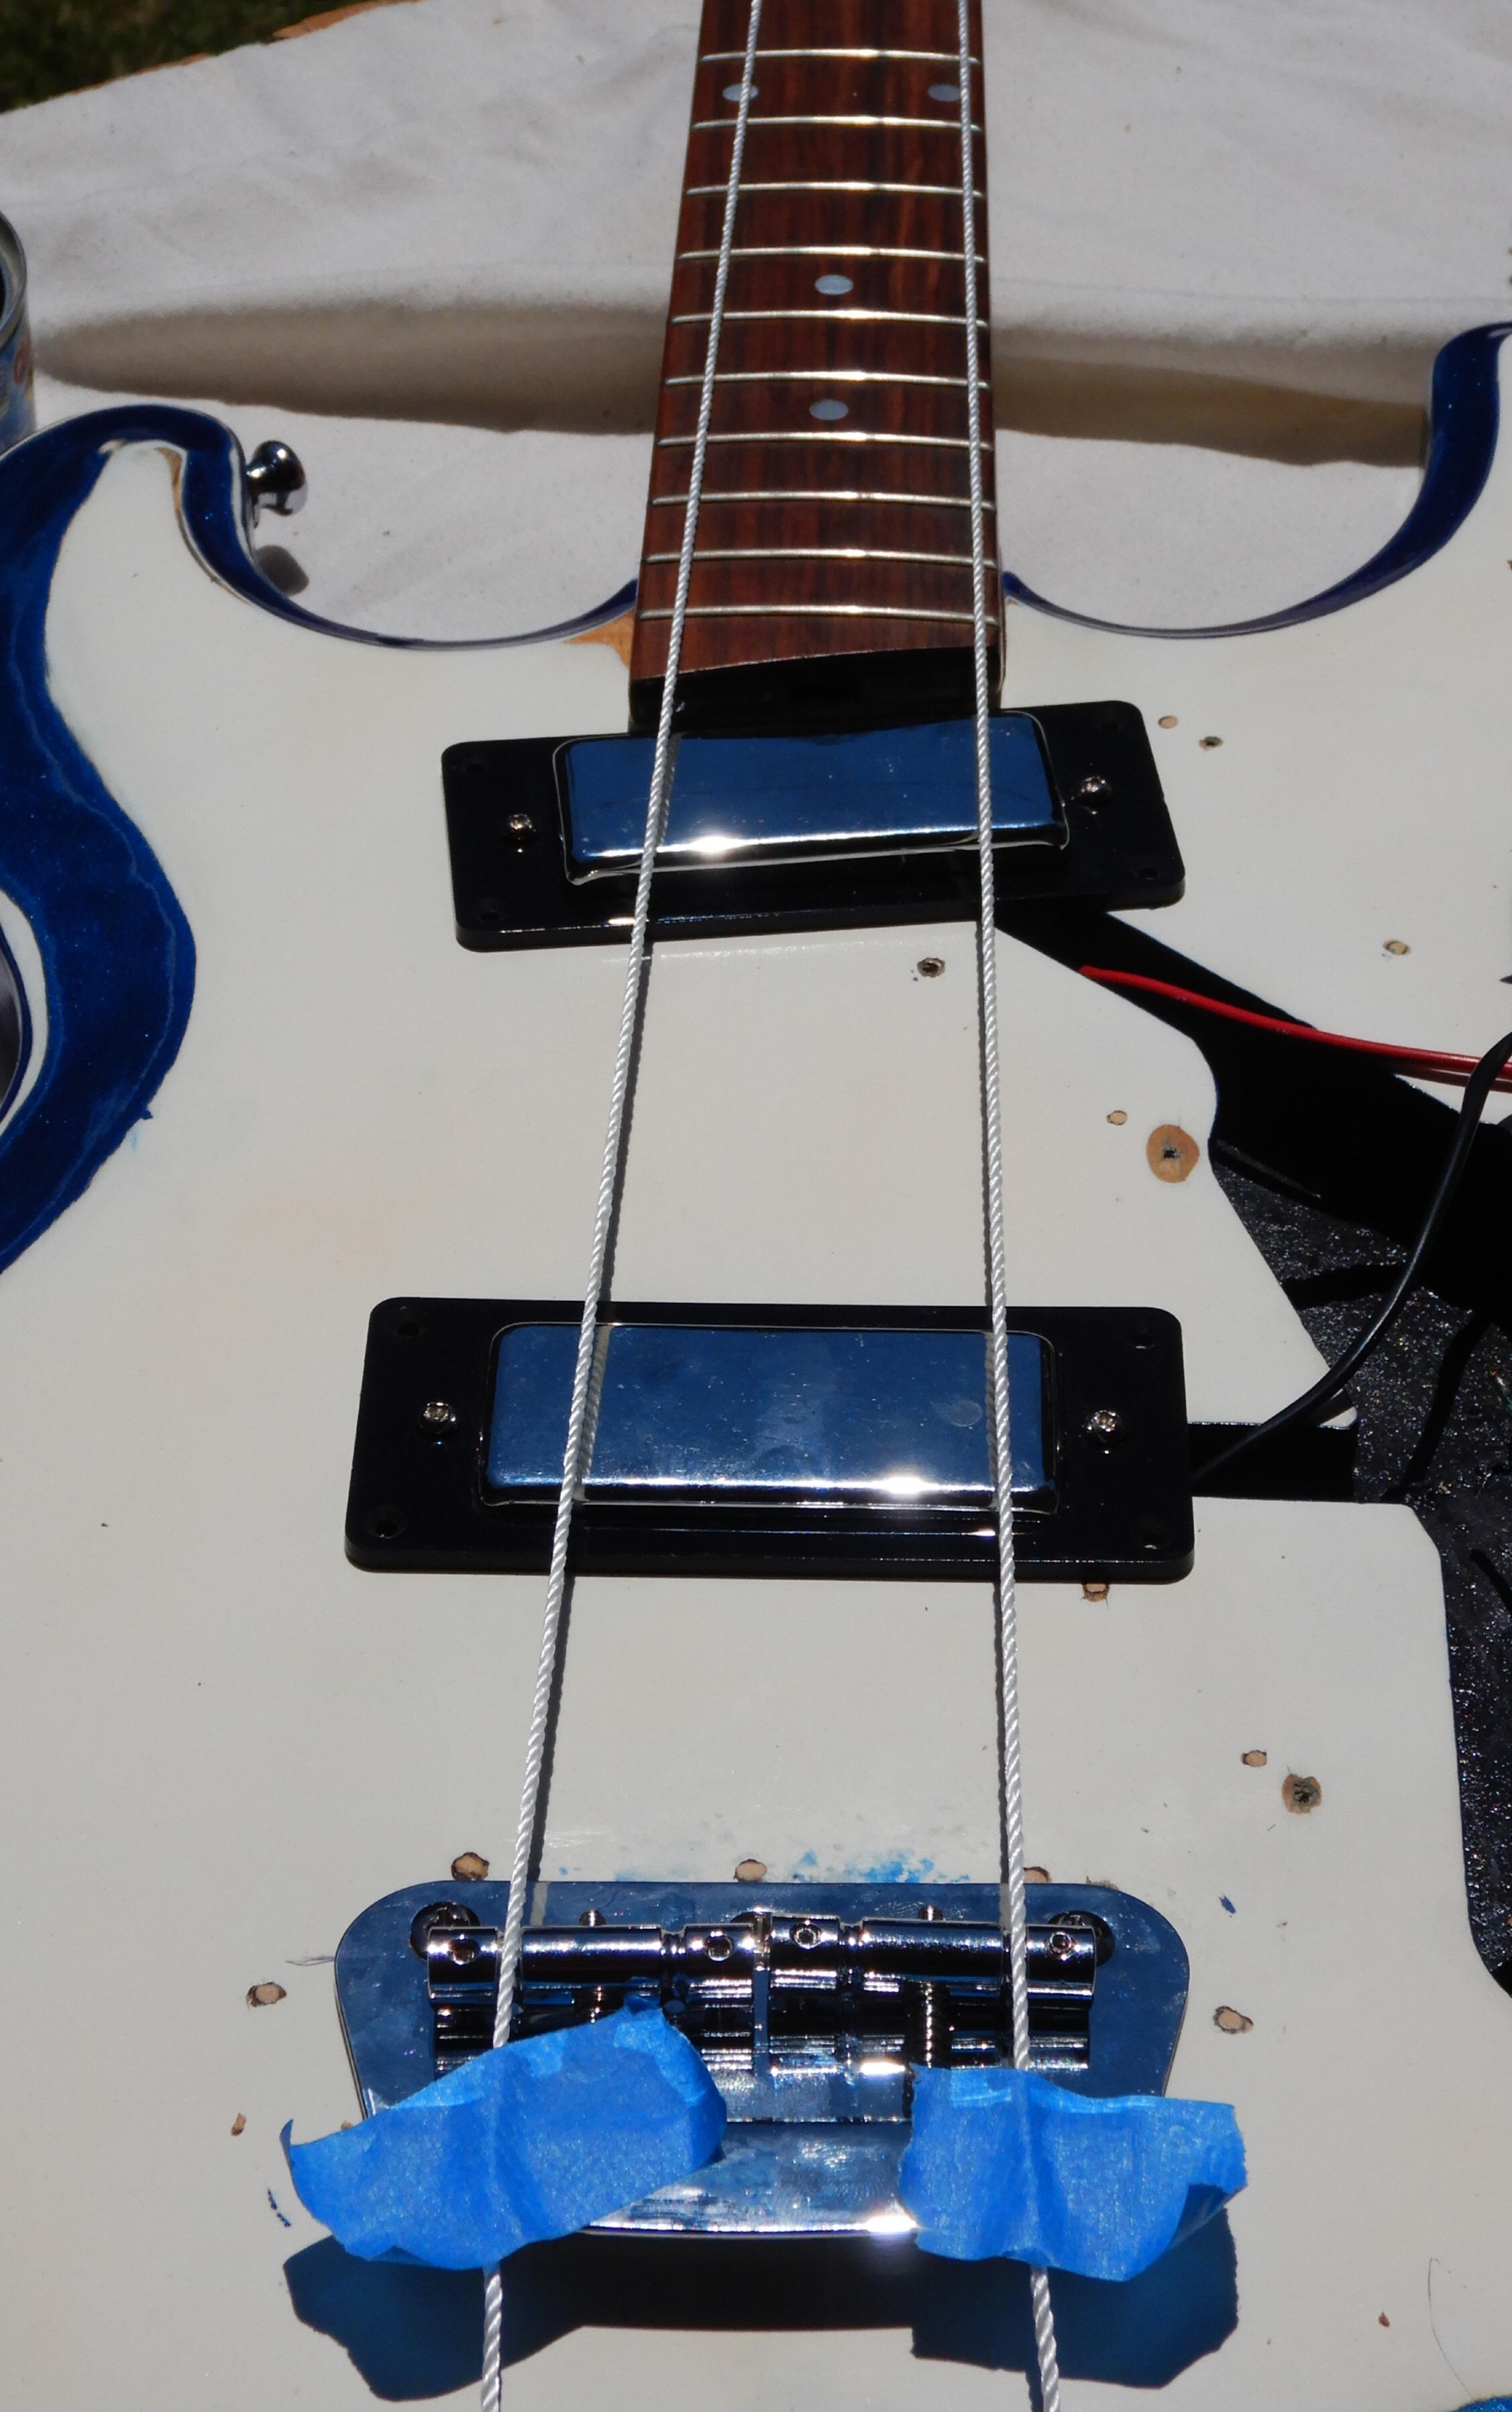
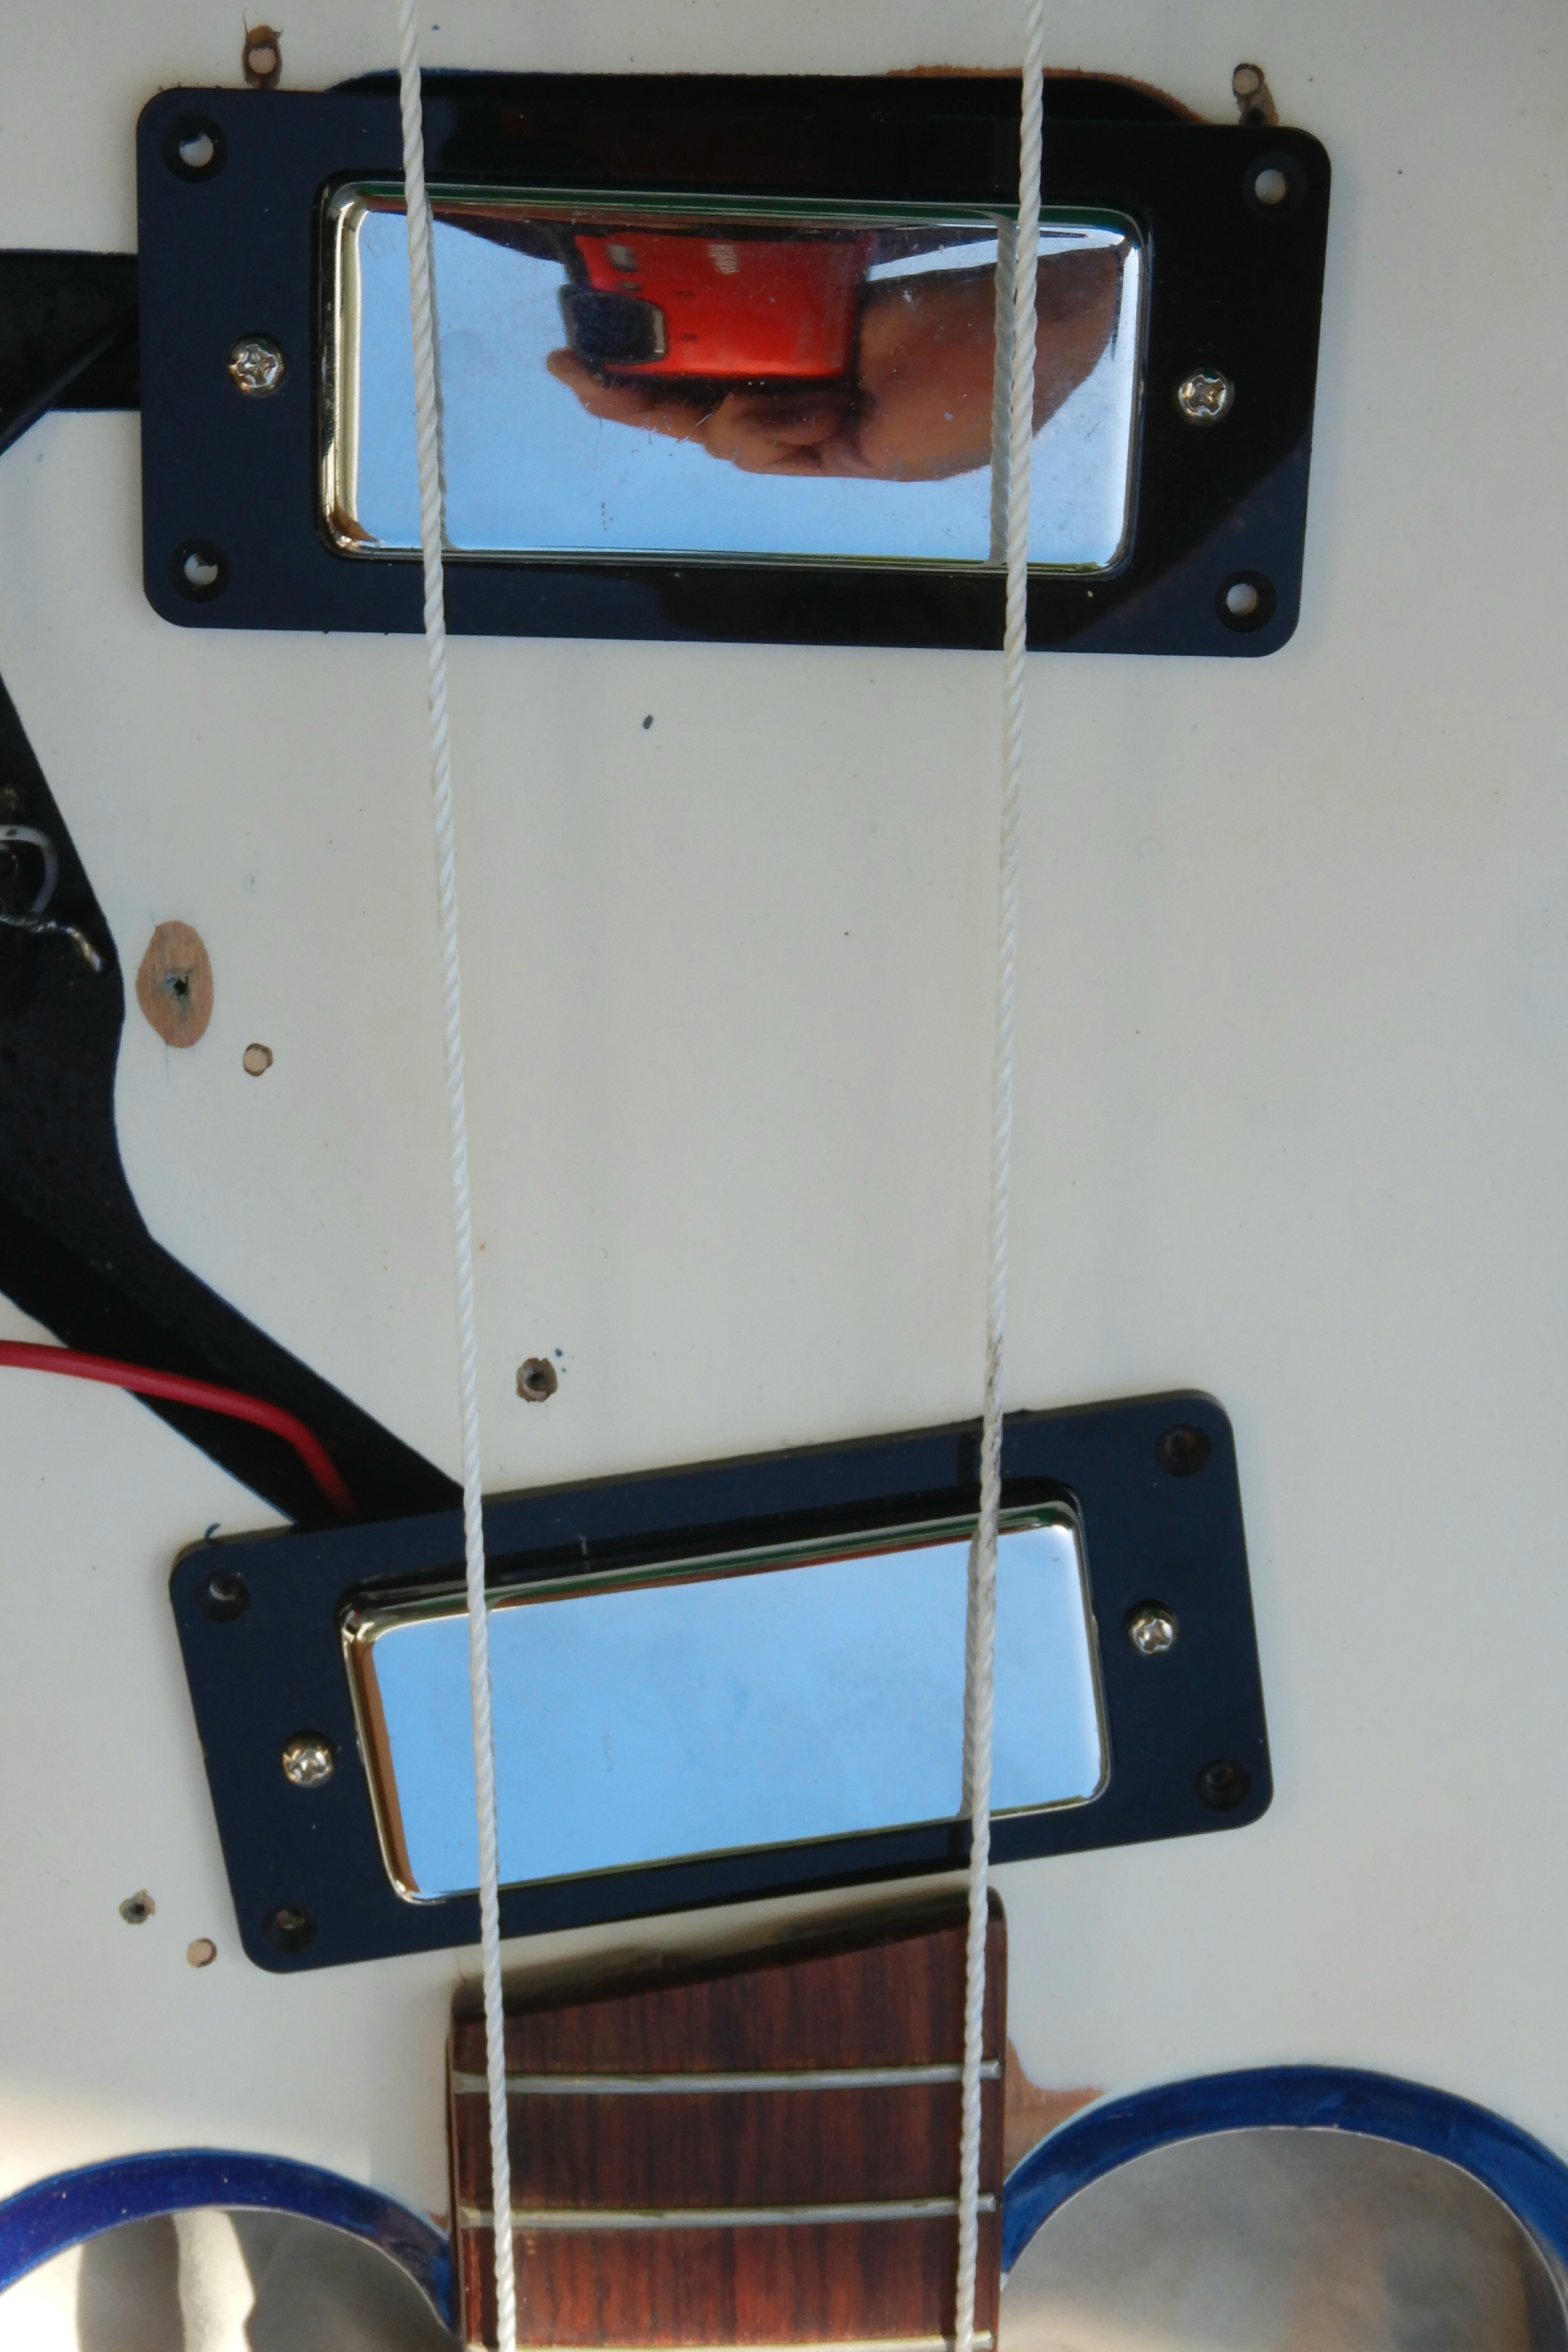
I used masking tape to position strings and bridge, placing pickups in place for lateral positioning.
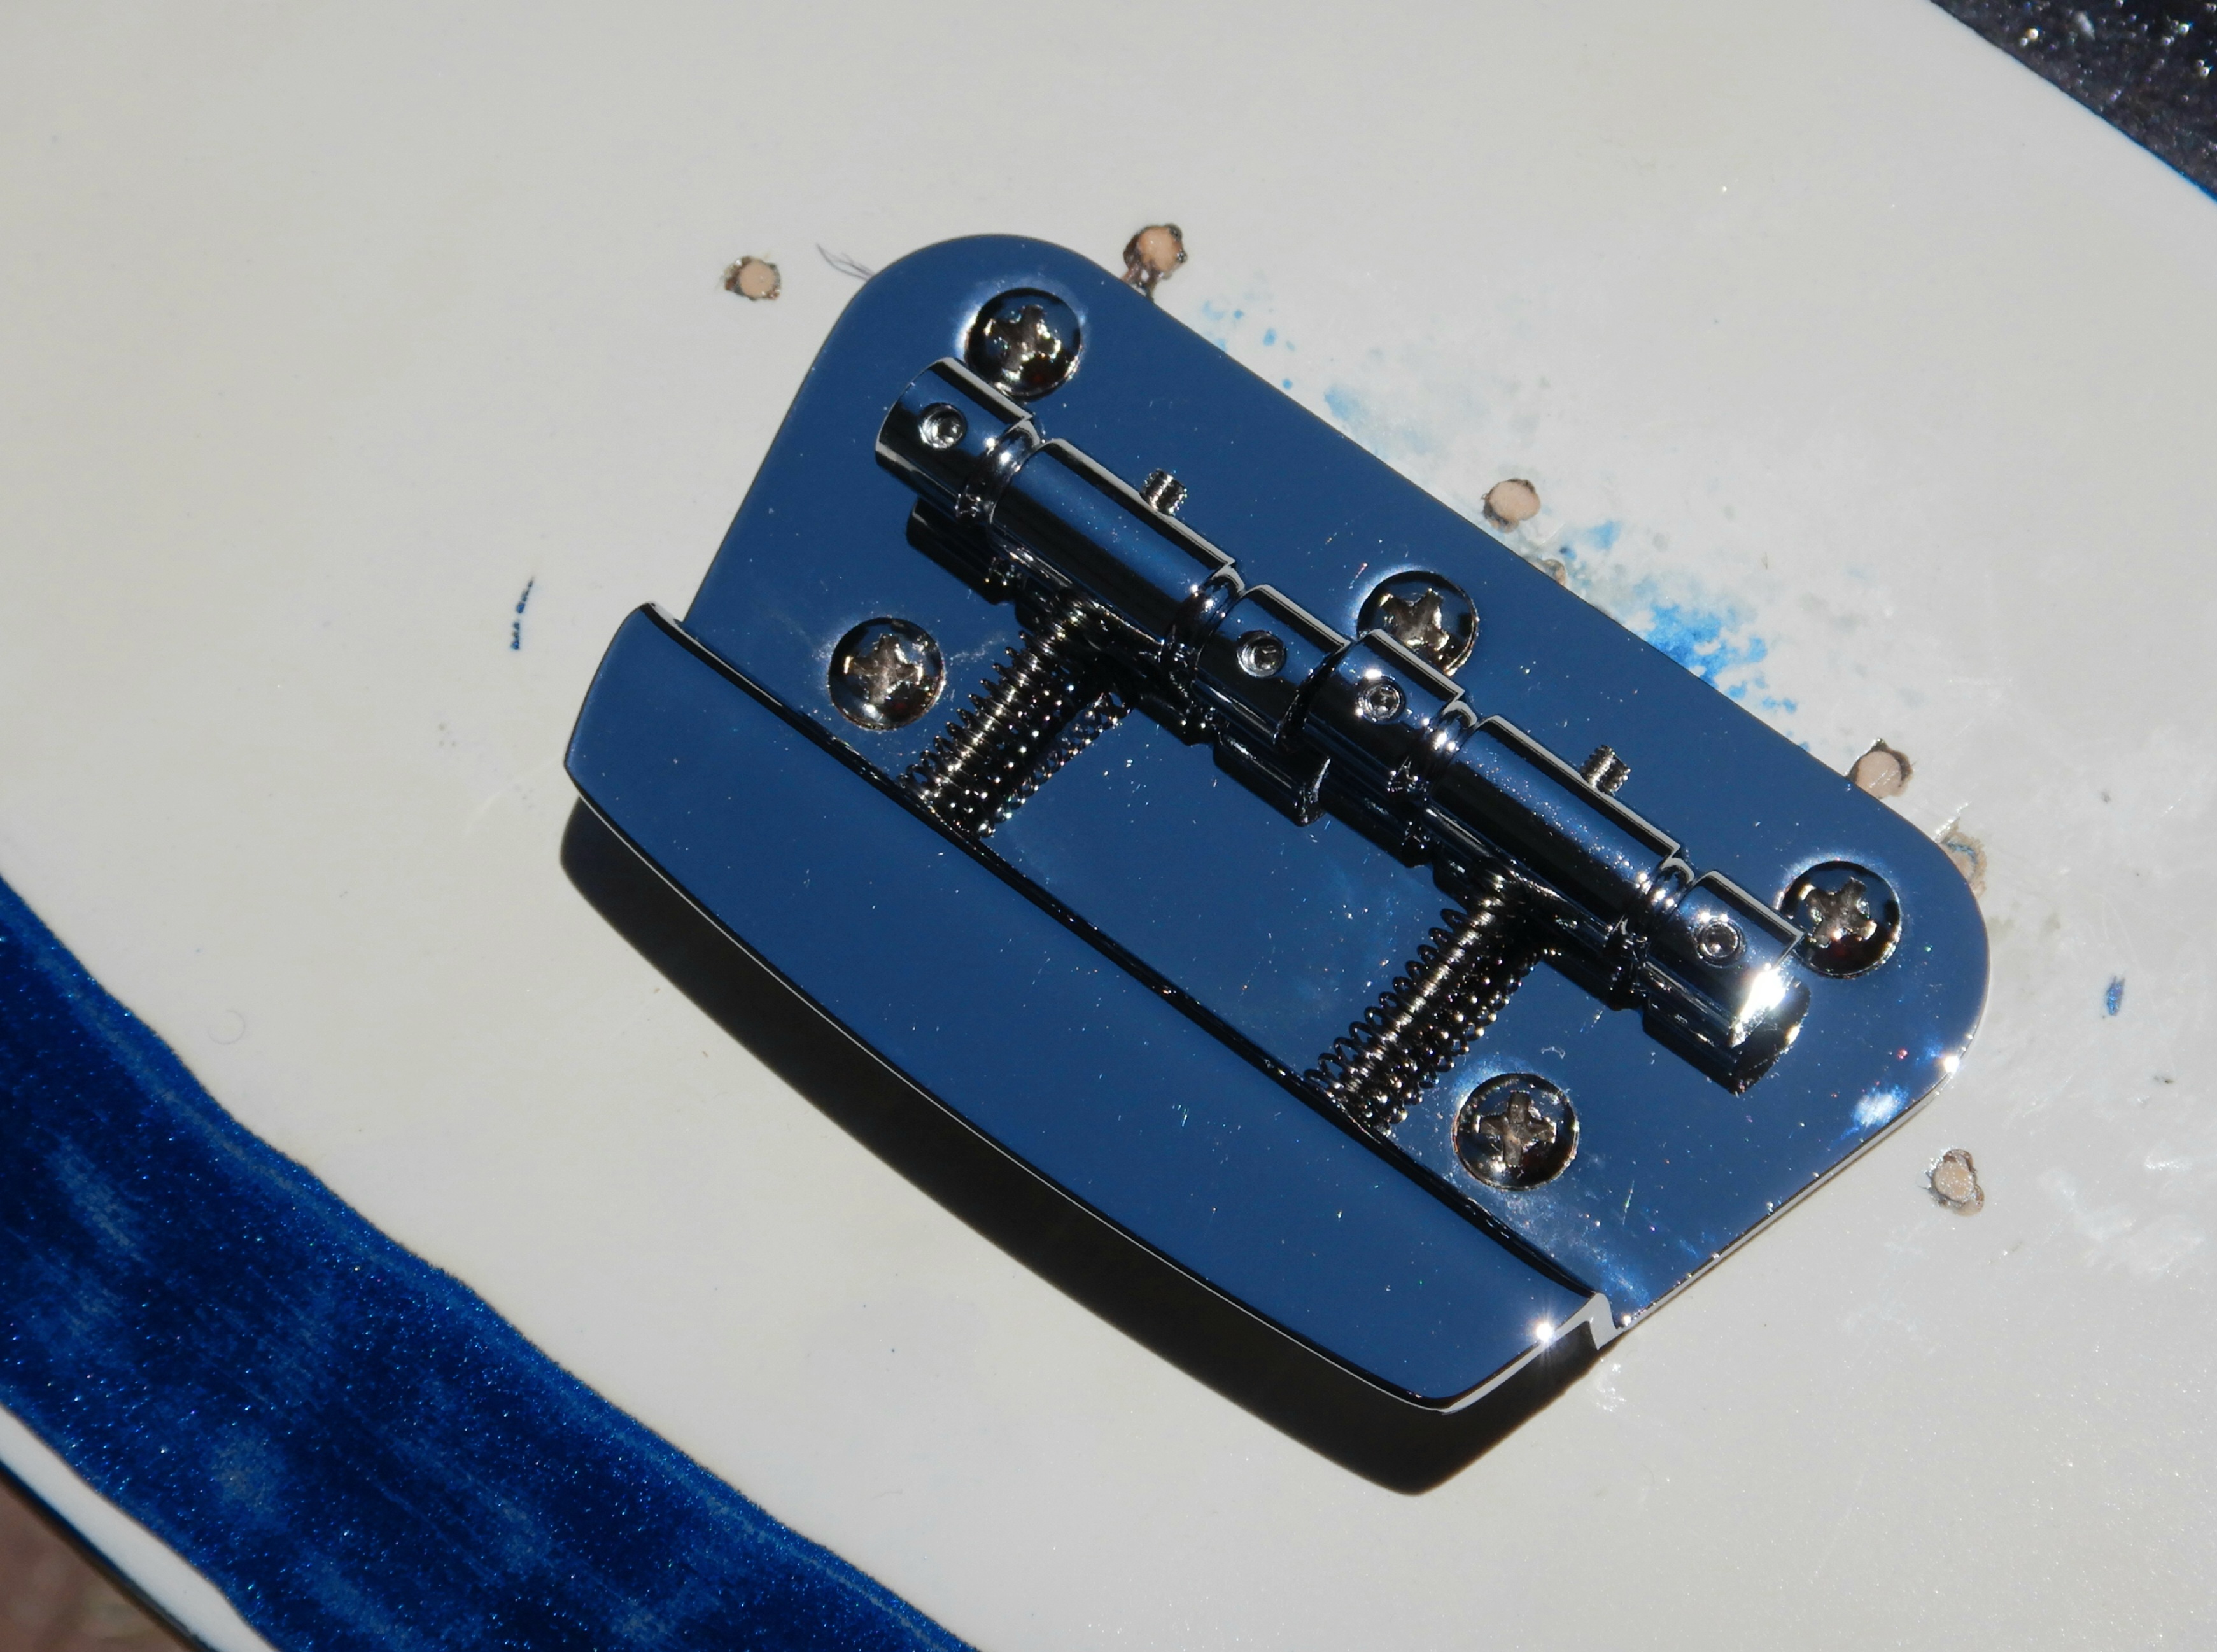
I reused the screws from the newish bridge, obviously not original, like the chrome metal knobs.
Although similar to lots of the Japanese Mosrite clones’ bridges in being only semi-adjustable, having only two saddles for four strings.
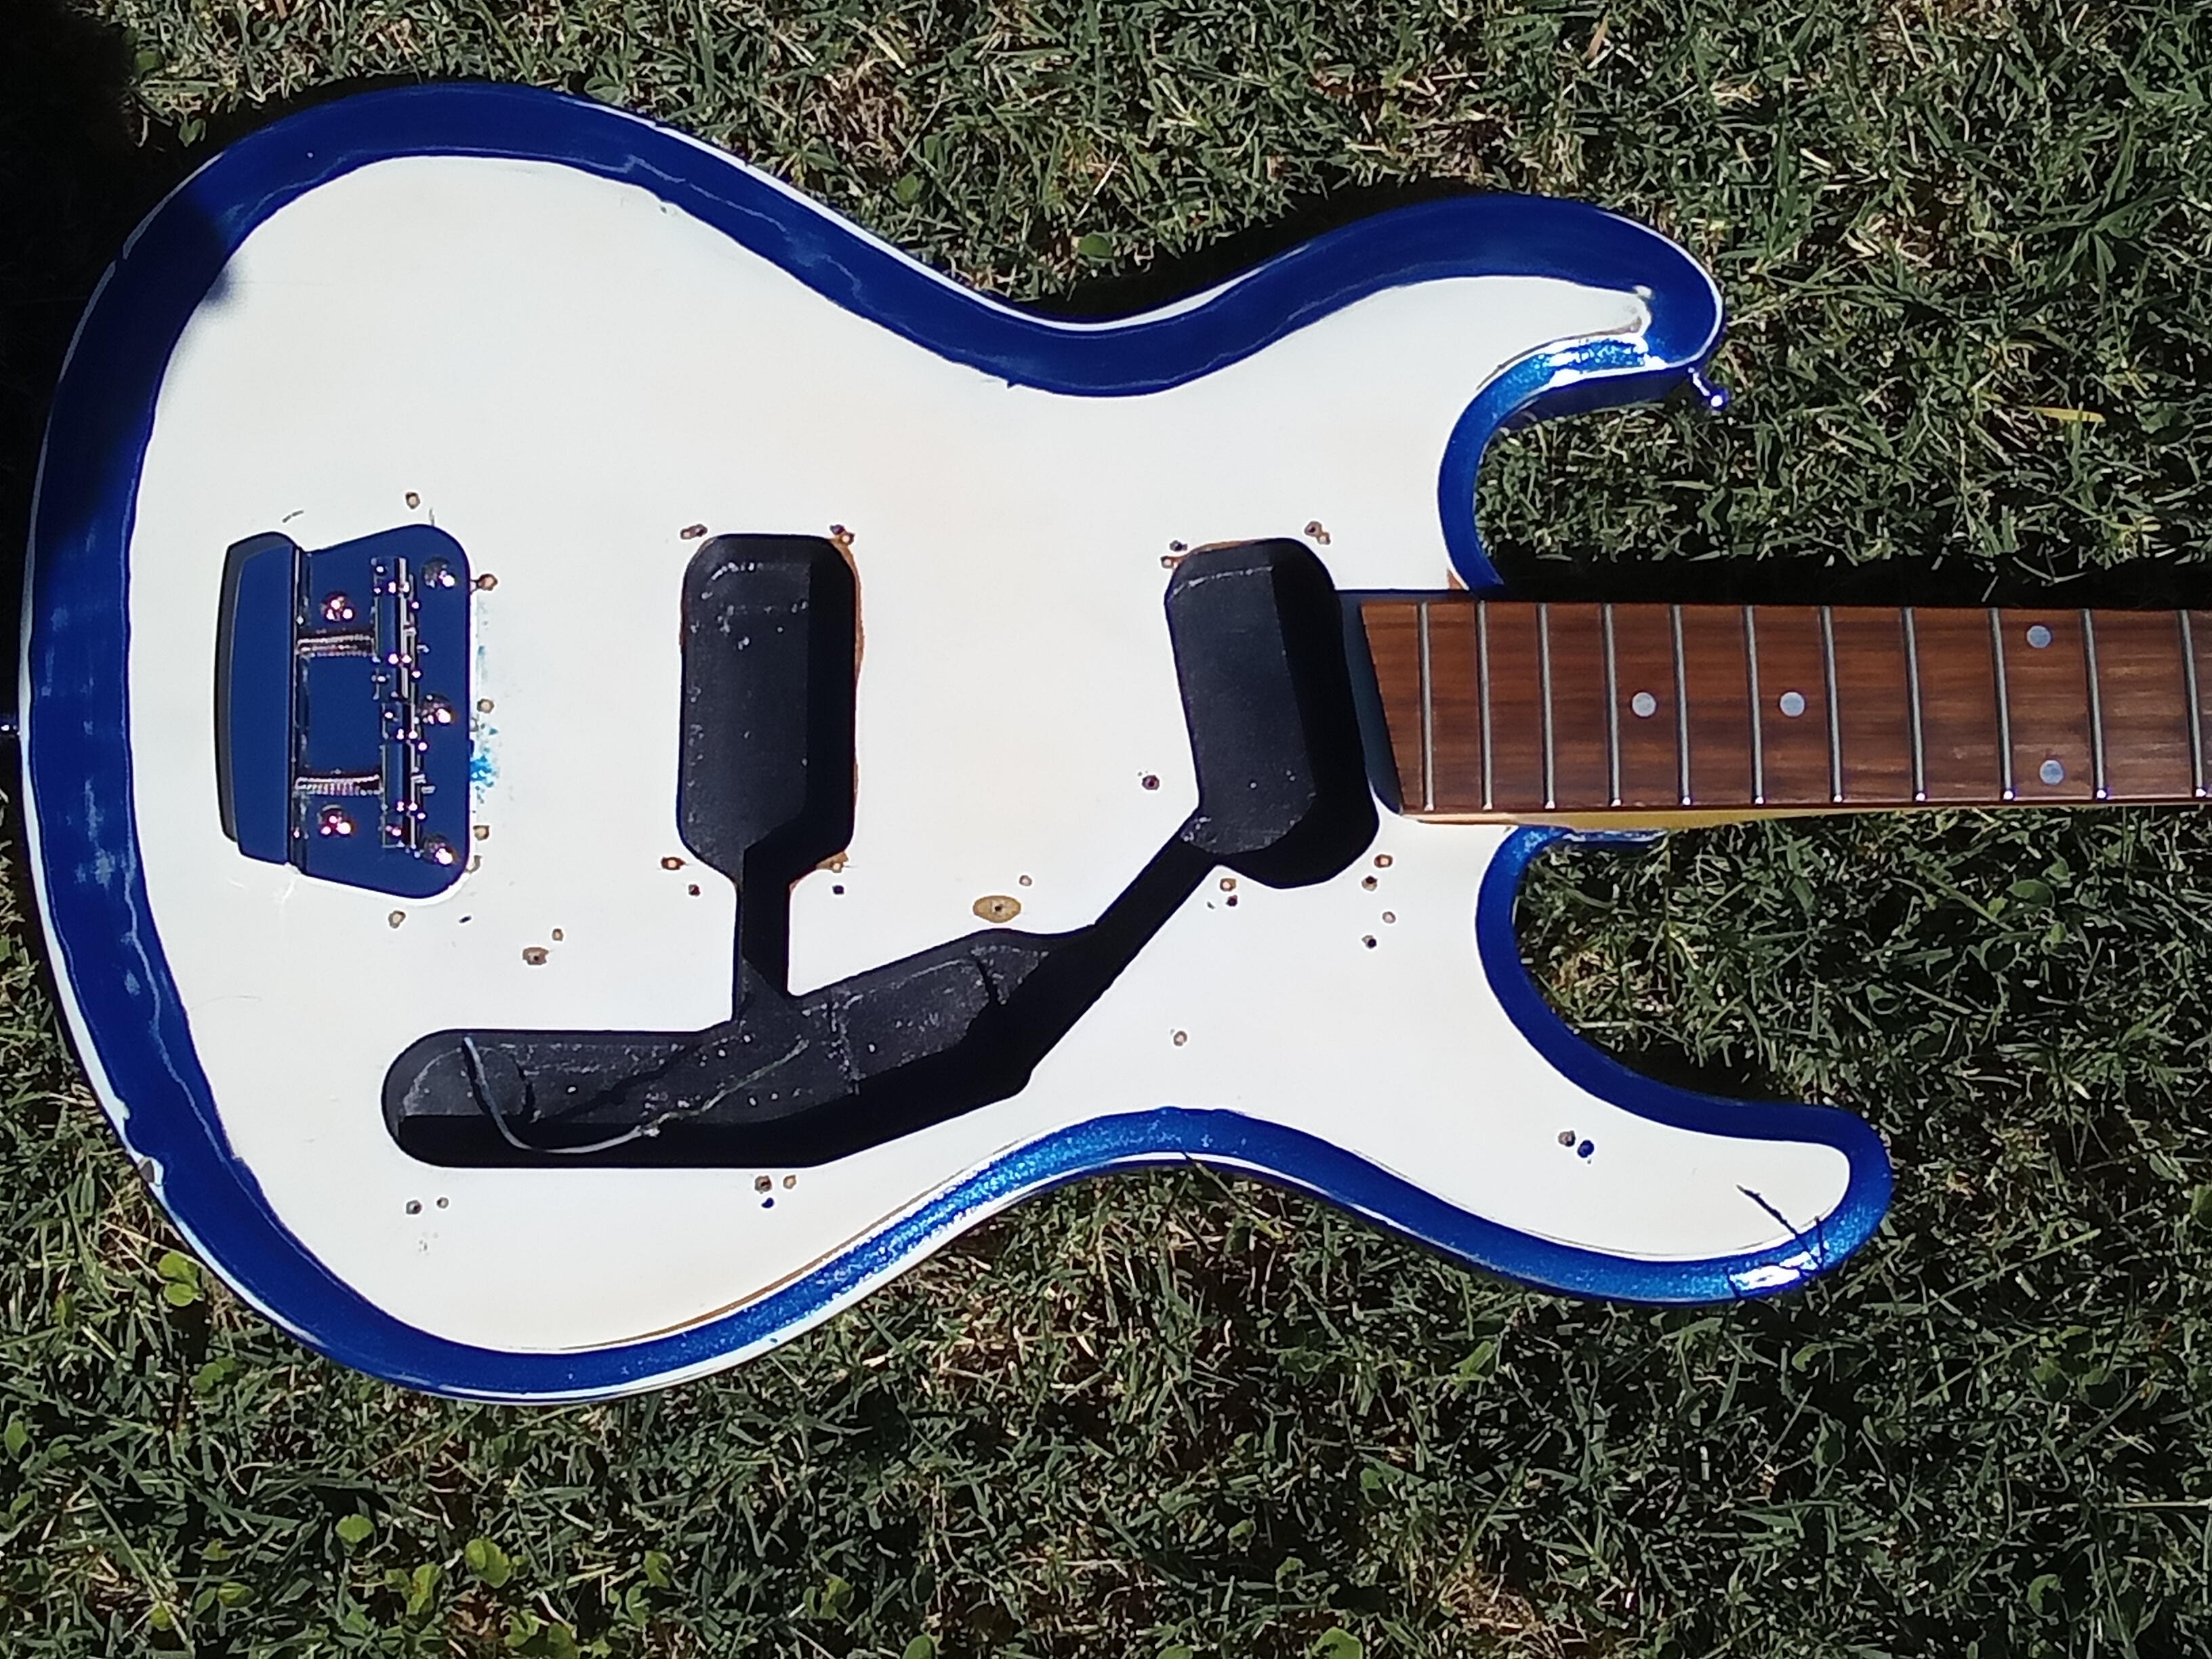
I didn’t even need glue to keeps these wood plugs in after tapping them down. Never coming out short of drilling.
I took a bunch of pics of the FUBAR wiring trying to encourage myself that I’ll be soldering them correctly.
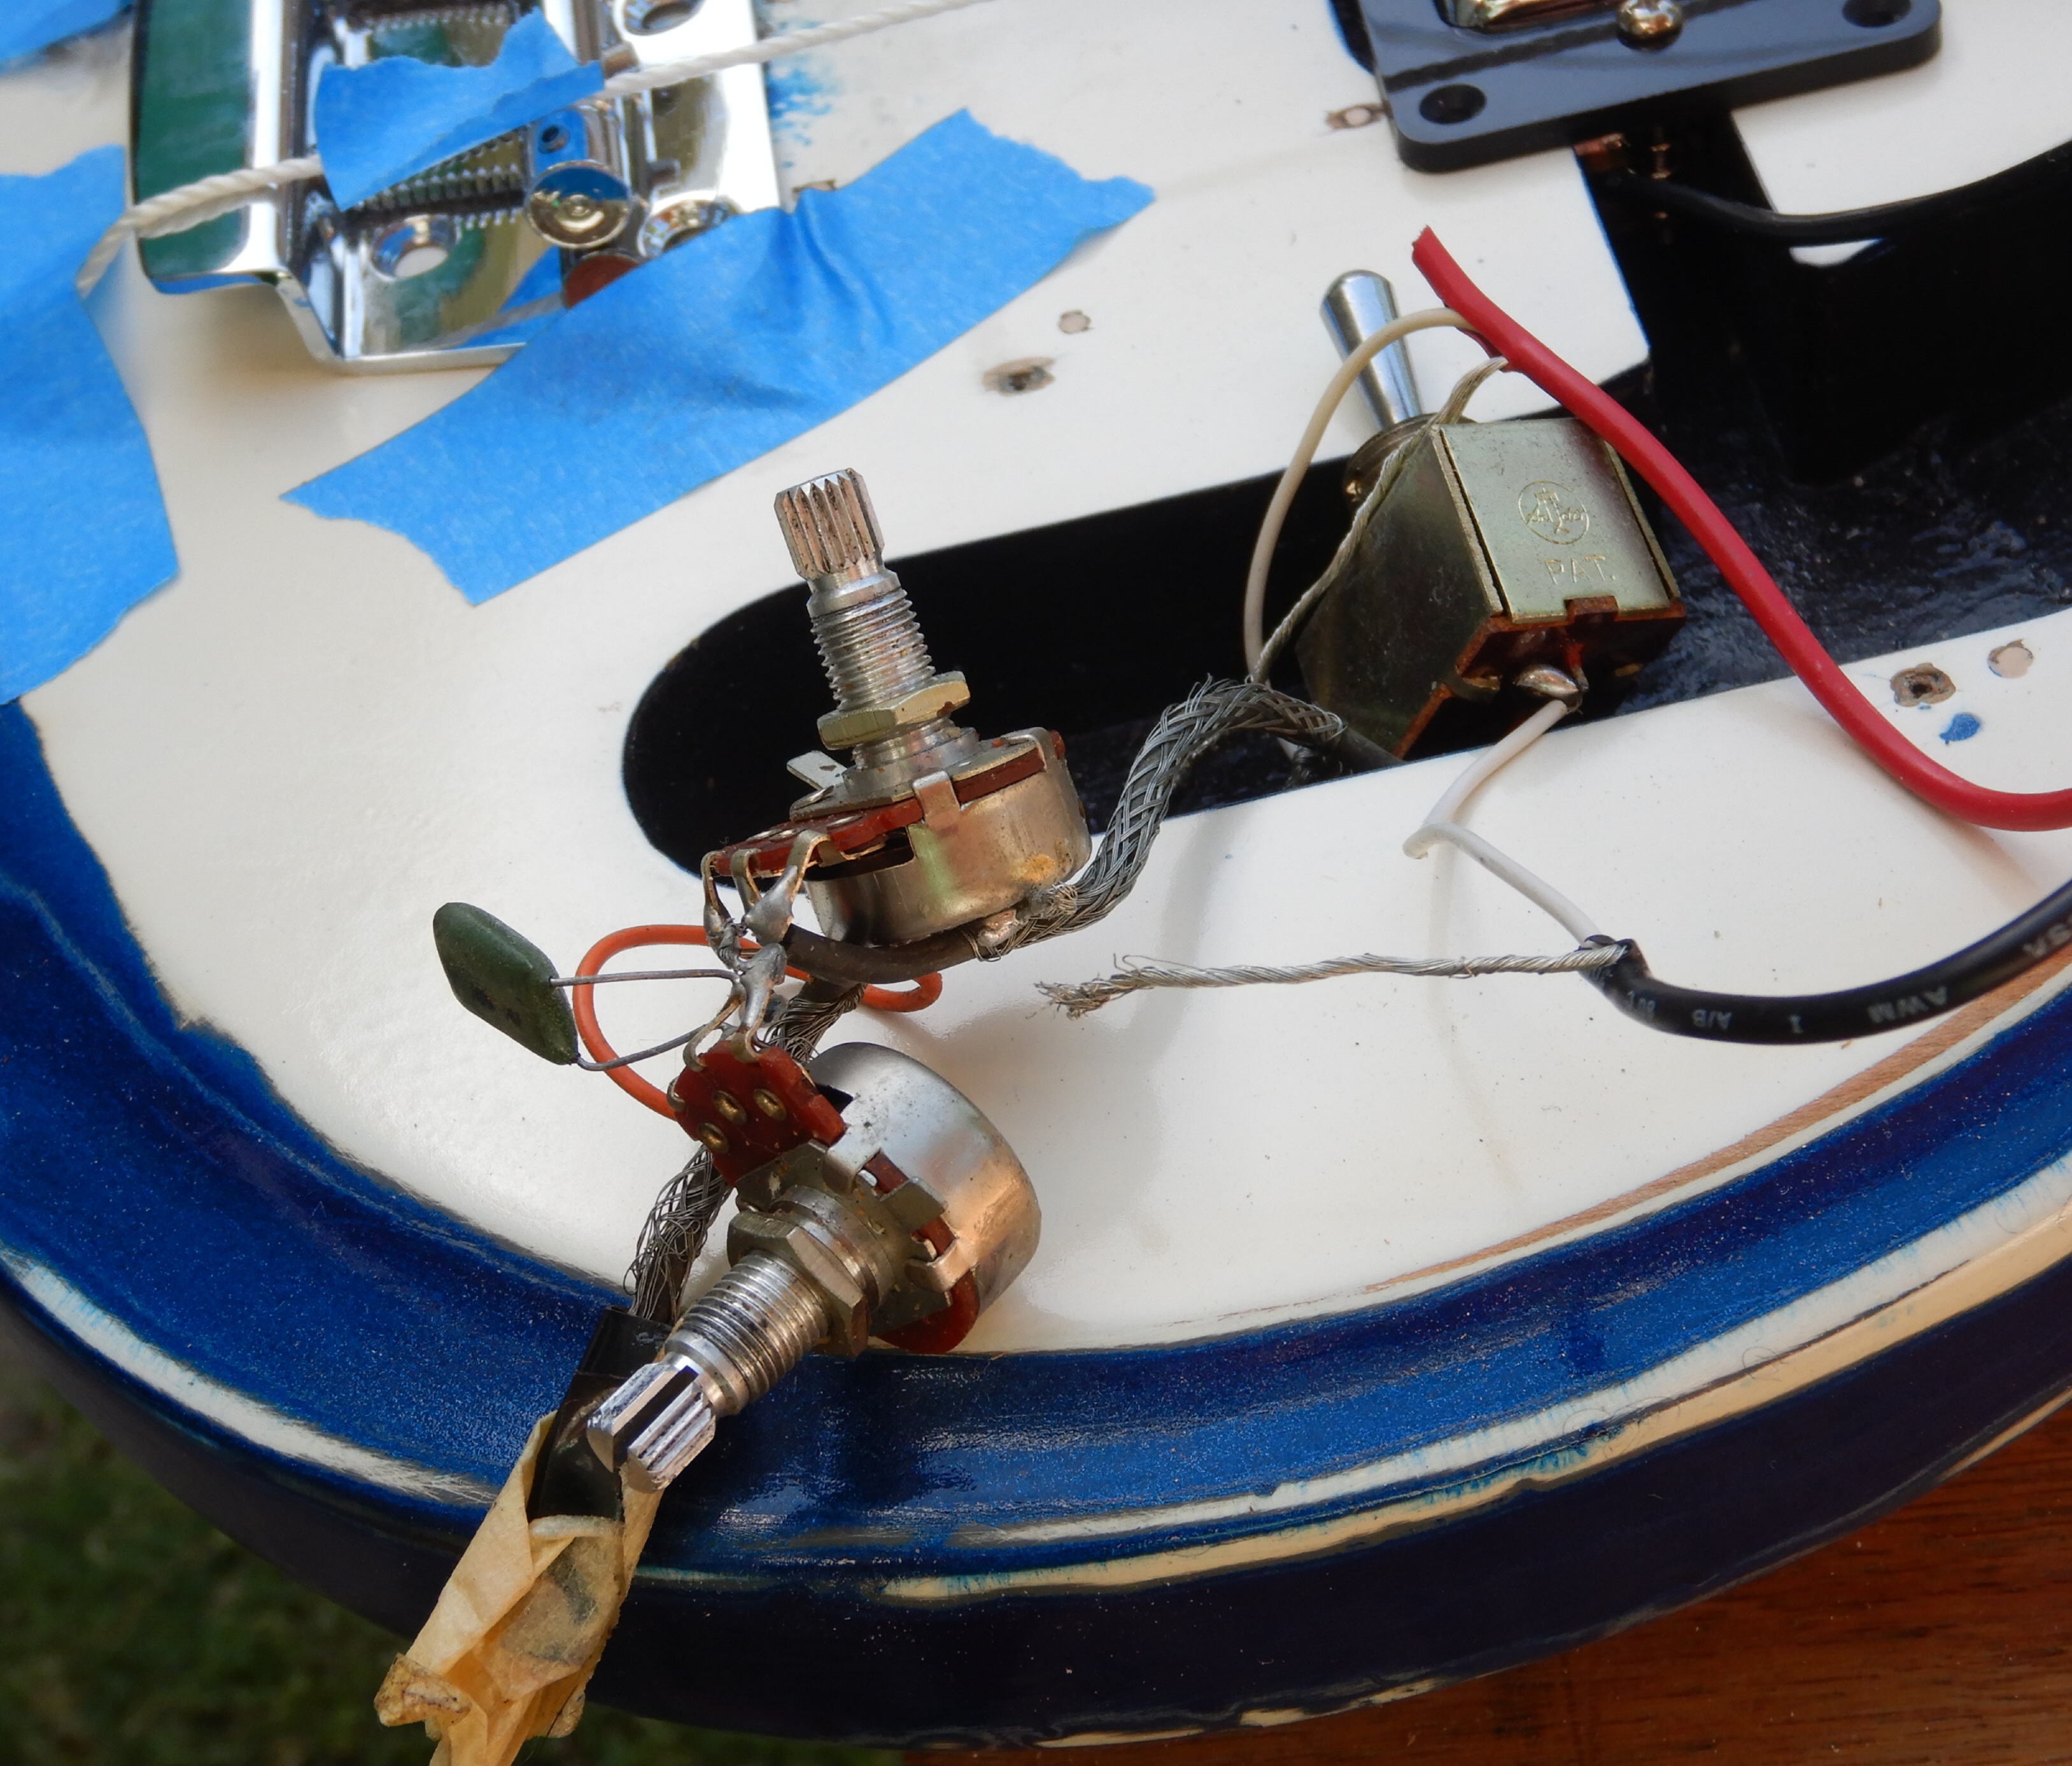
But that just discouraged me further so I’m just going to jump in feet first, solder guns a’blazing. Hope for the best.
Unless noted, all text and images by todgermanica.com
