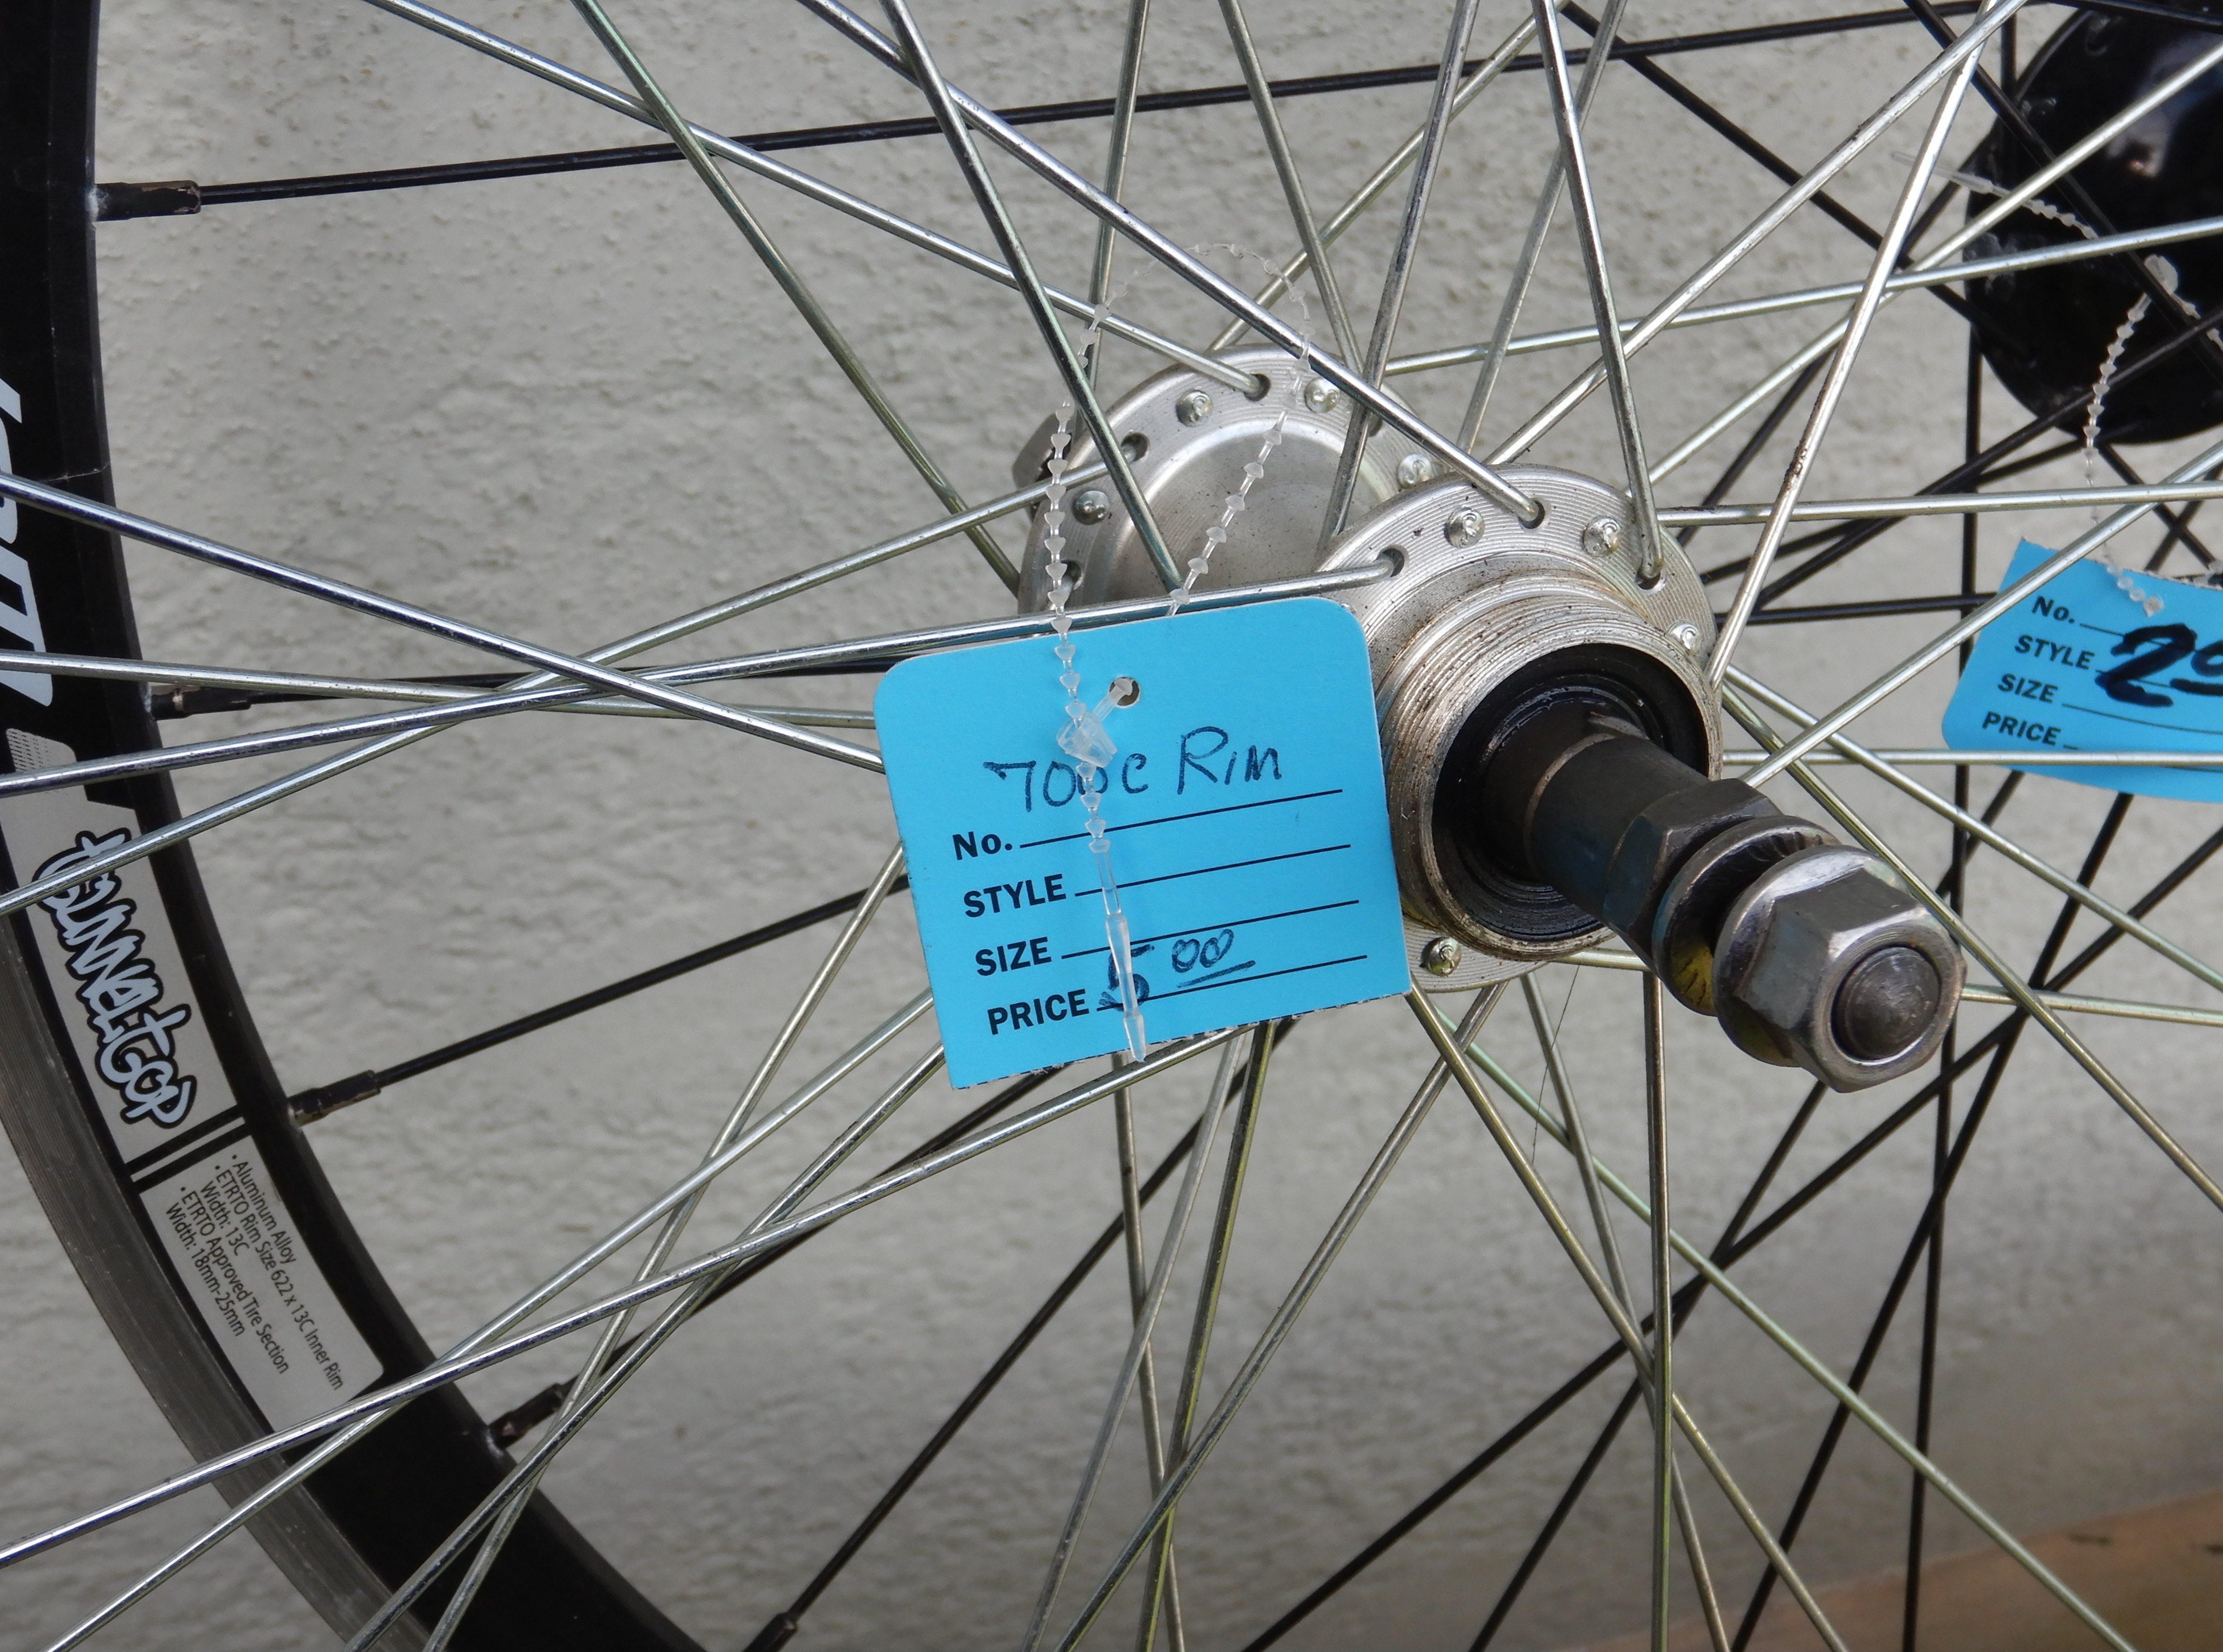
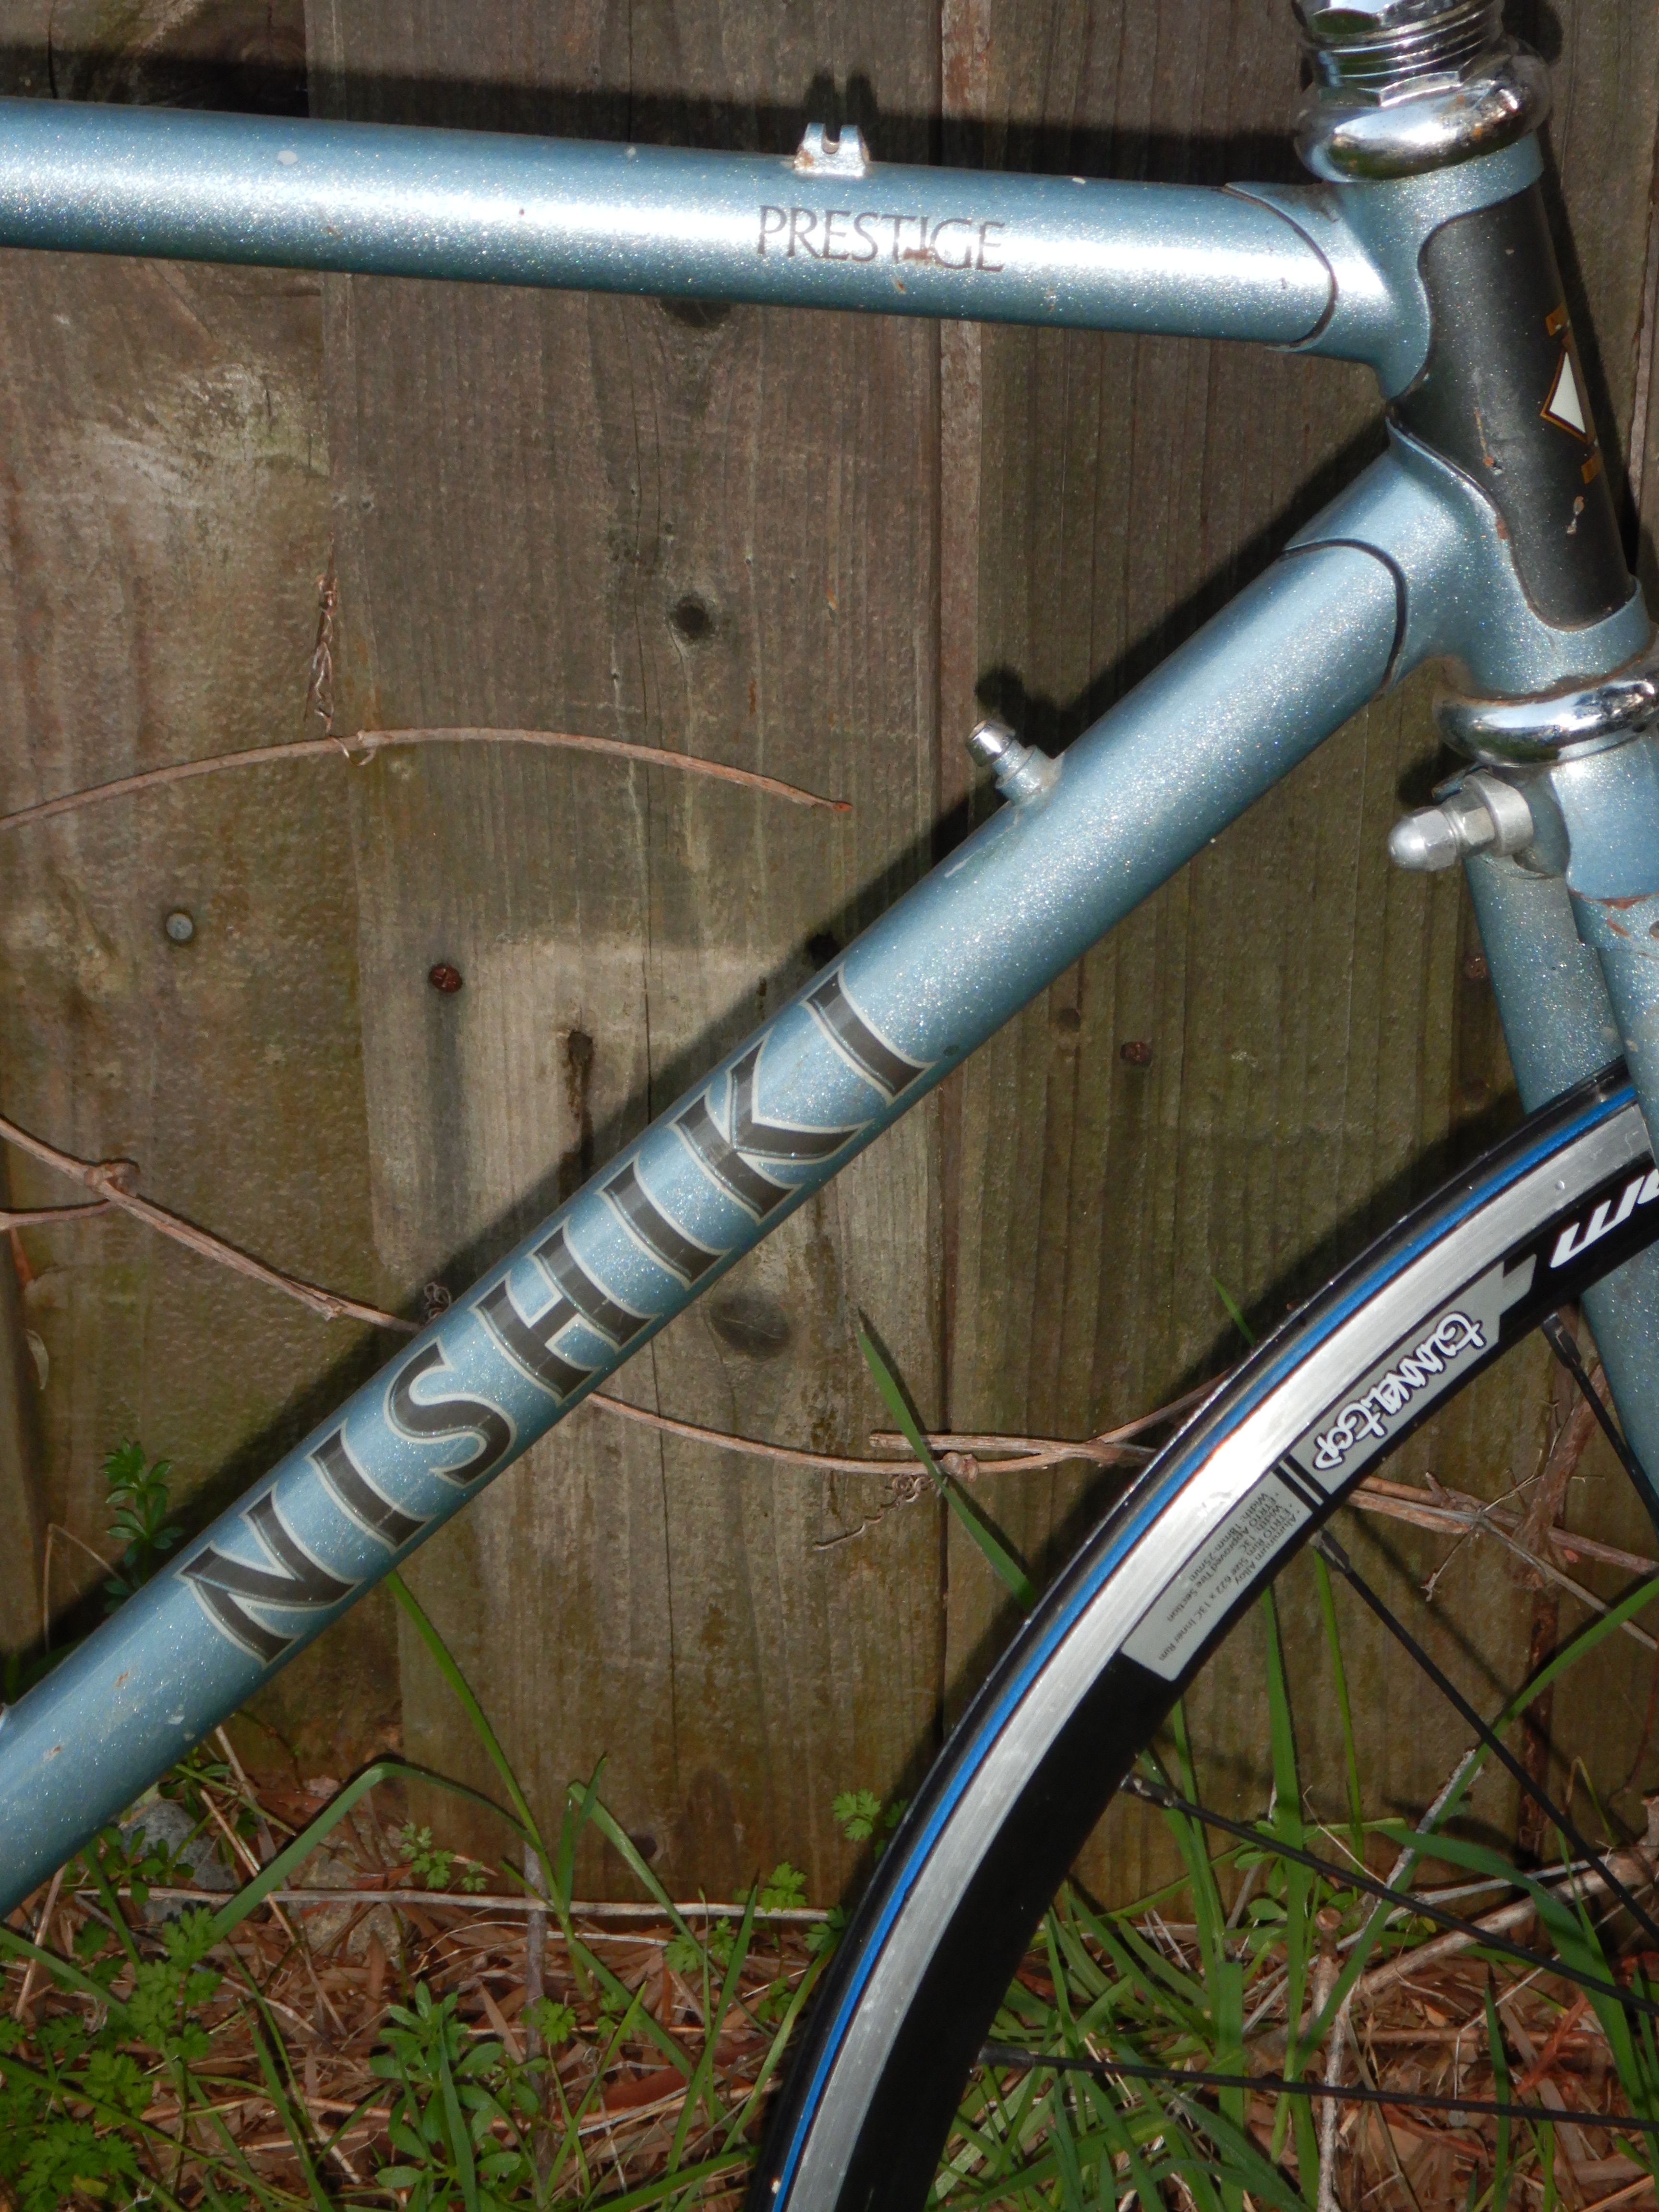
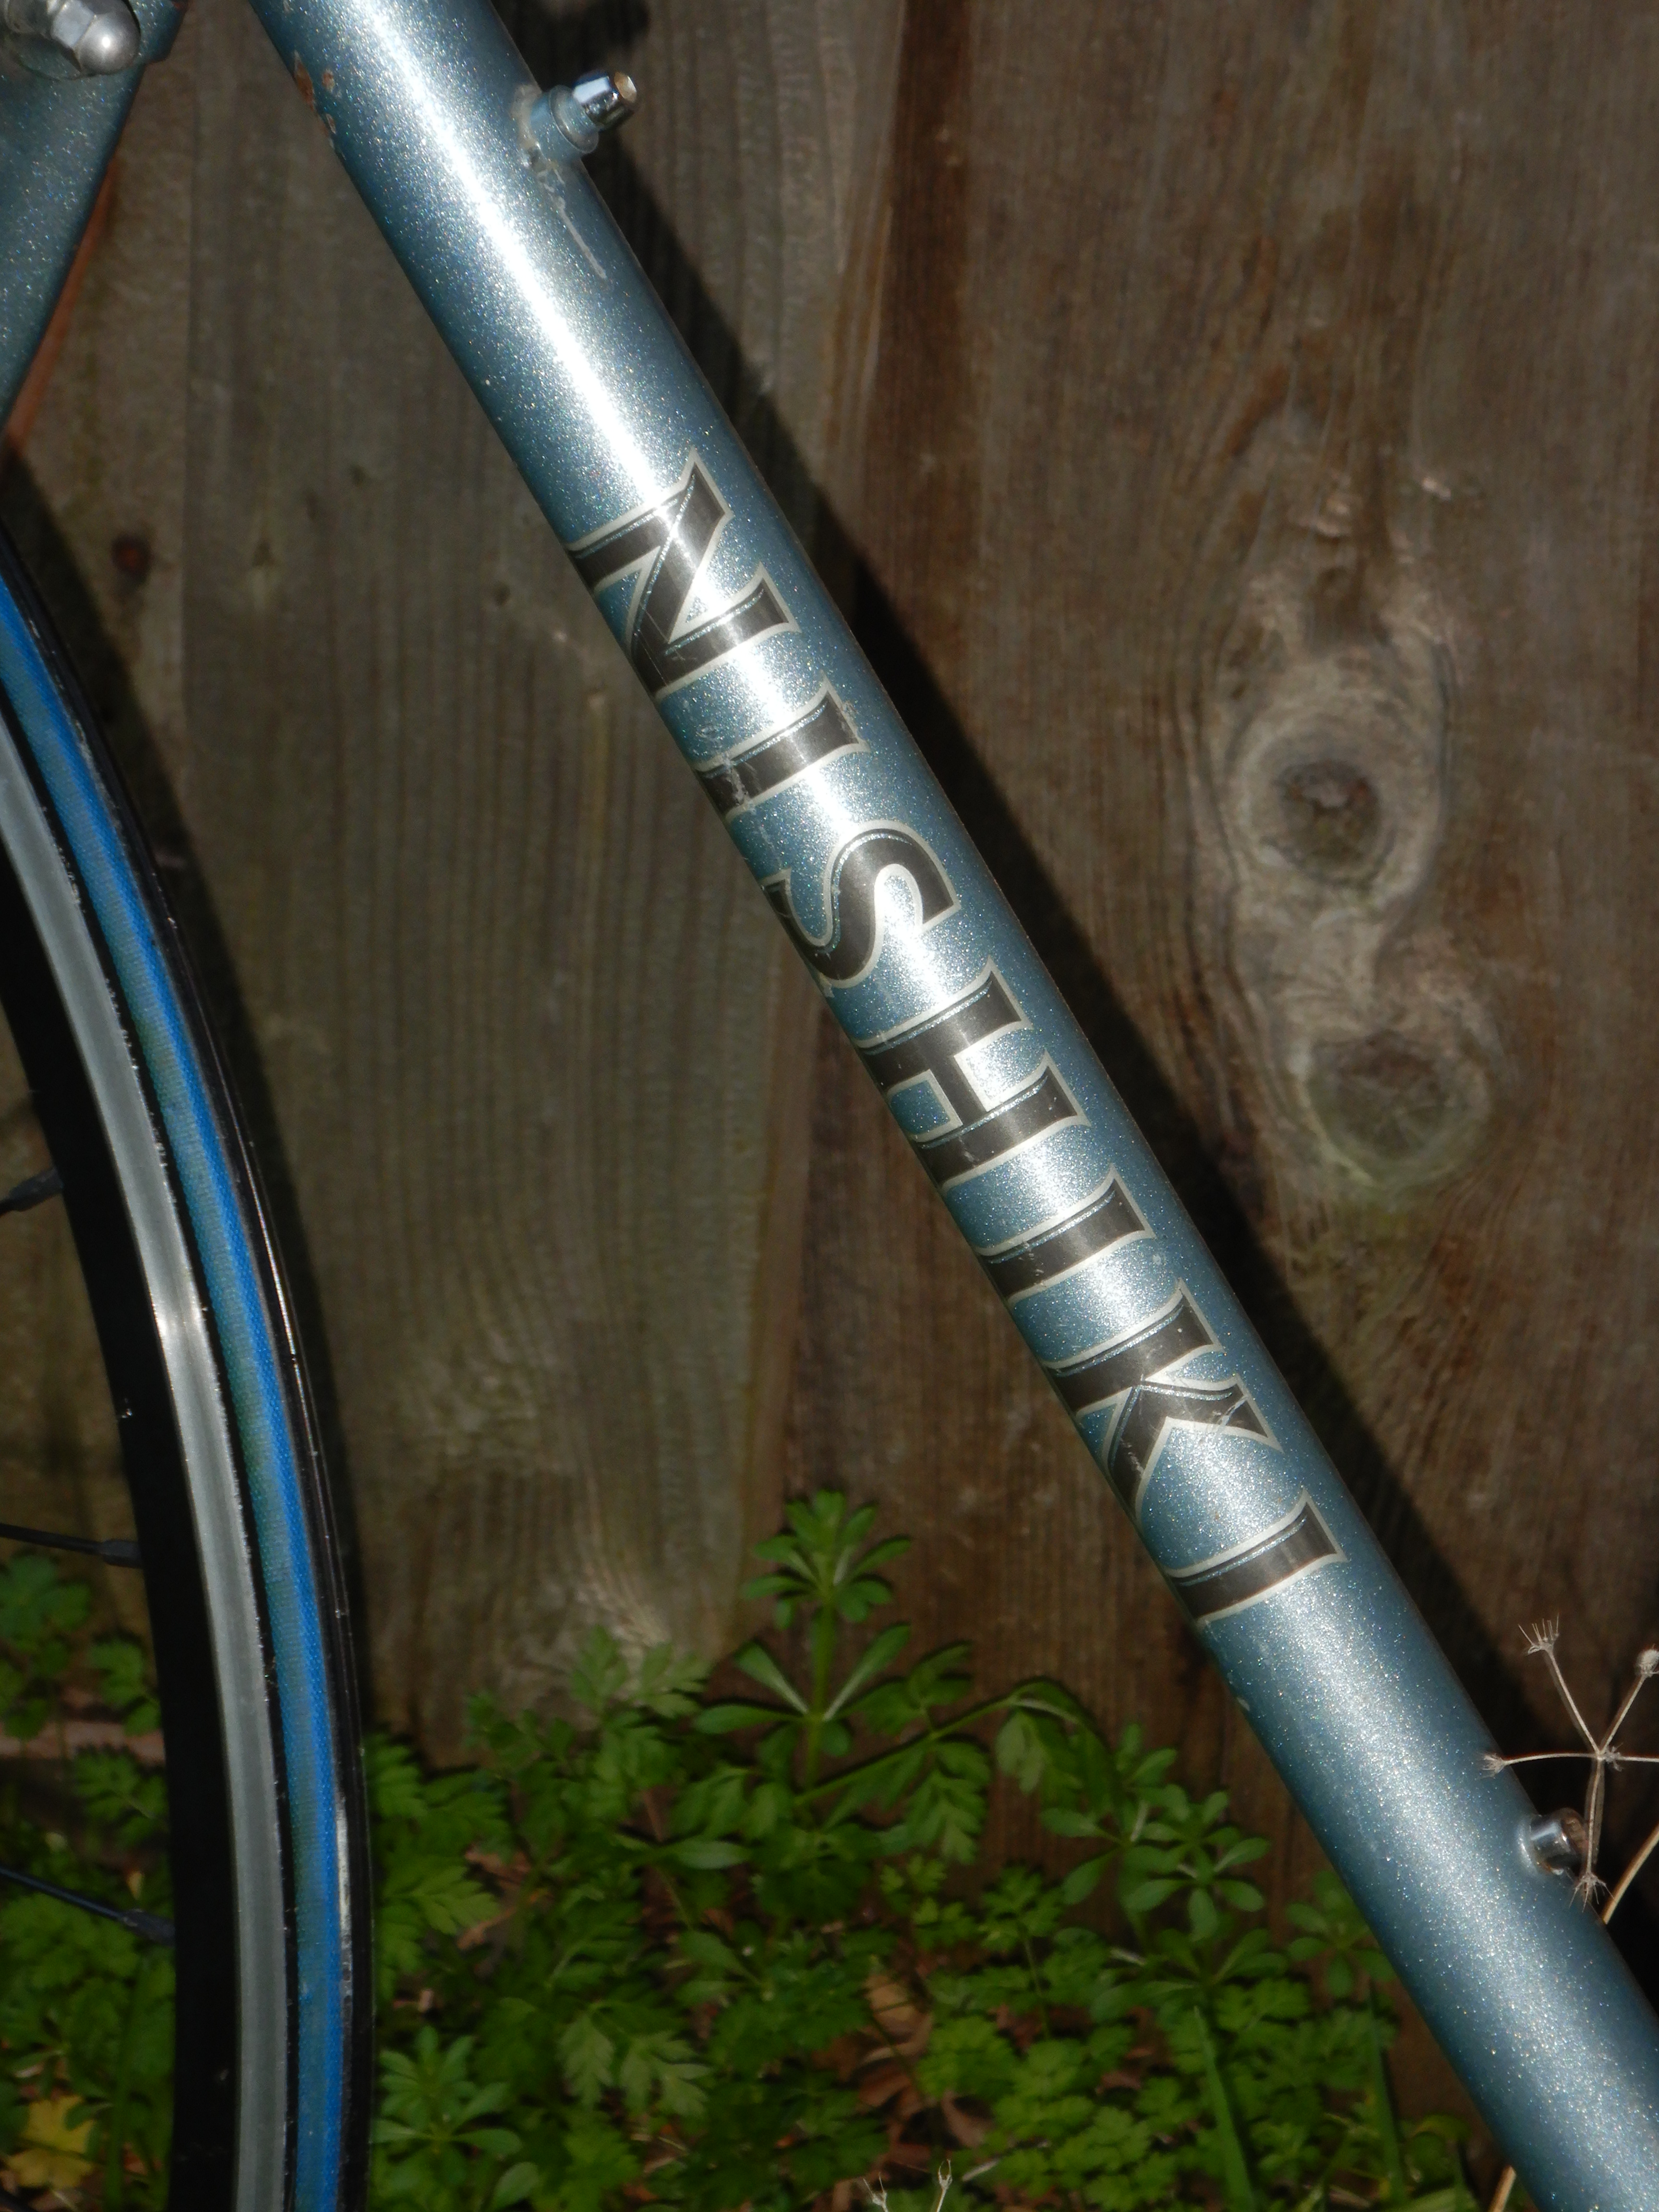
I’ve made progress on the Nishiki Prestige single-speed bike project. I found an upswept handlebar for $3 from my man Trent at the flea market, and a wheelset and one tire very cheap at a charity shop.
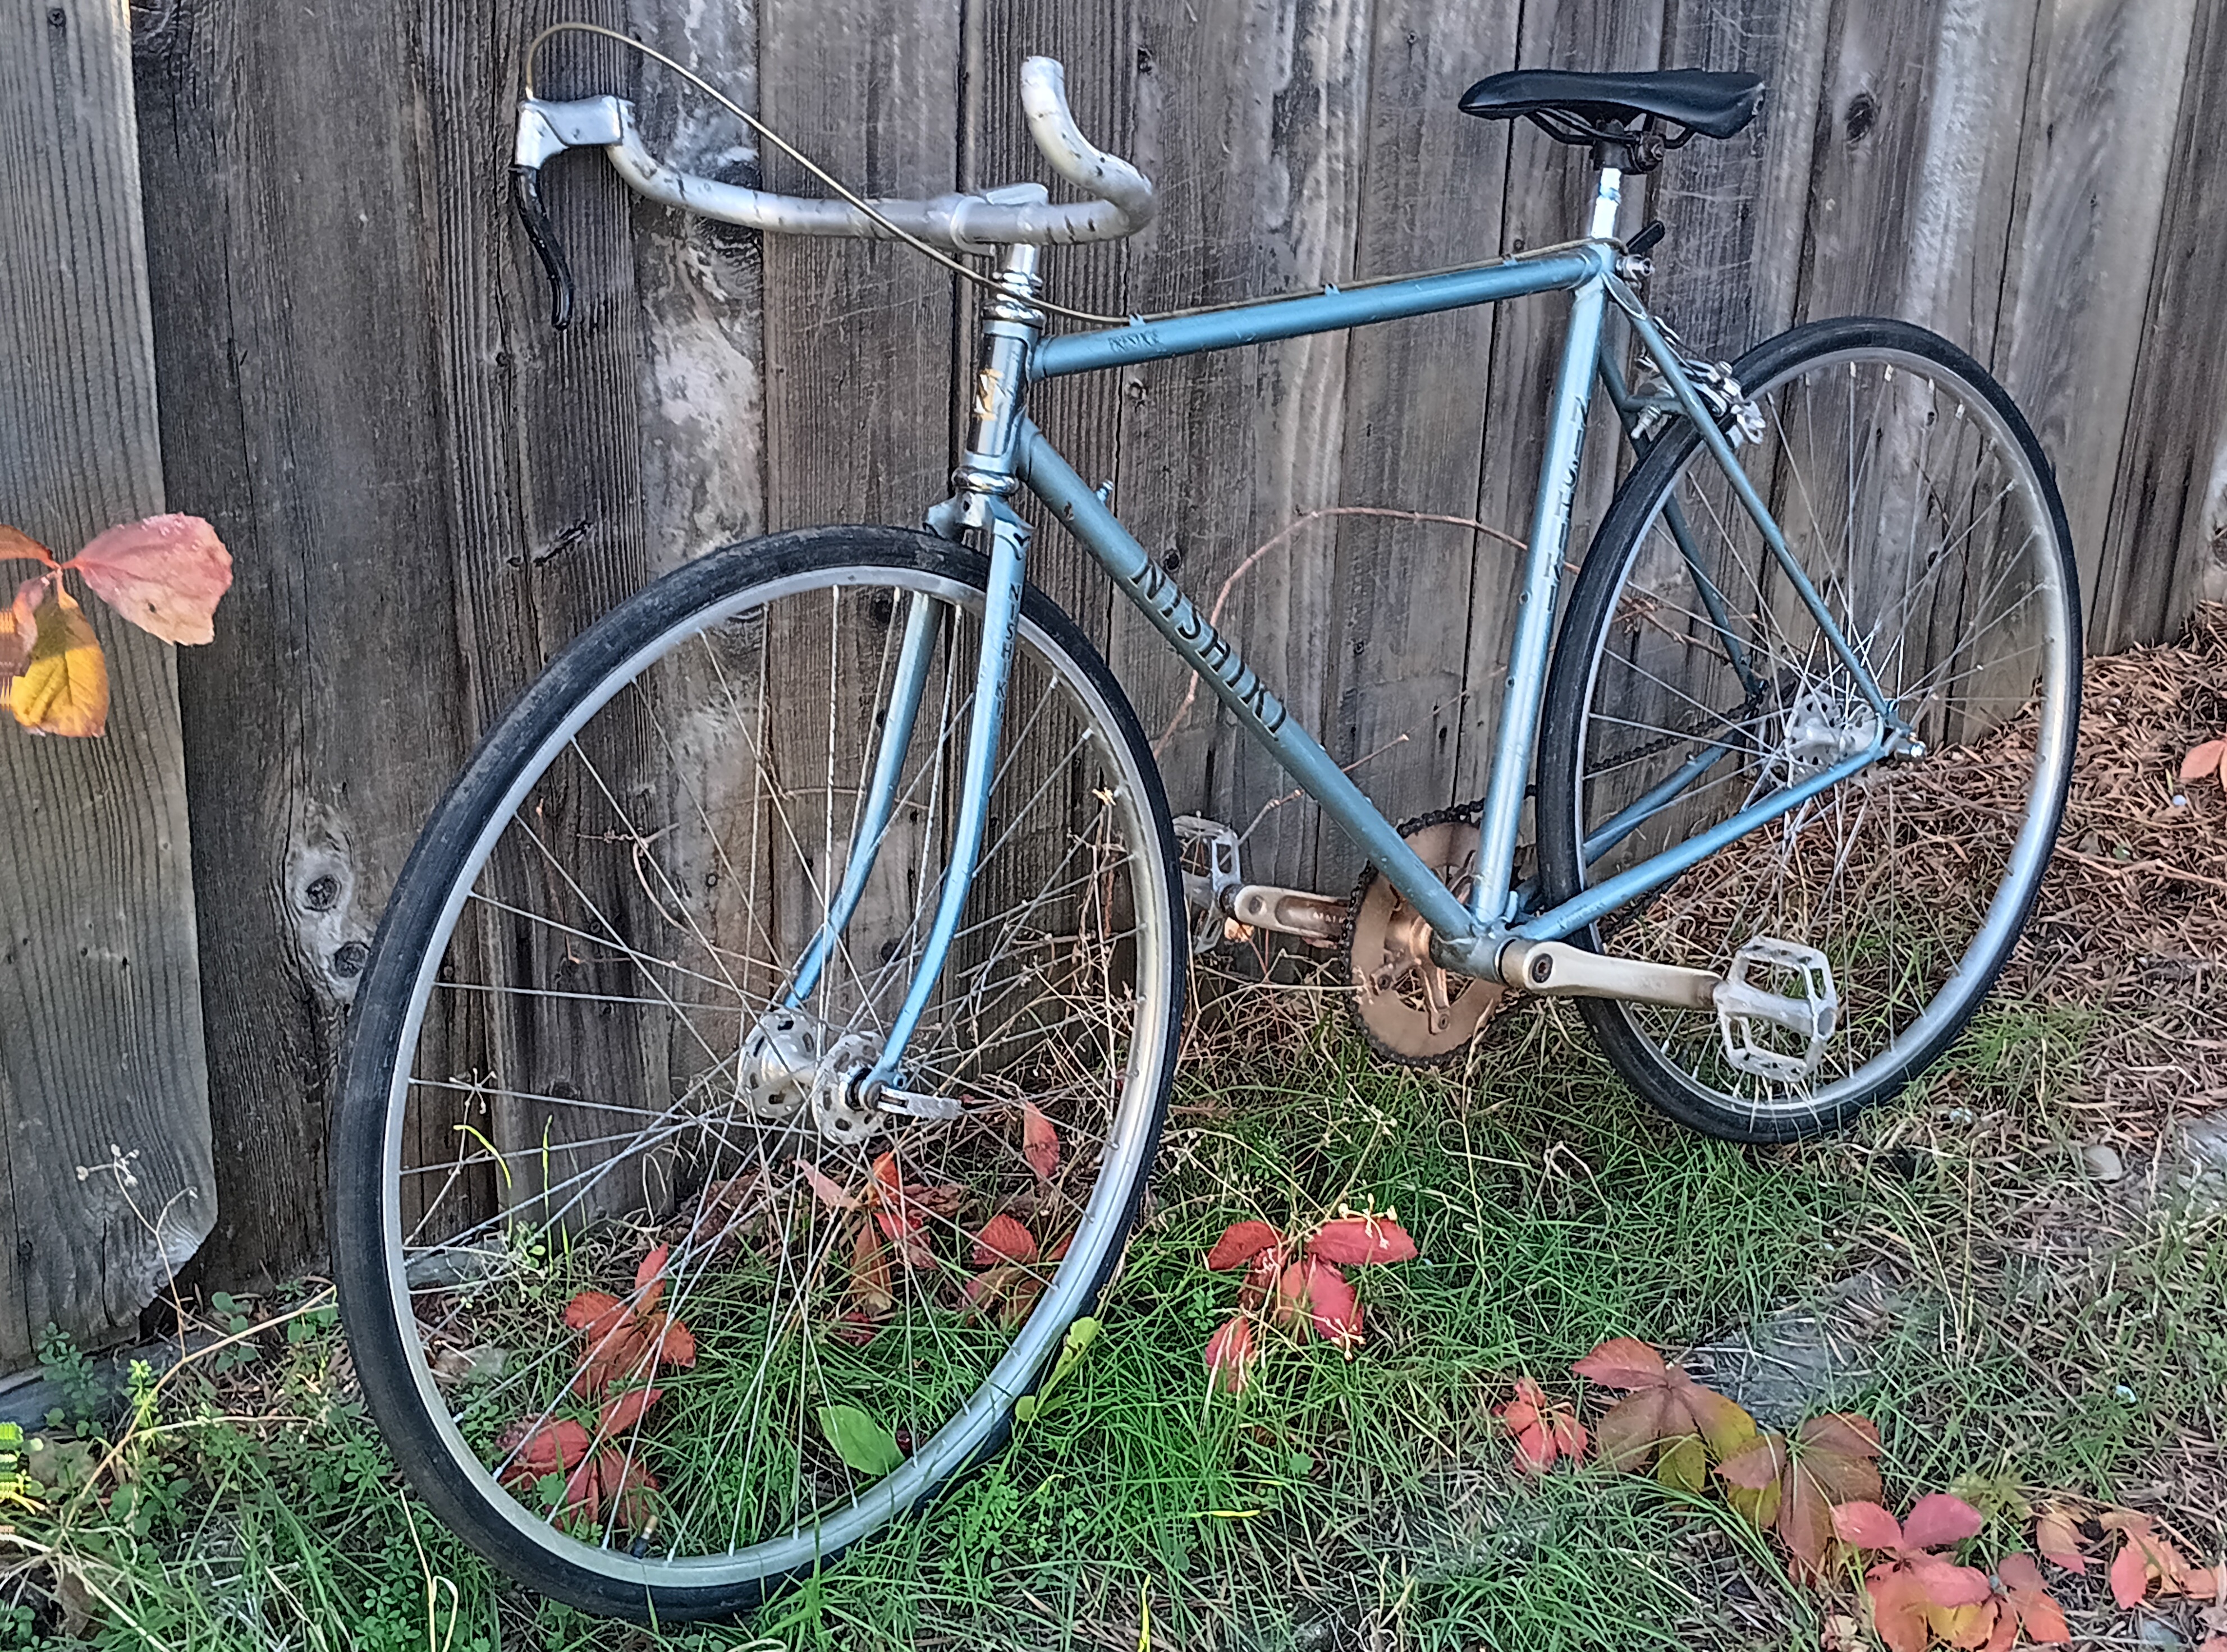
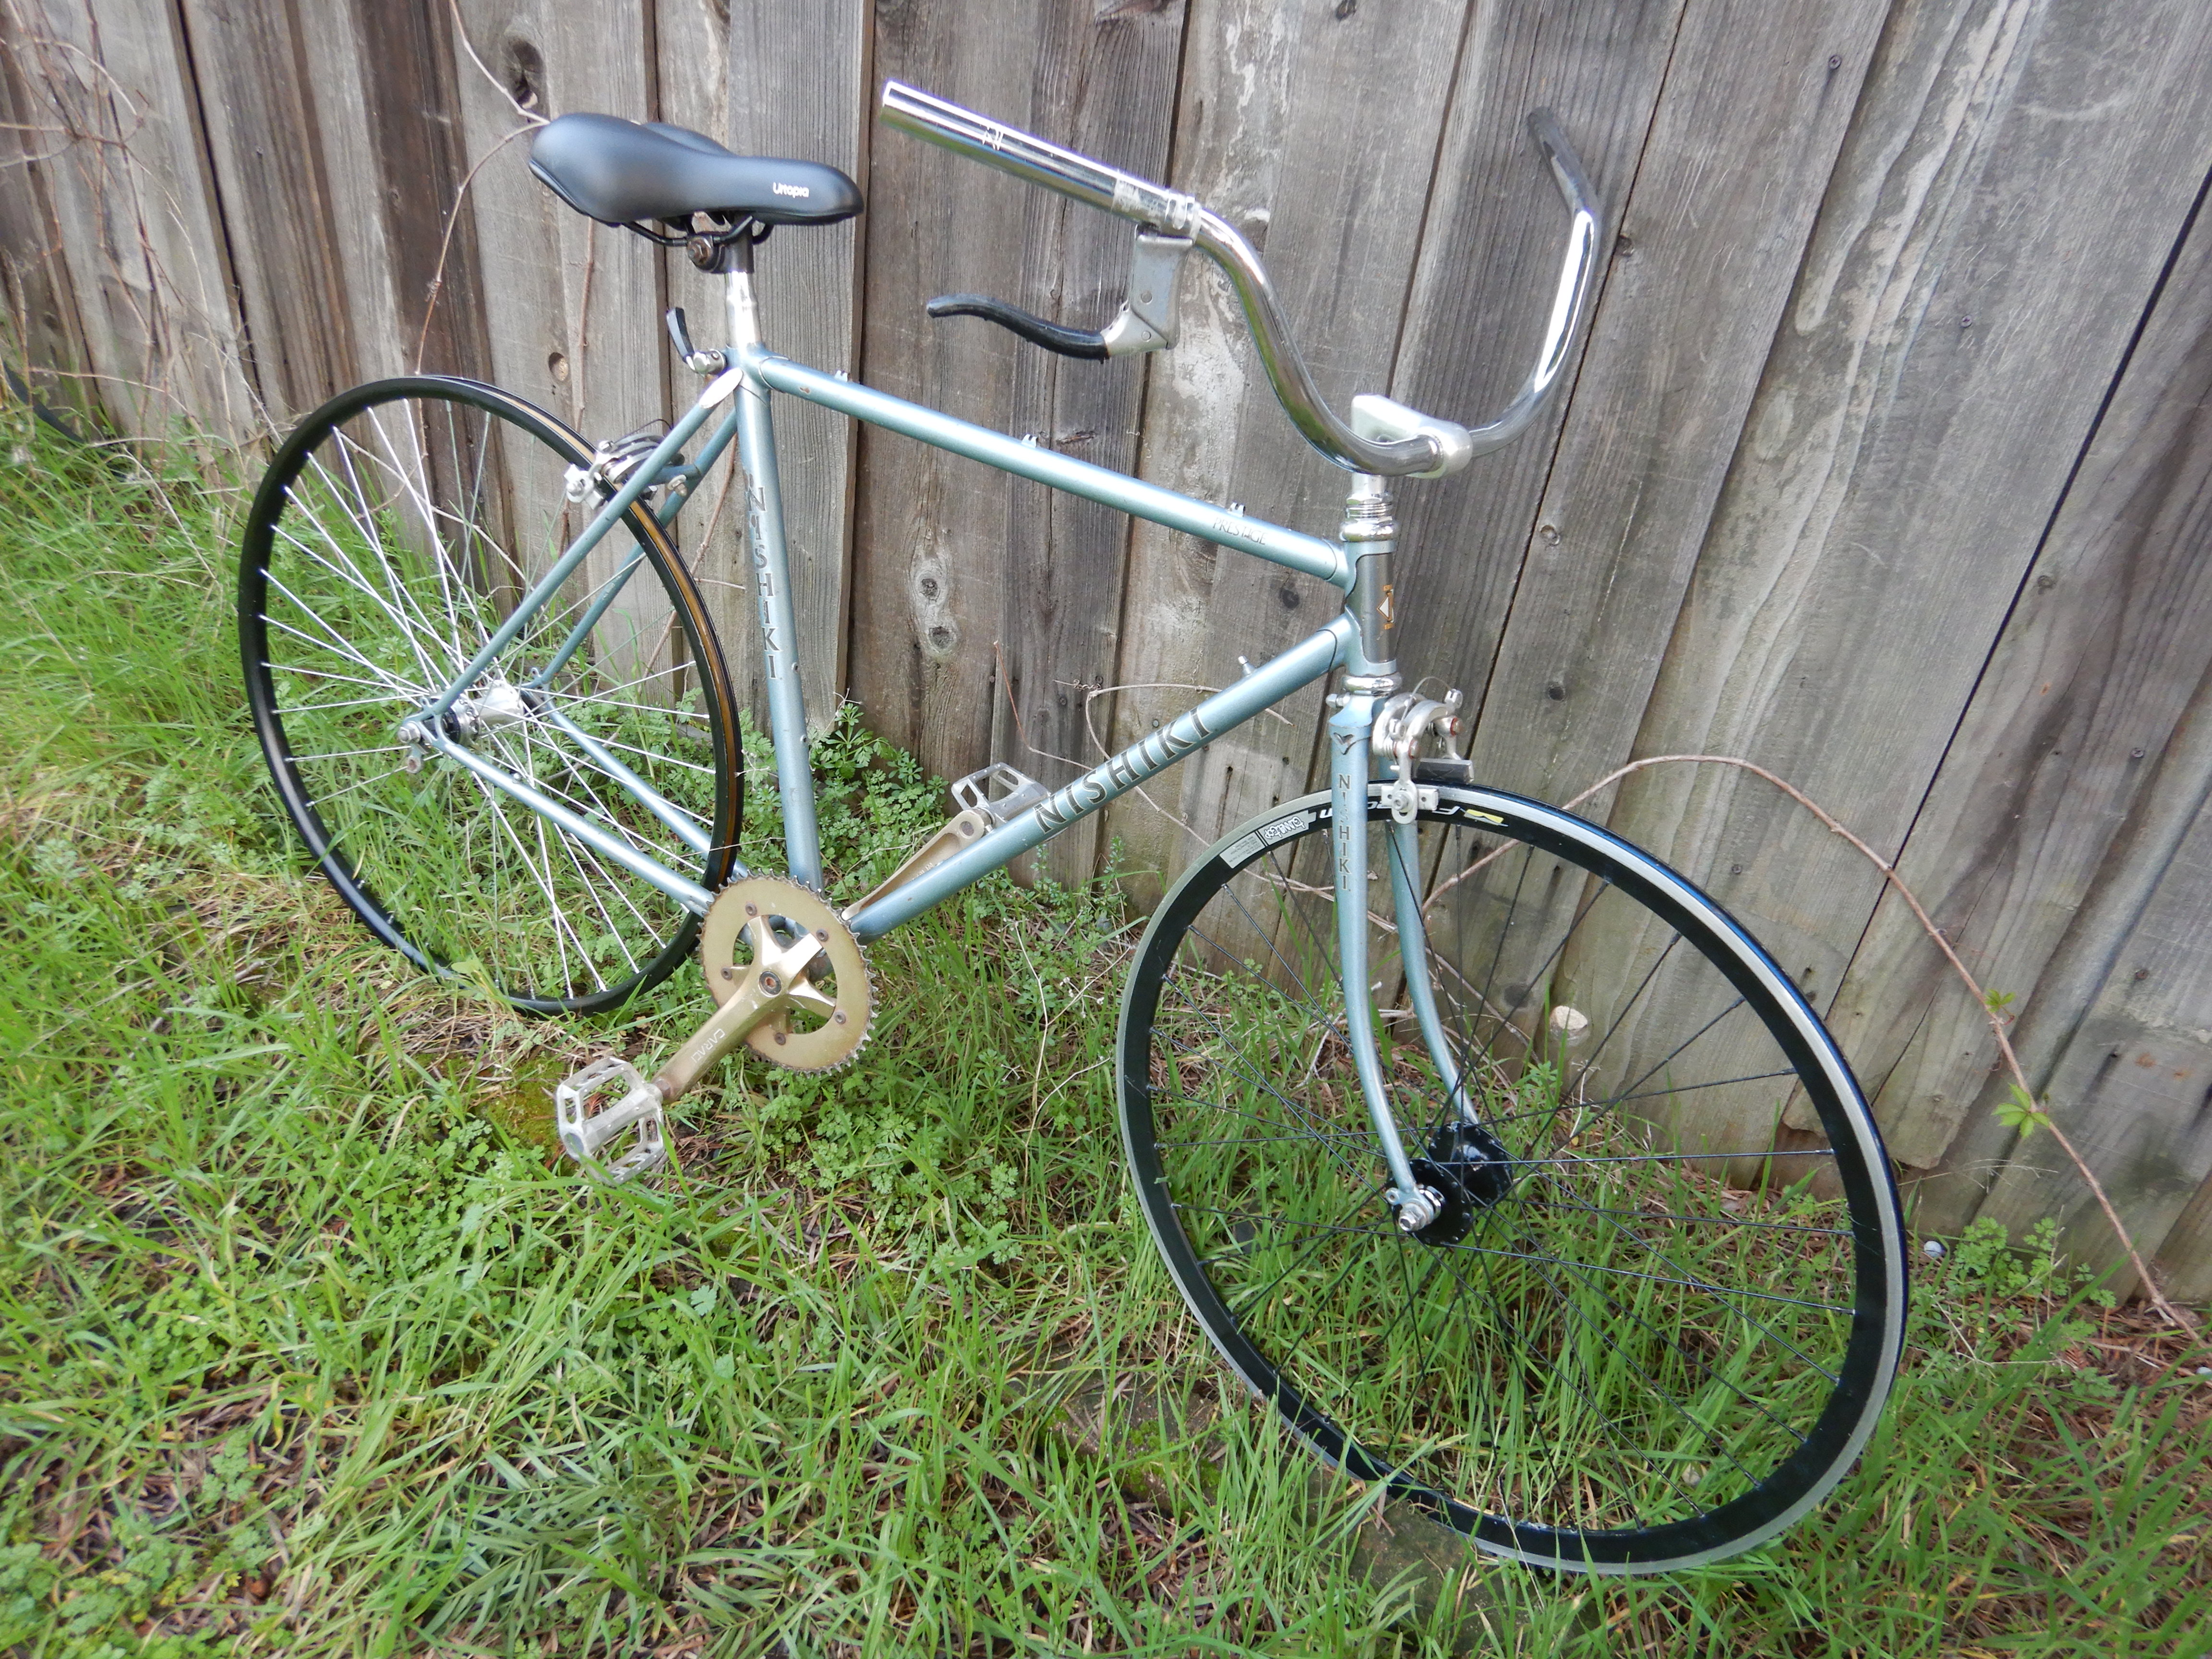
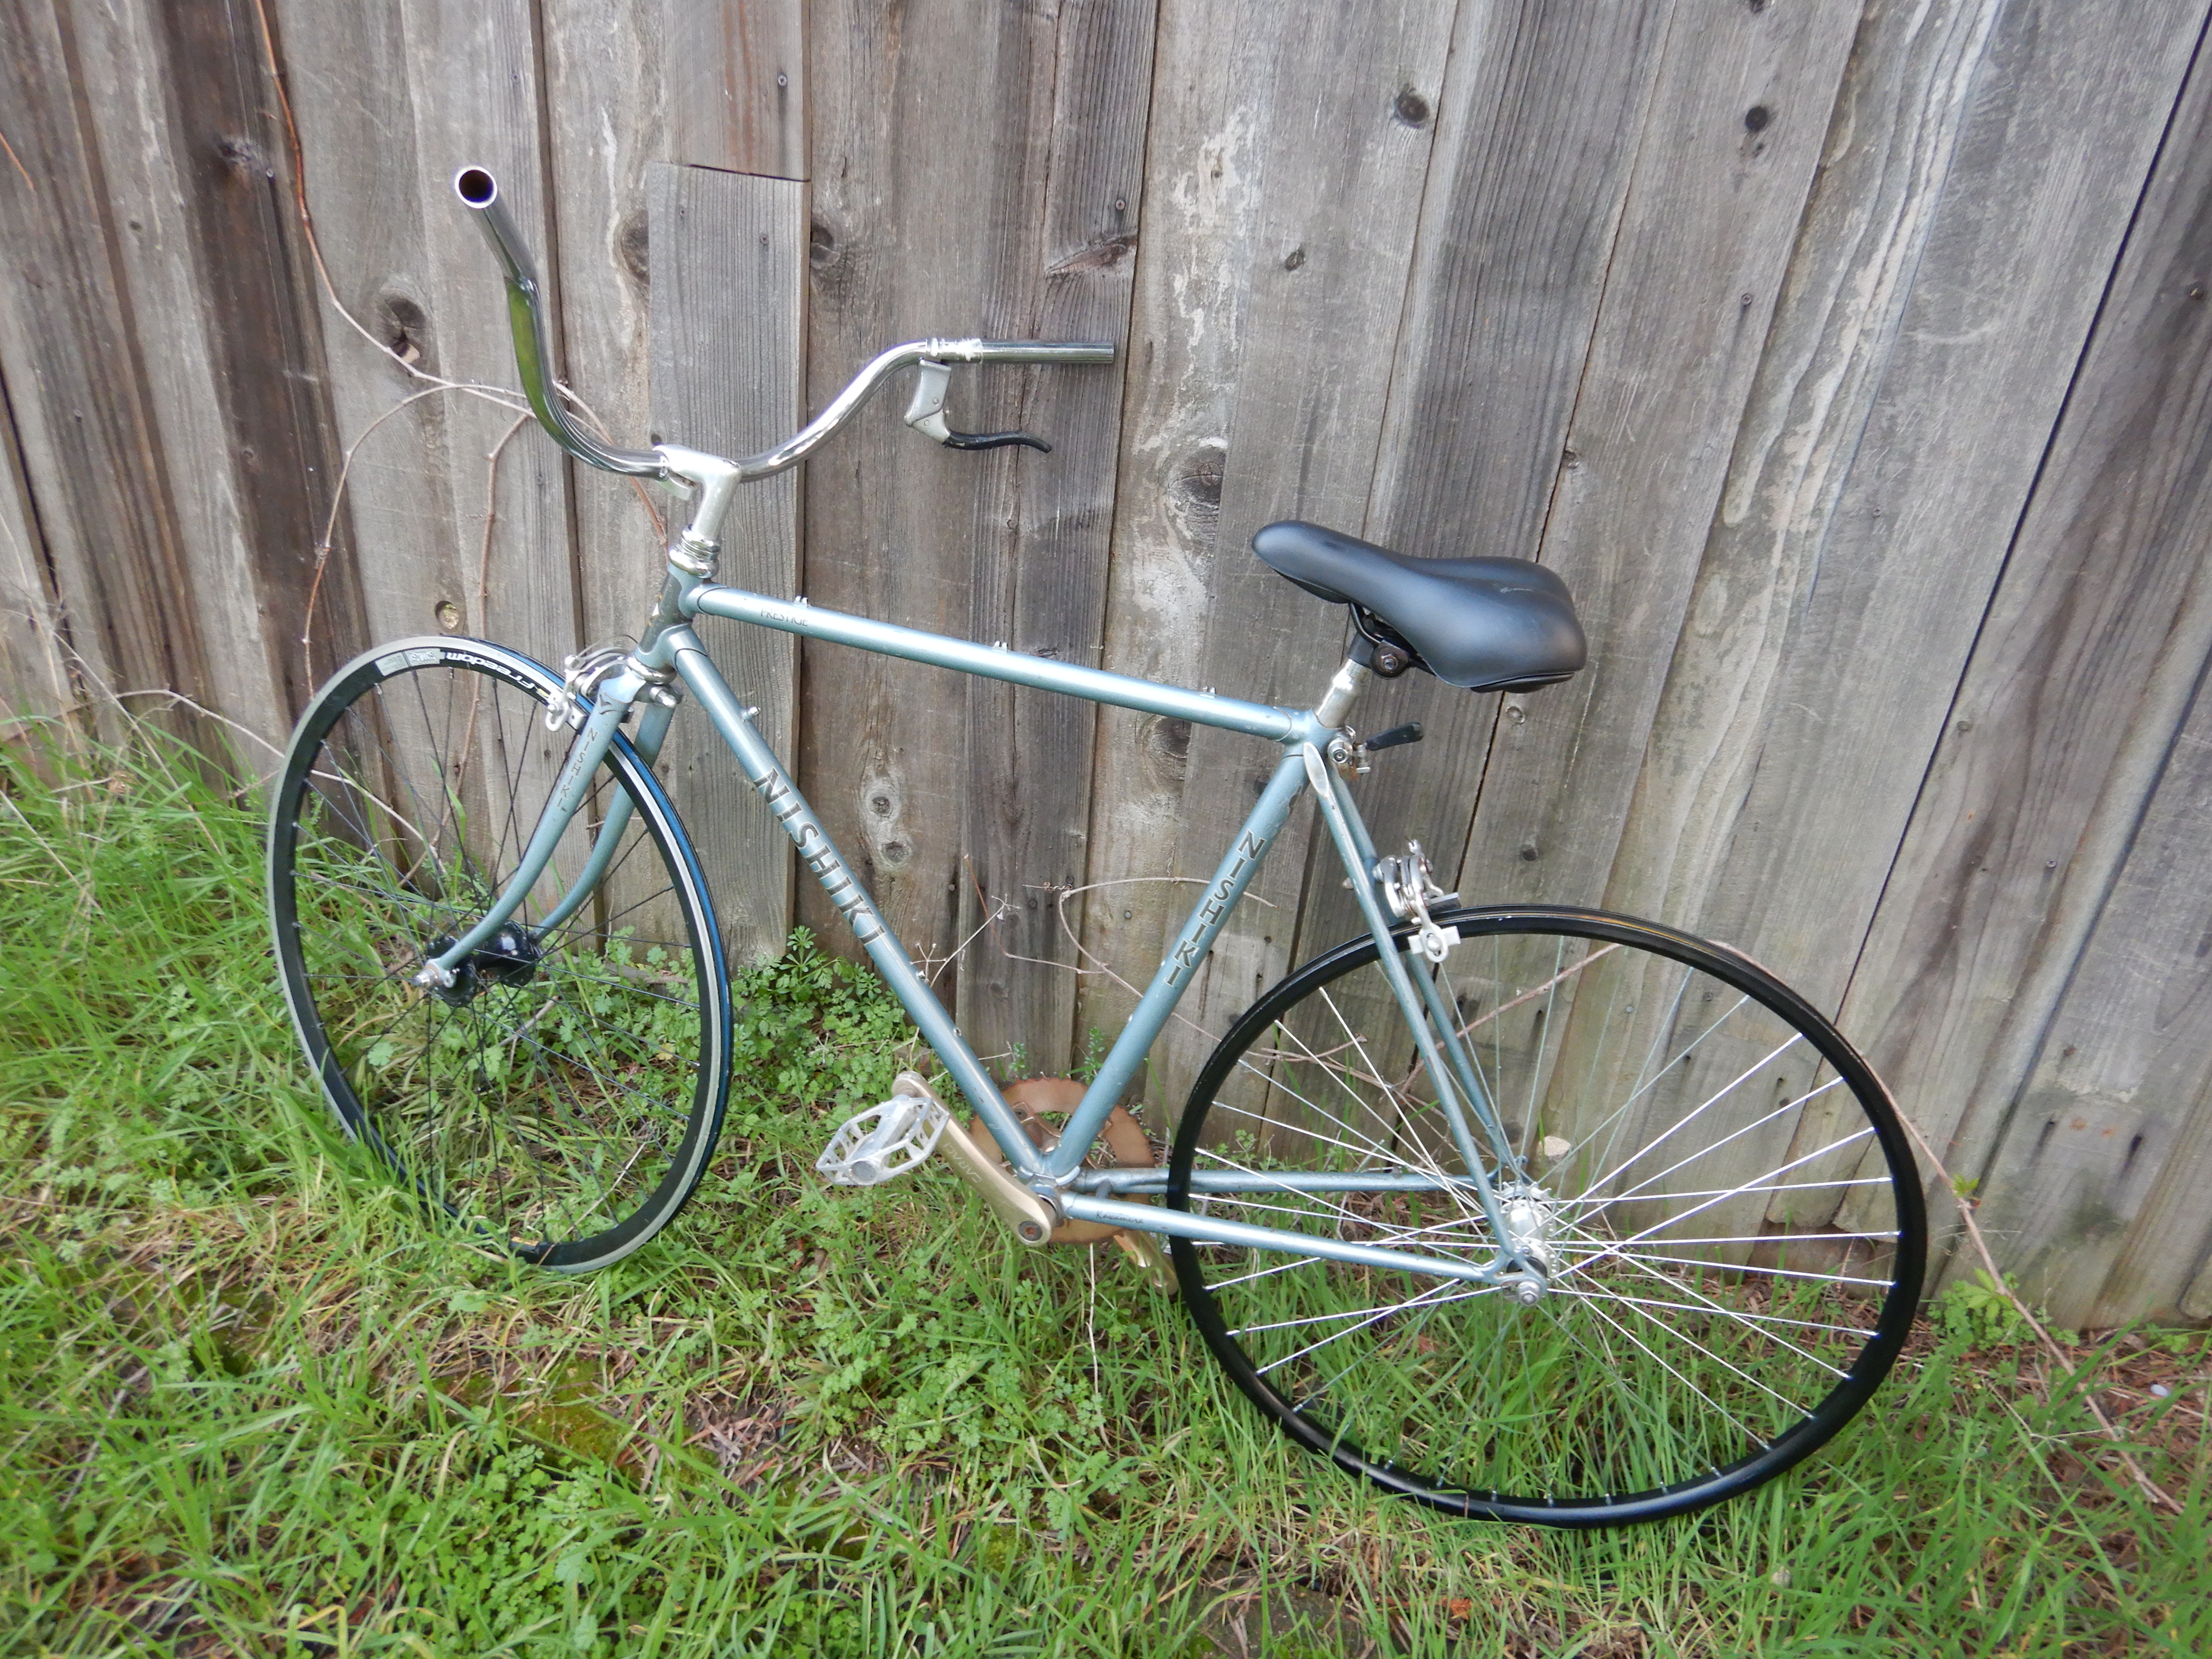
Here’s what the Nishiki Prestige looked like when I bought it at Denio’s flea market. A hillbilly single-speed conversion typical of 1970s and ’80s, where you merely stripped off the derailleur, shortened the chain, and accepted whatever rear gear cog happened to line up with the chain-ring.
The bike was rideable when I bought it for $30 at the flea market but, as usually happens with such primitive single-speed conversions, the rear cog proved to be geared far too high.
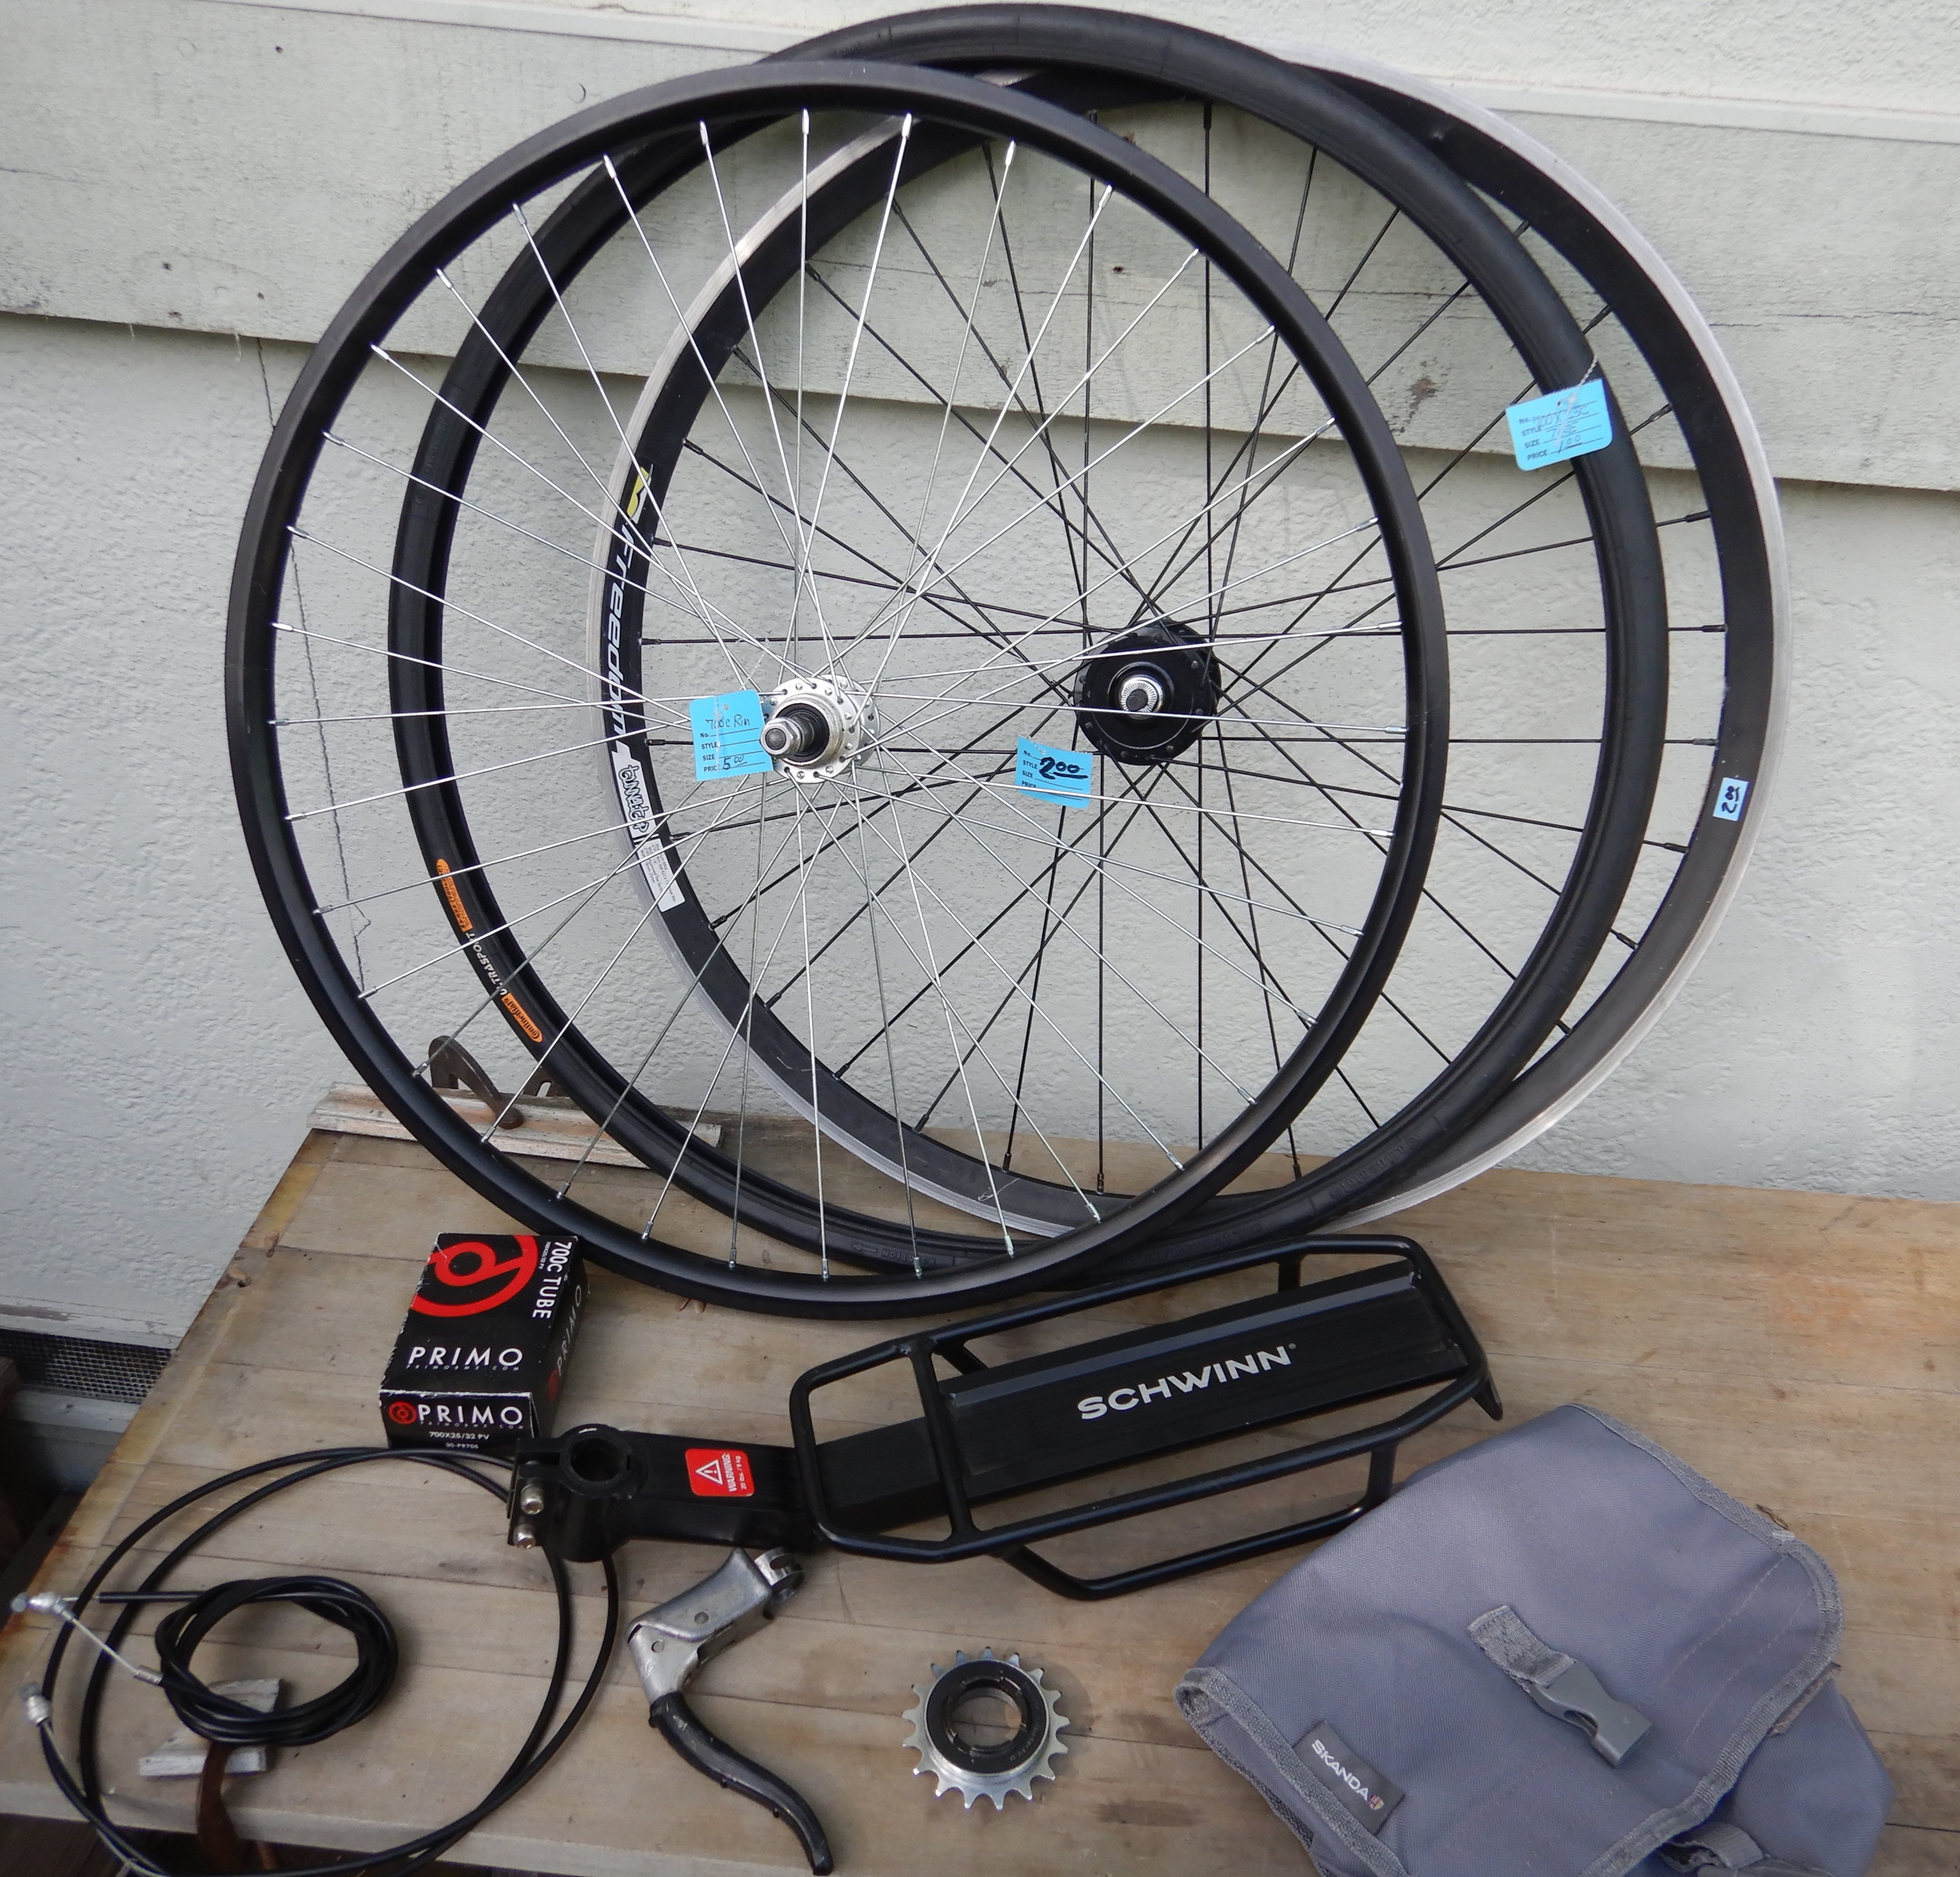
High quality used components mostly bought cheap at charity thrift shops.
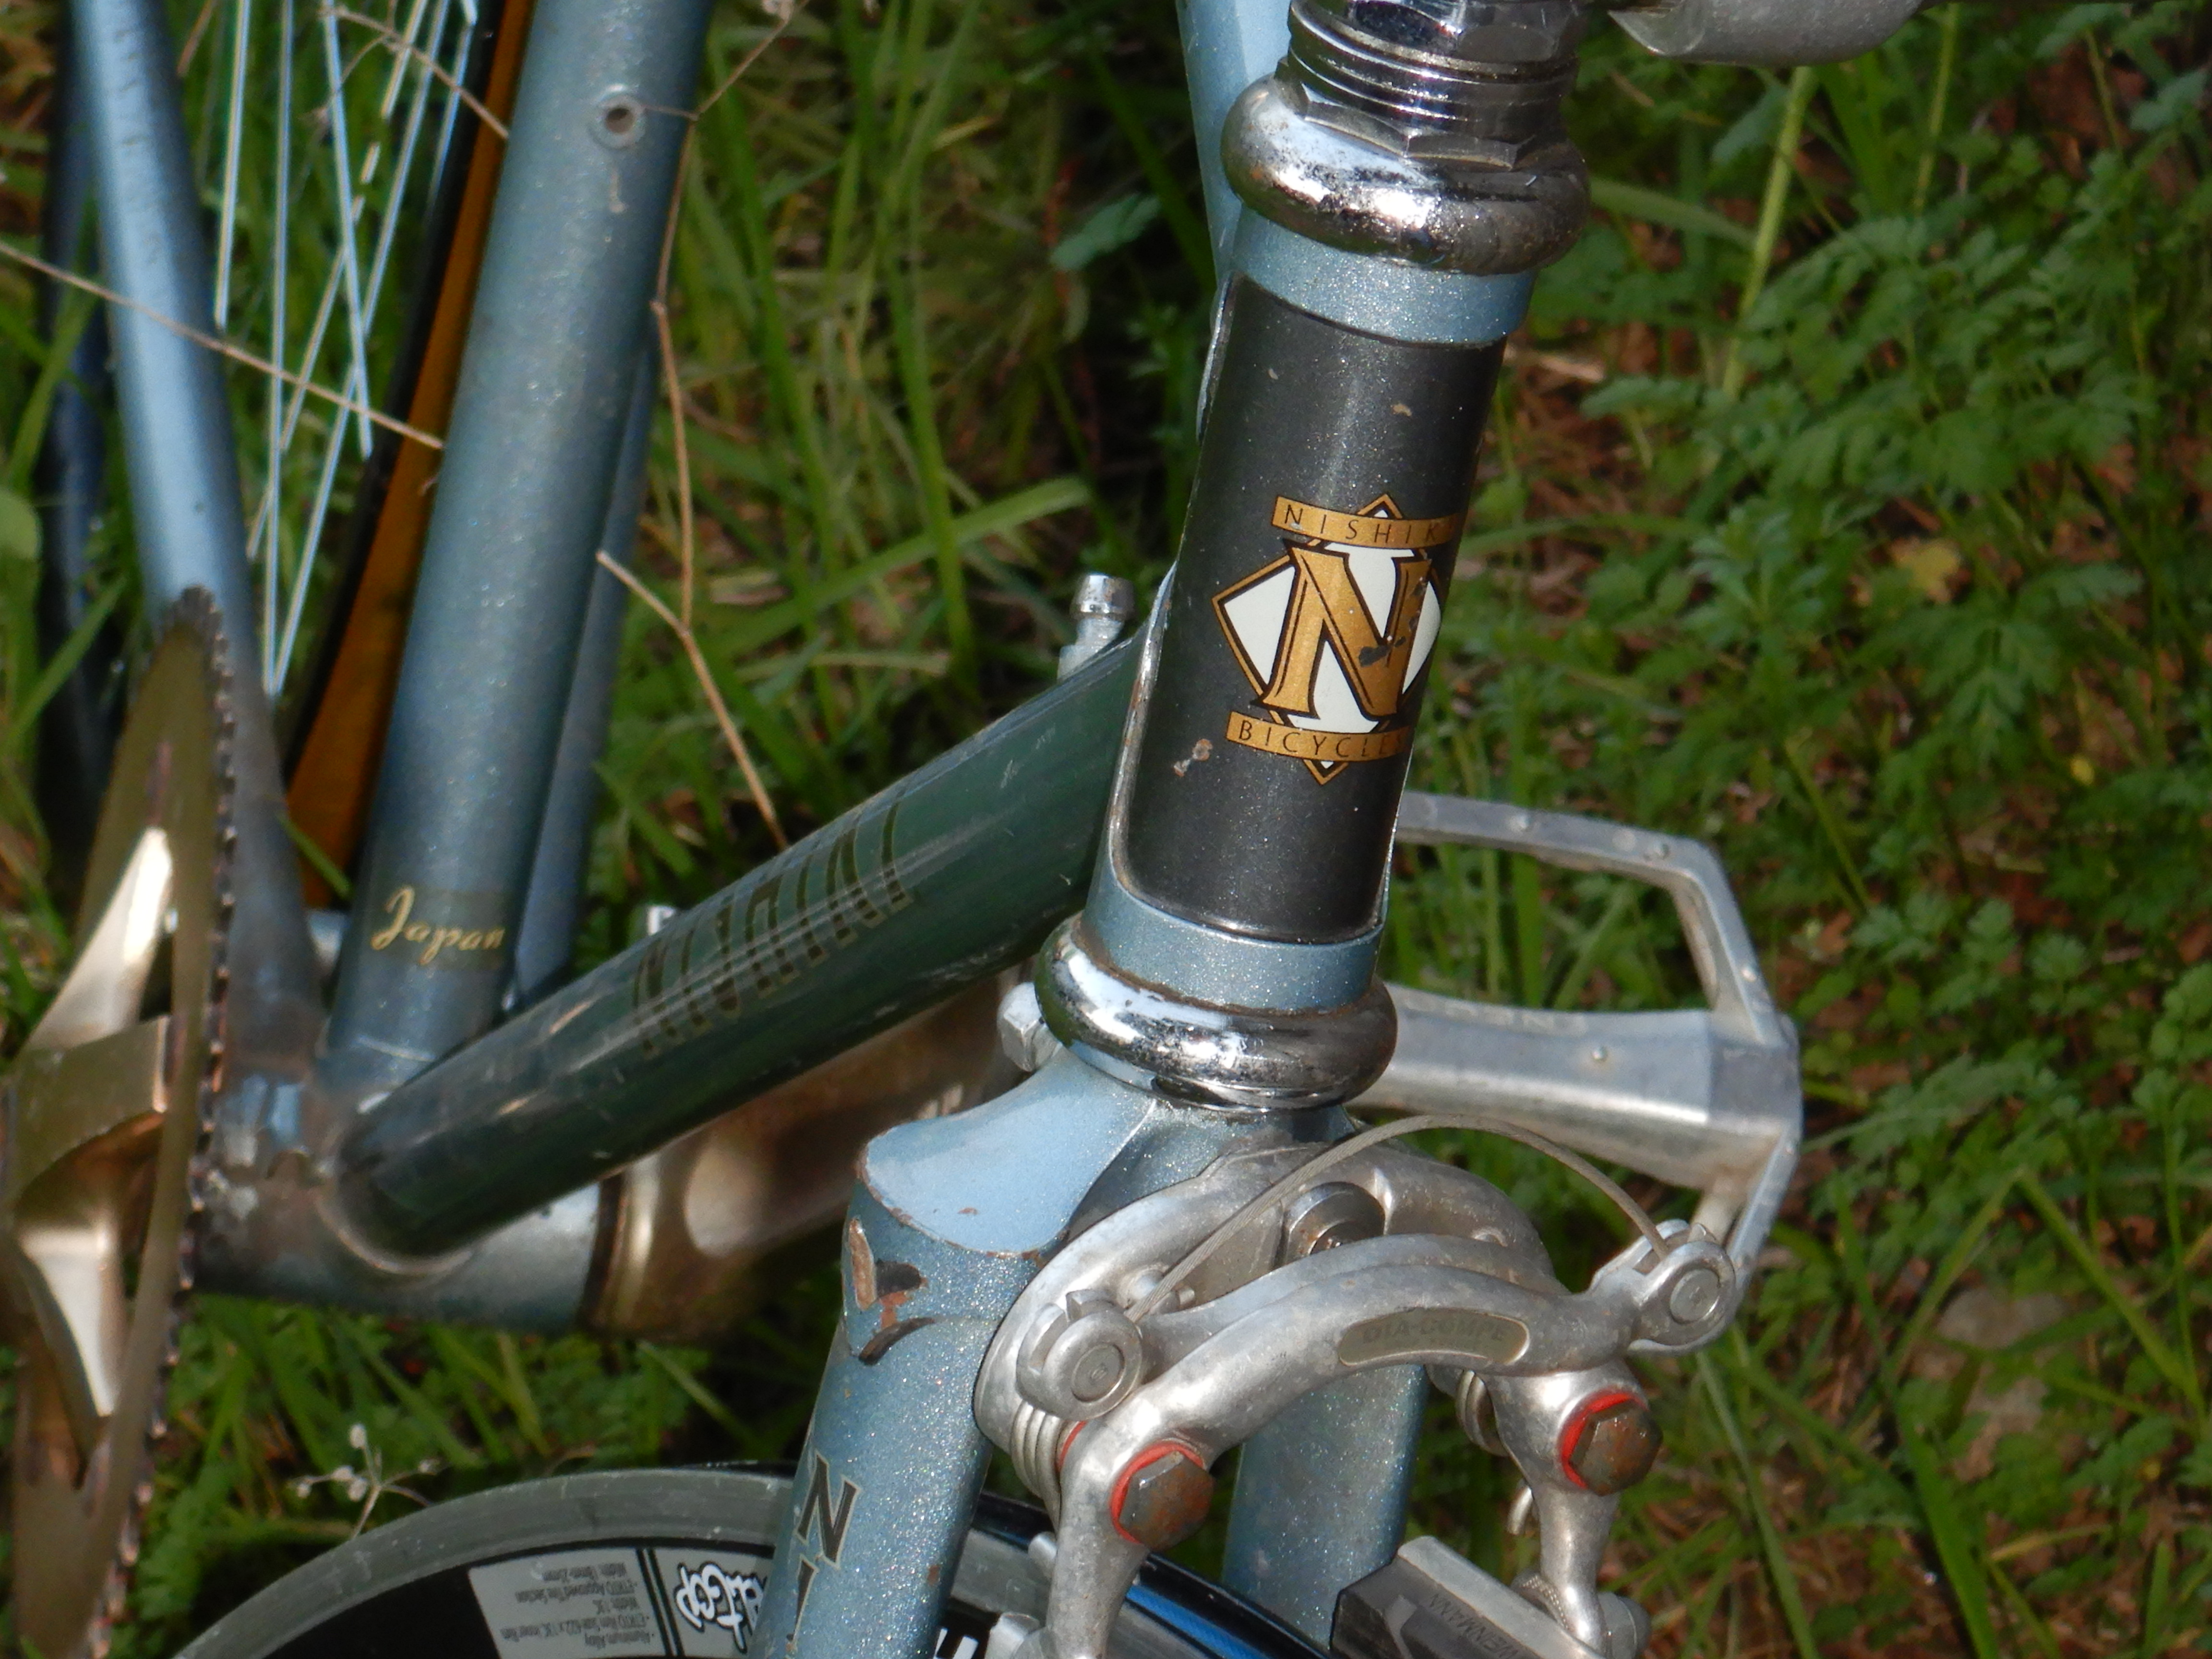
Here it is with wheels and components temporarily attached for proof of fit. I’ll chop the handlebar off about 3 inches on each end out of fear of hooking a rear view mirror out on the street.
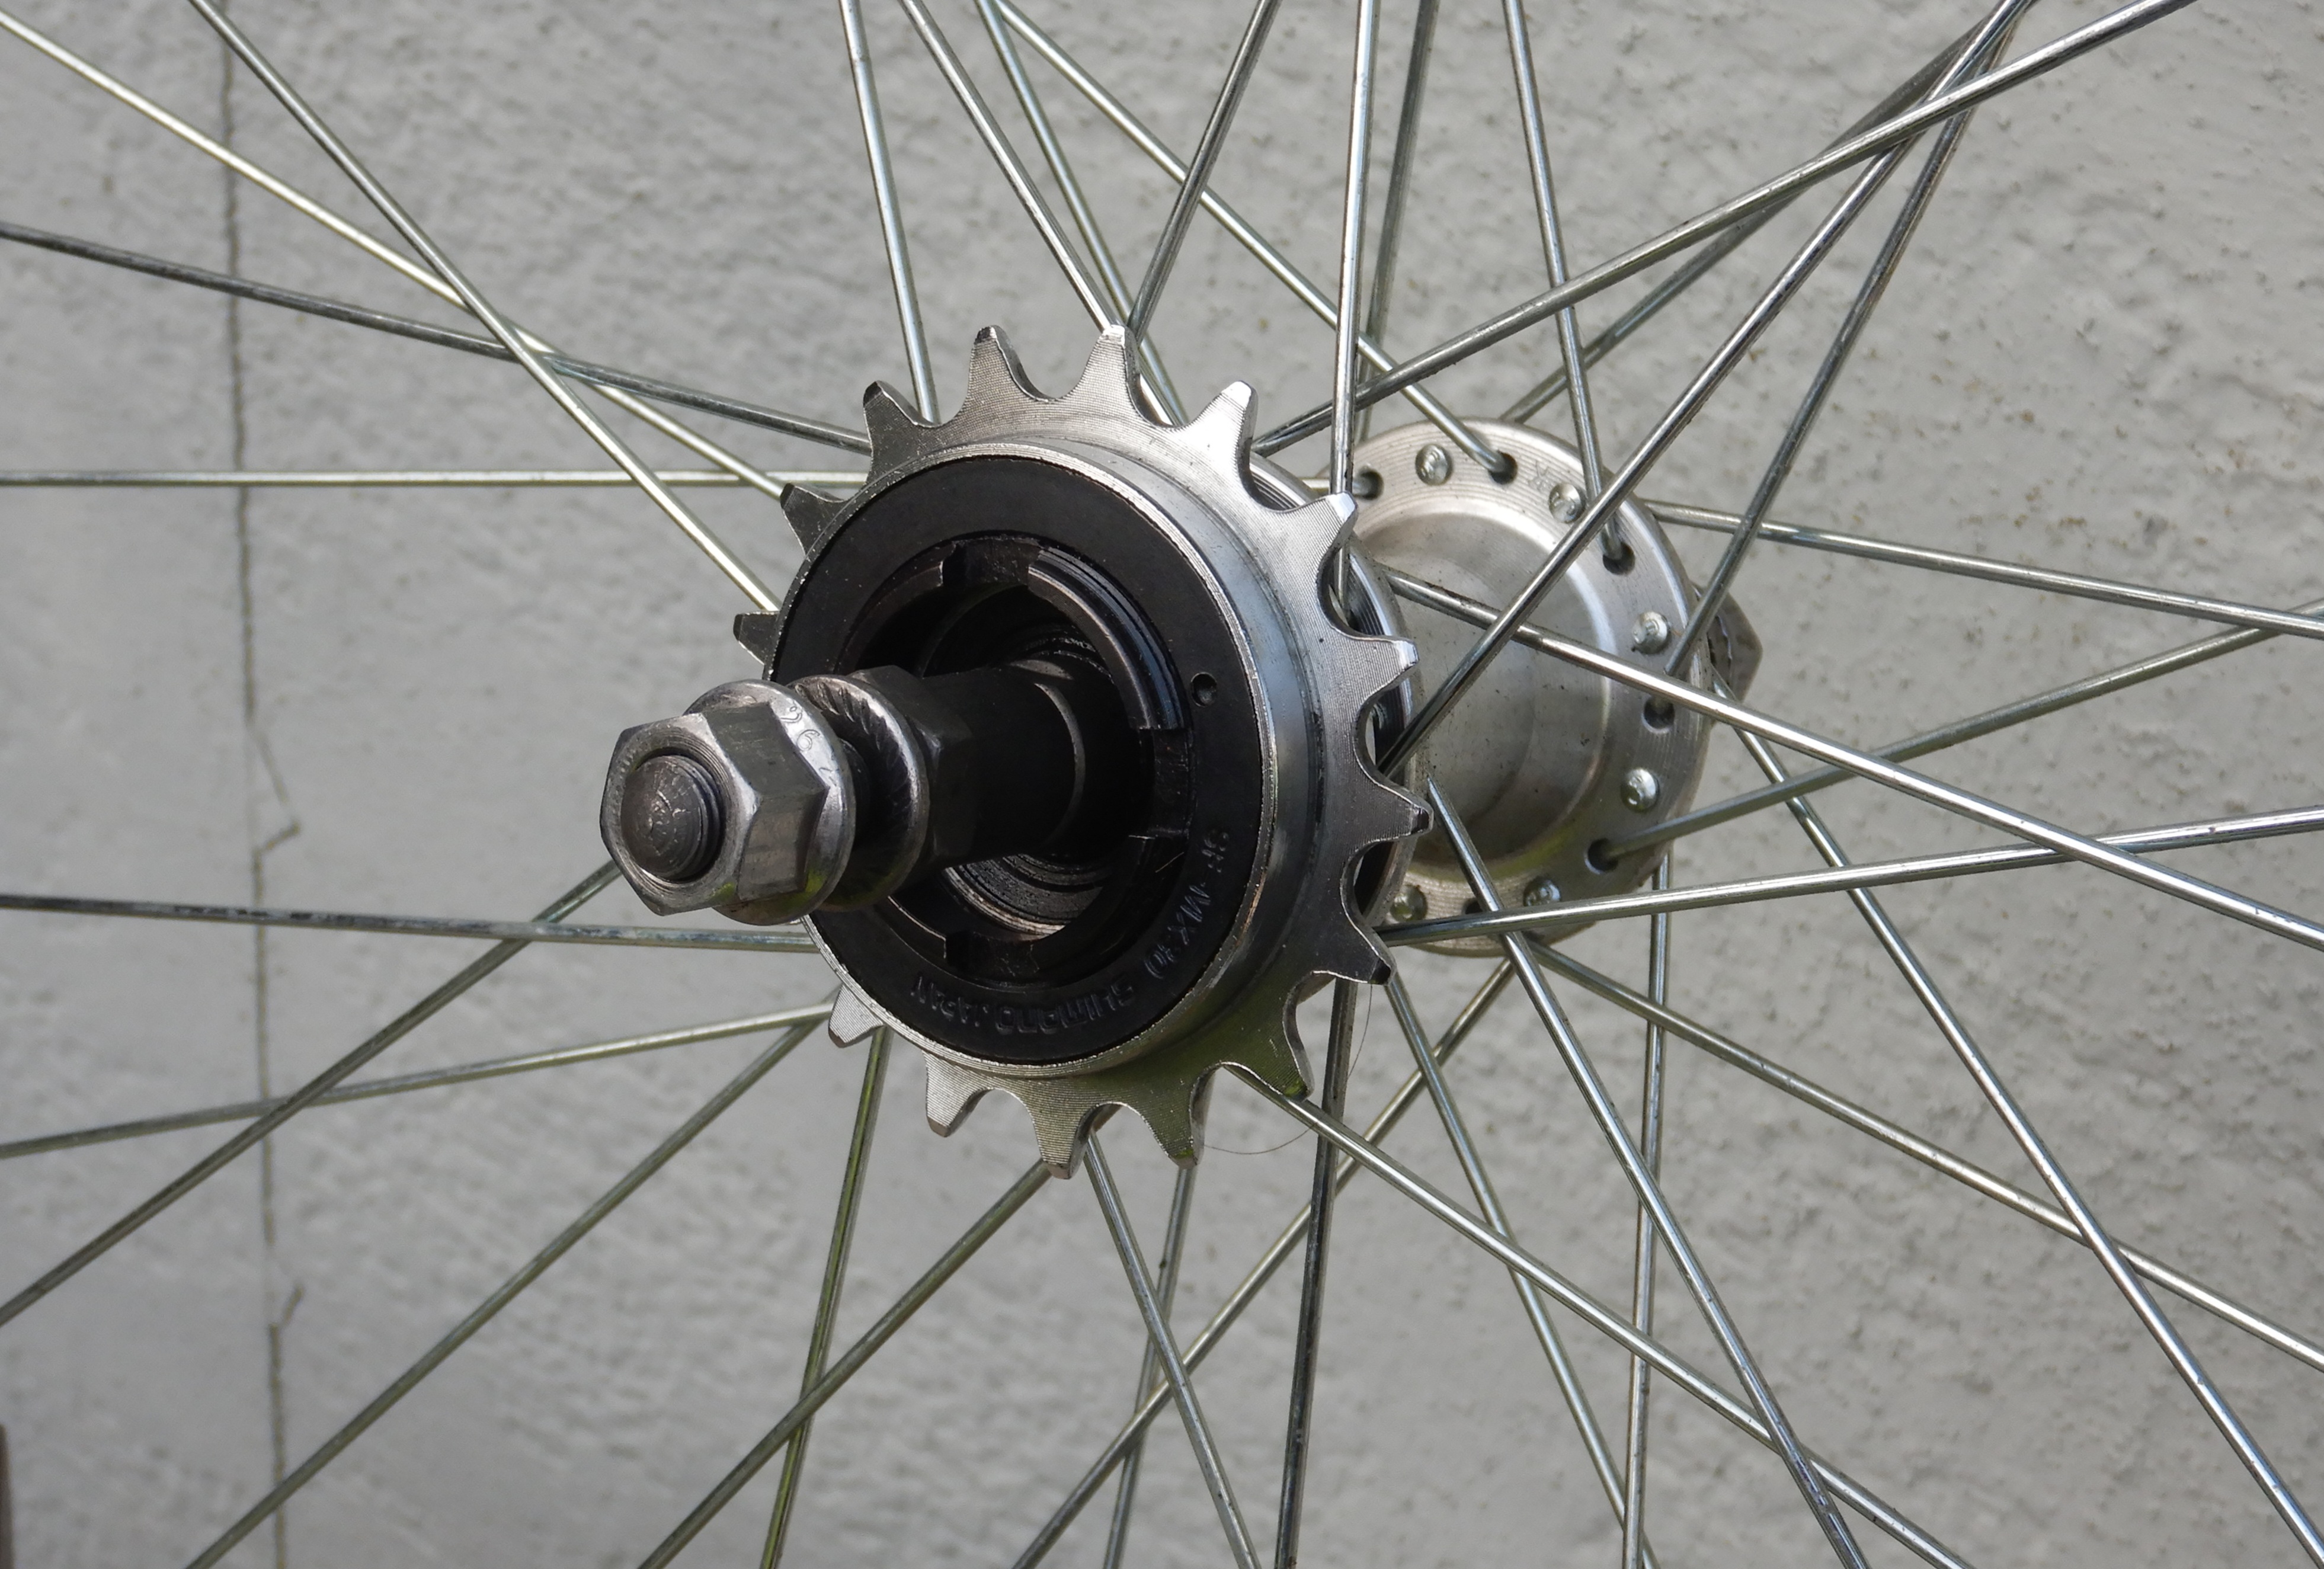
This is the 17-tooth single-gear freewheel I installed, bought probably 10-15 years ago. I’m like the Russian army, I never discard any usable components or equipment, might need it later.

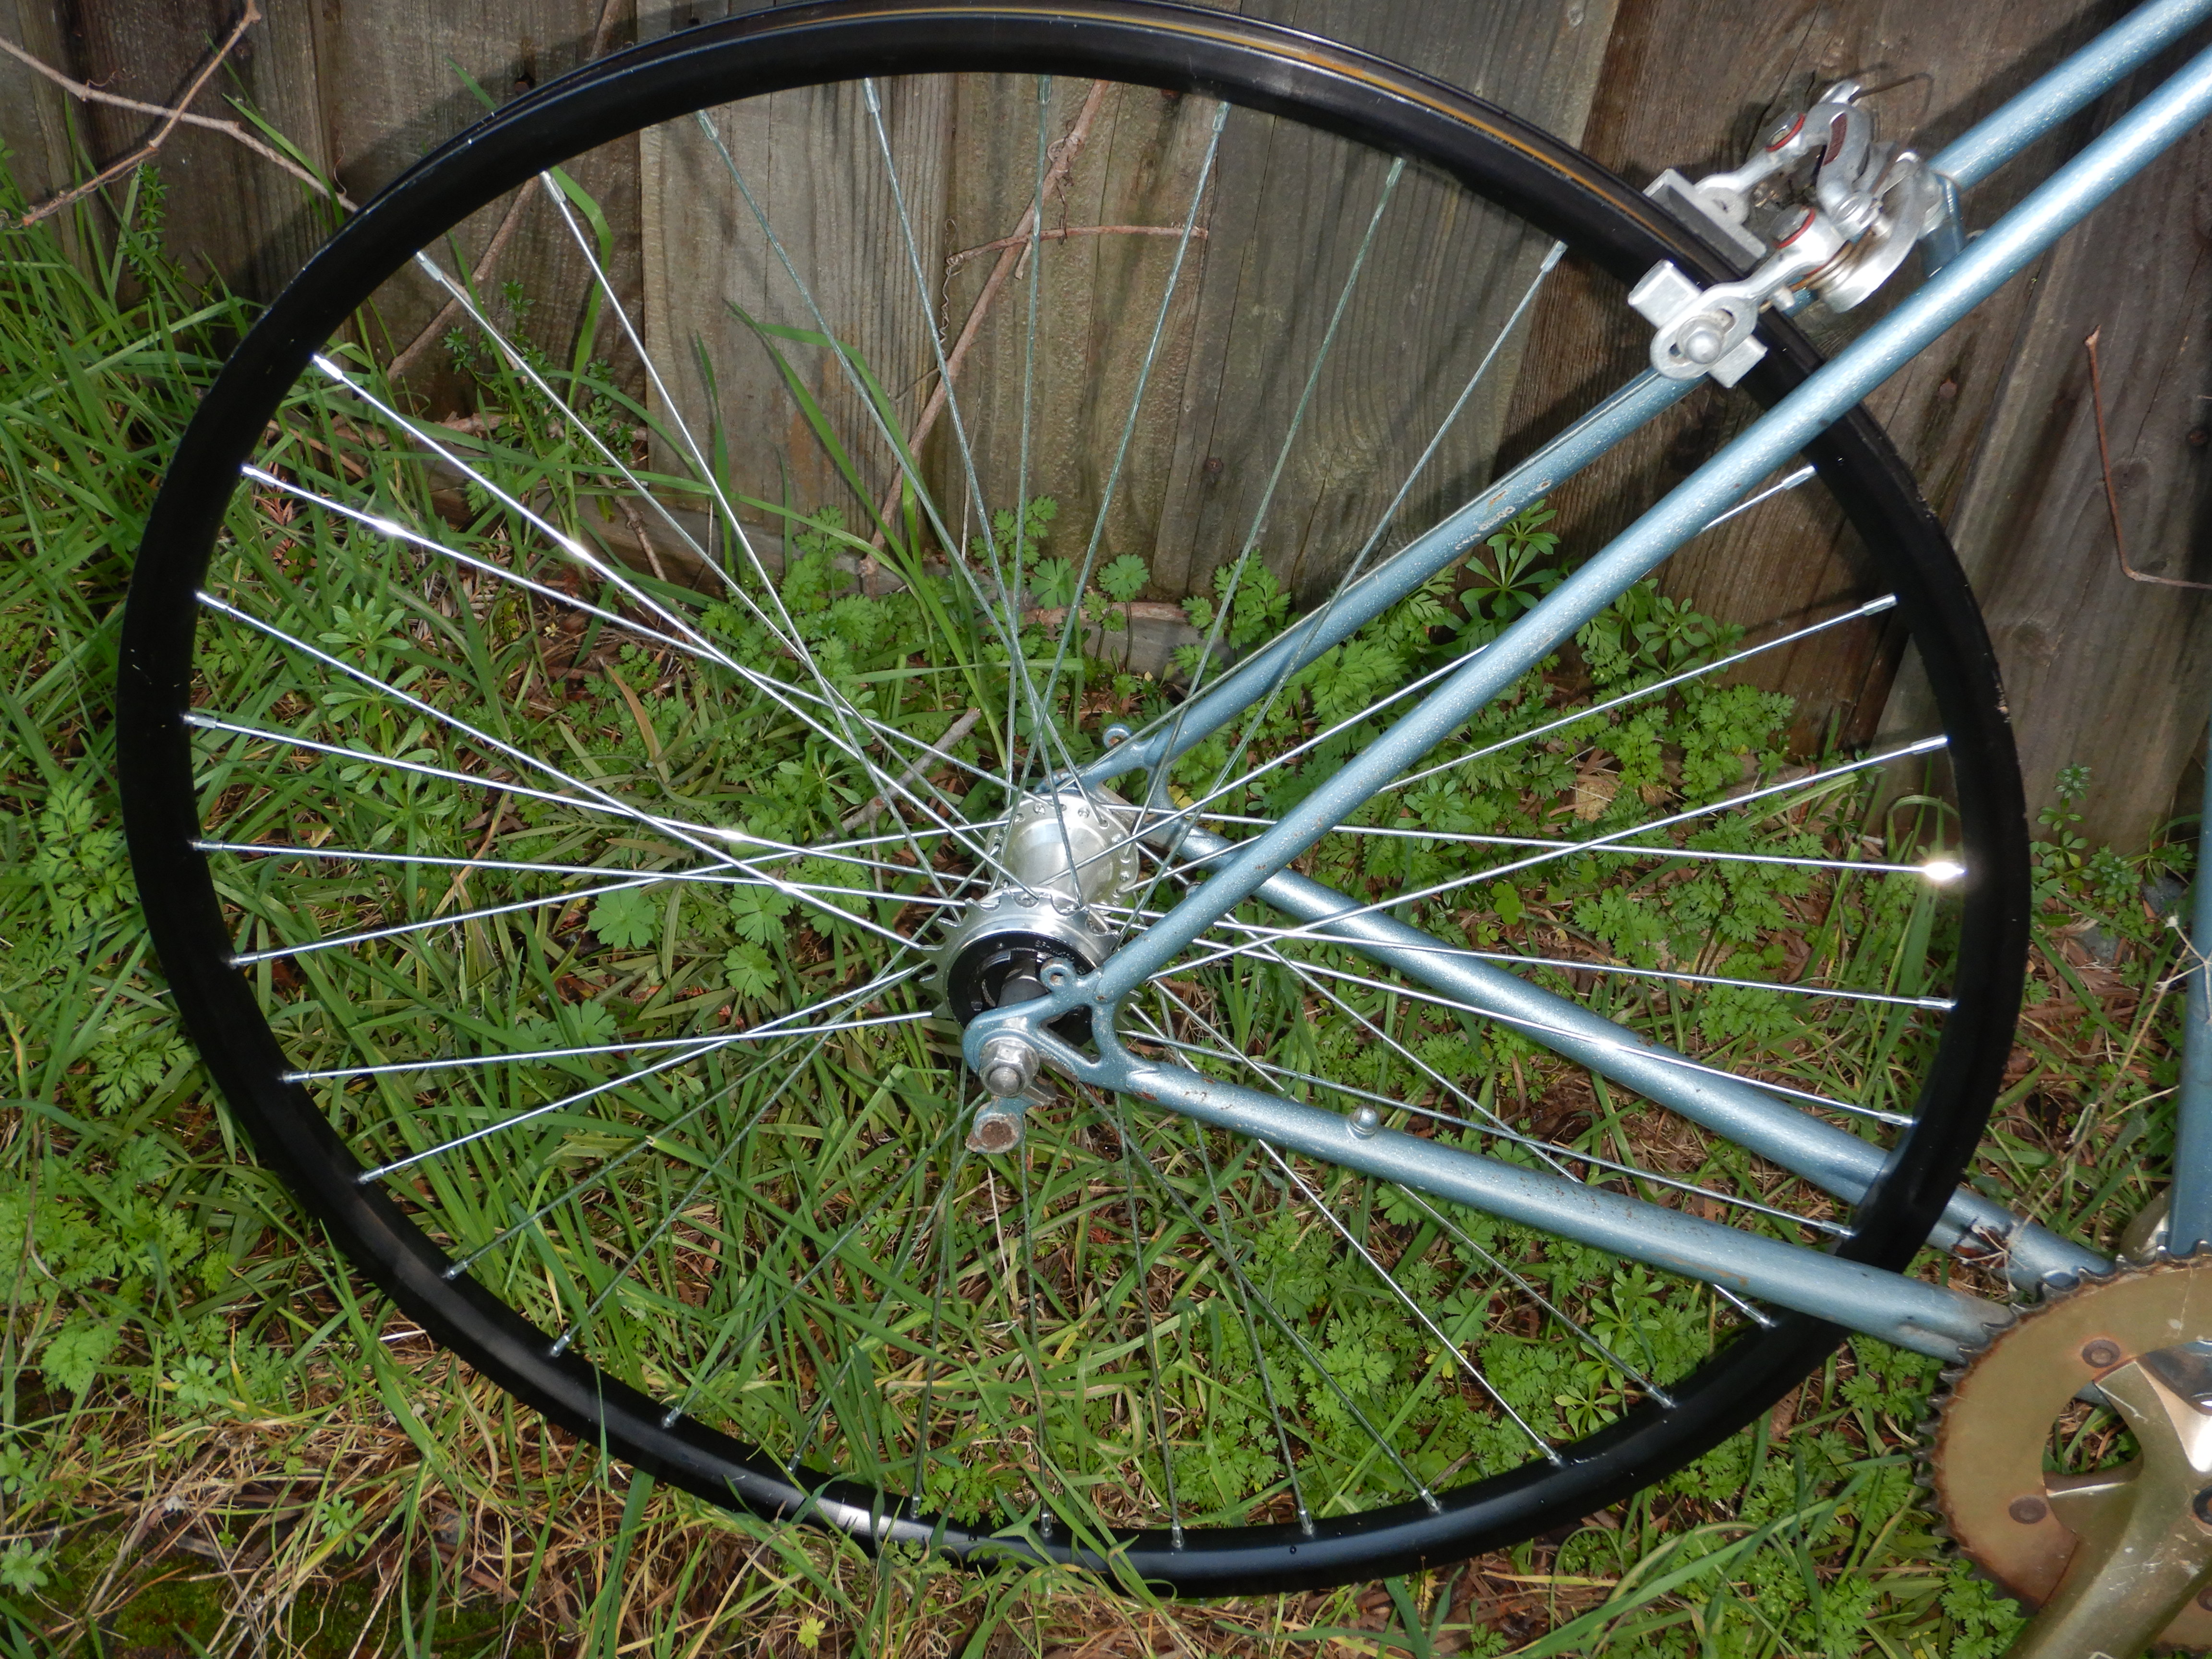
It’s hard to determine the all important chain-line alignment but my Mark 1 eyeball tells me I need to somehow move the freewheel outward and the chain-ring inboard.
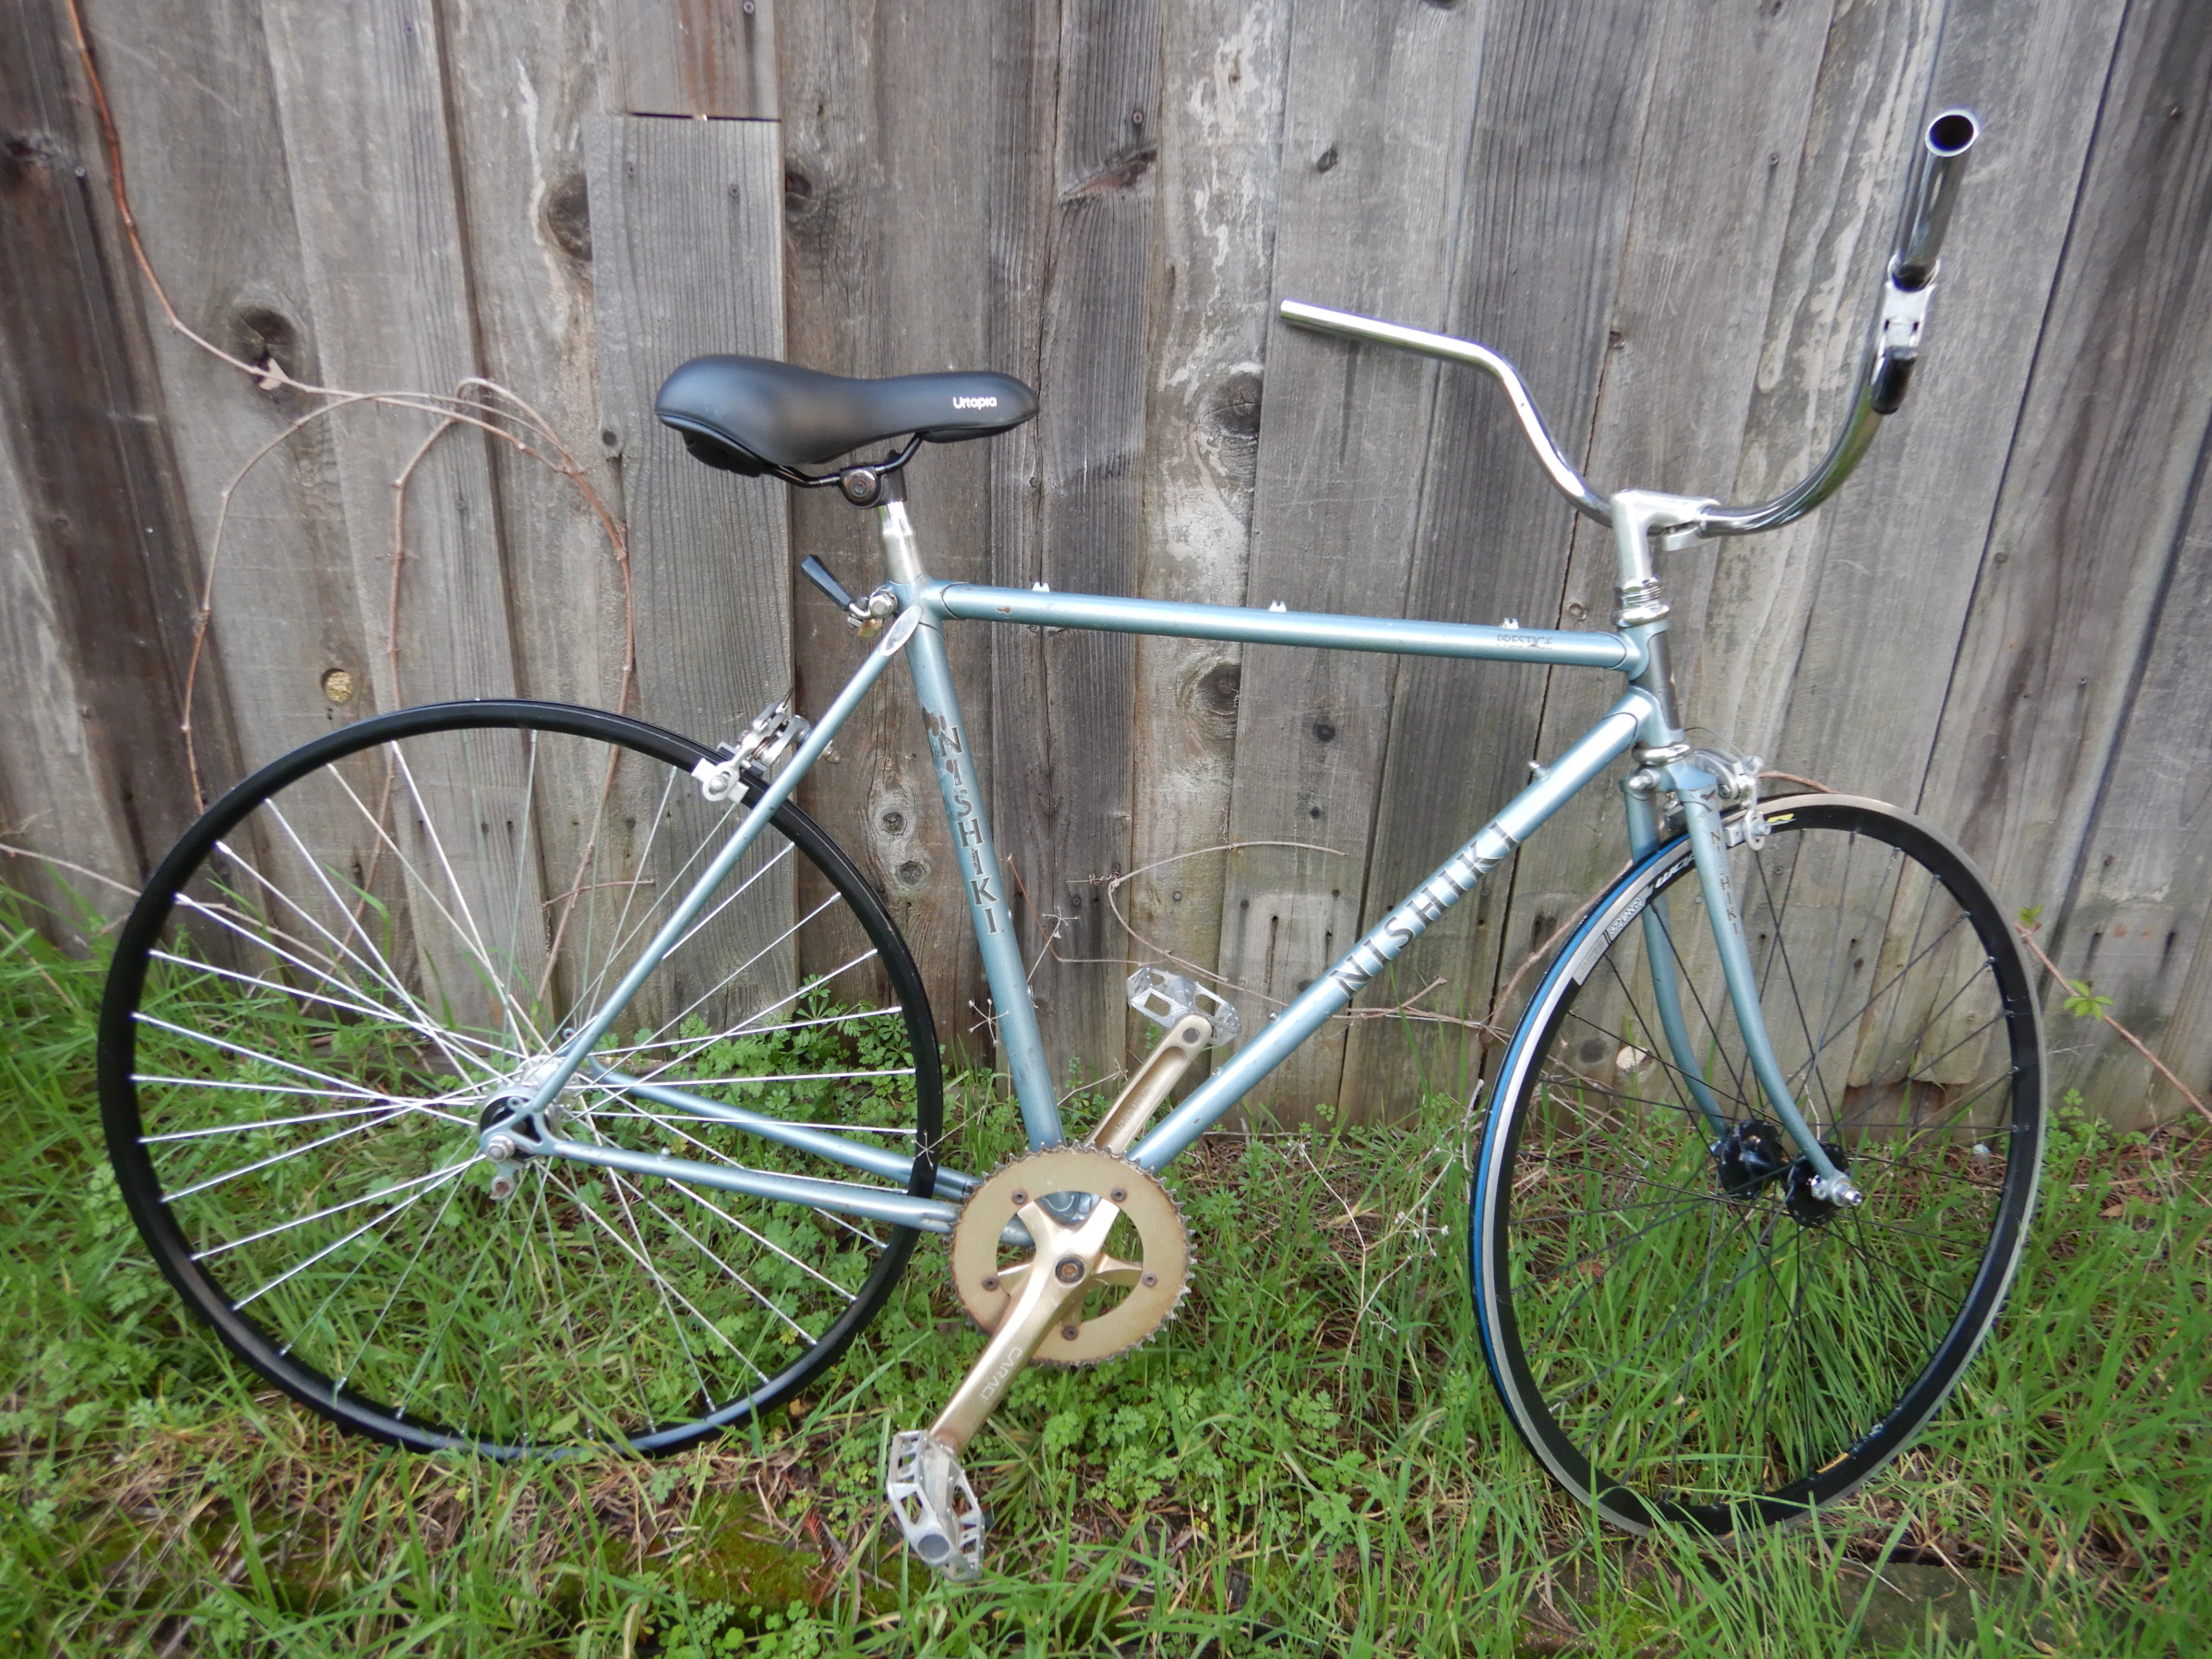
With brakes, seat and bars fitted.

I scored the bike rack, handlebar bag, and seat at charity shops for around $8 each.
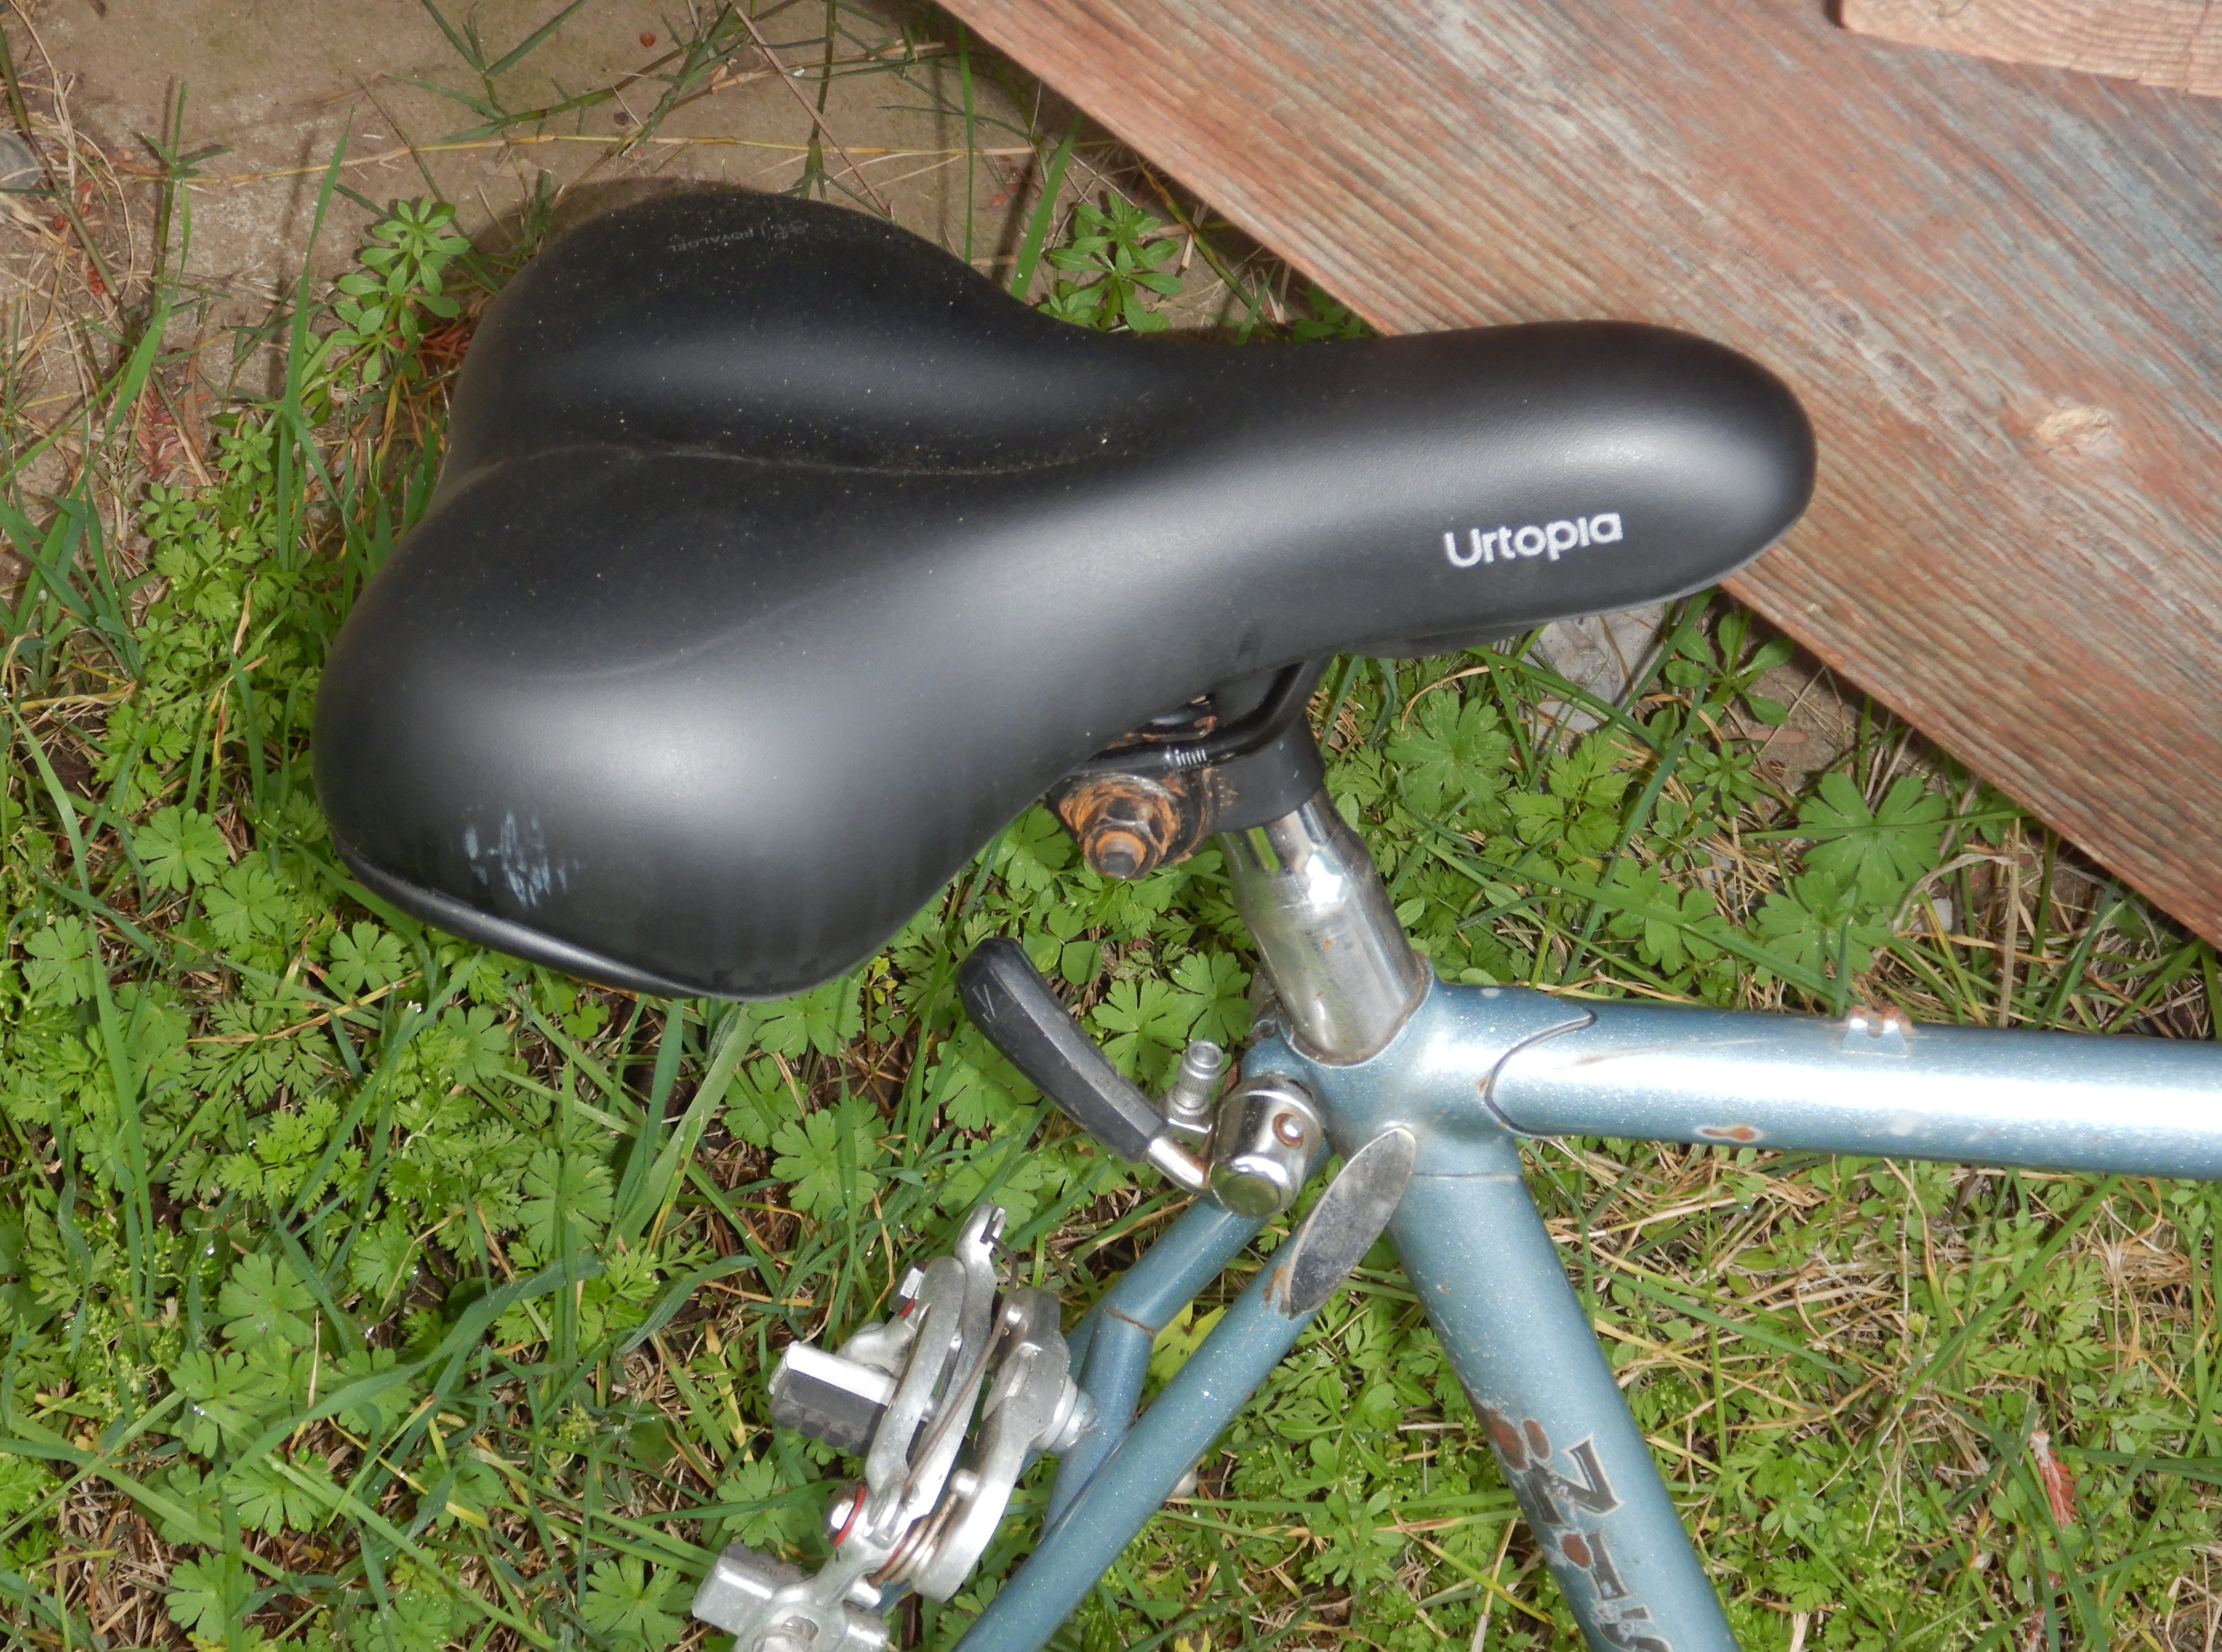
The only perfect comfort bike seat I ever owned was on a recumbent bike which was a nightmare to ride, the seat being the sole good feature.
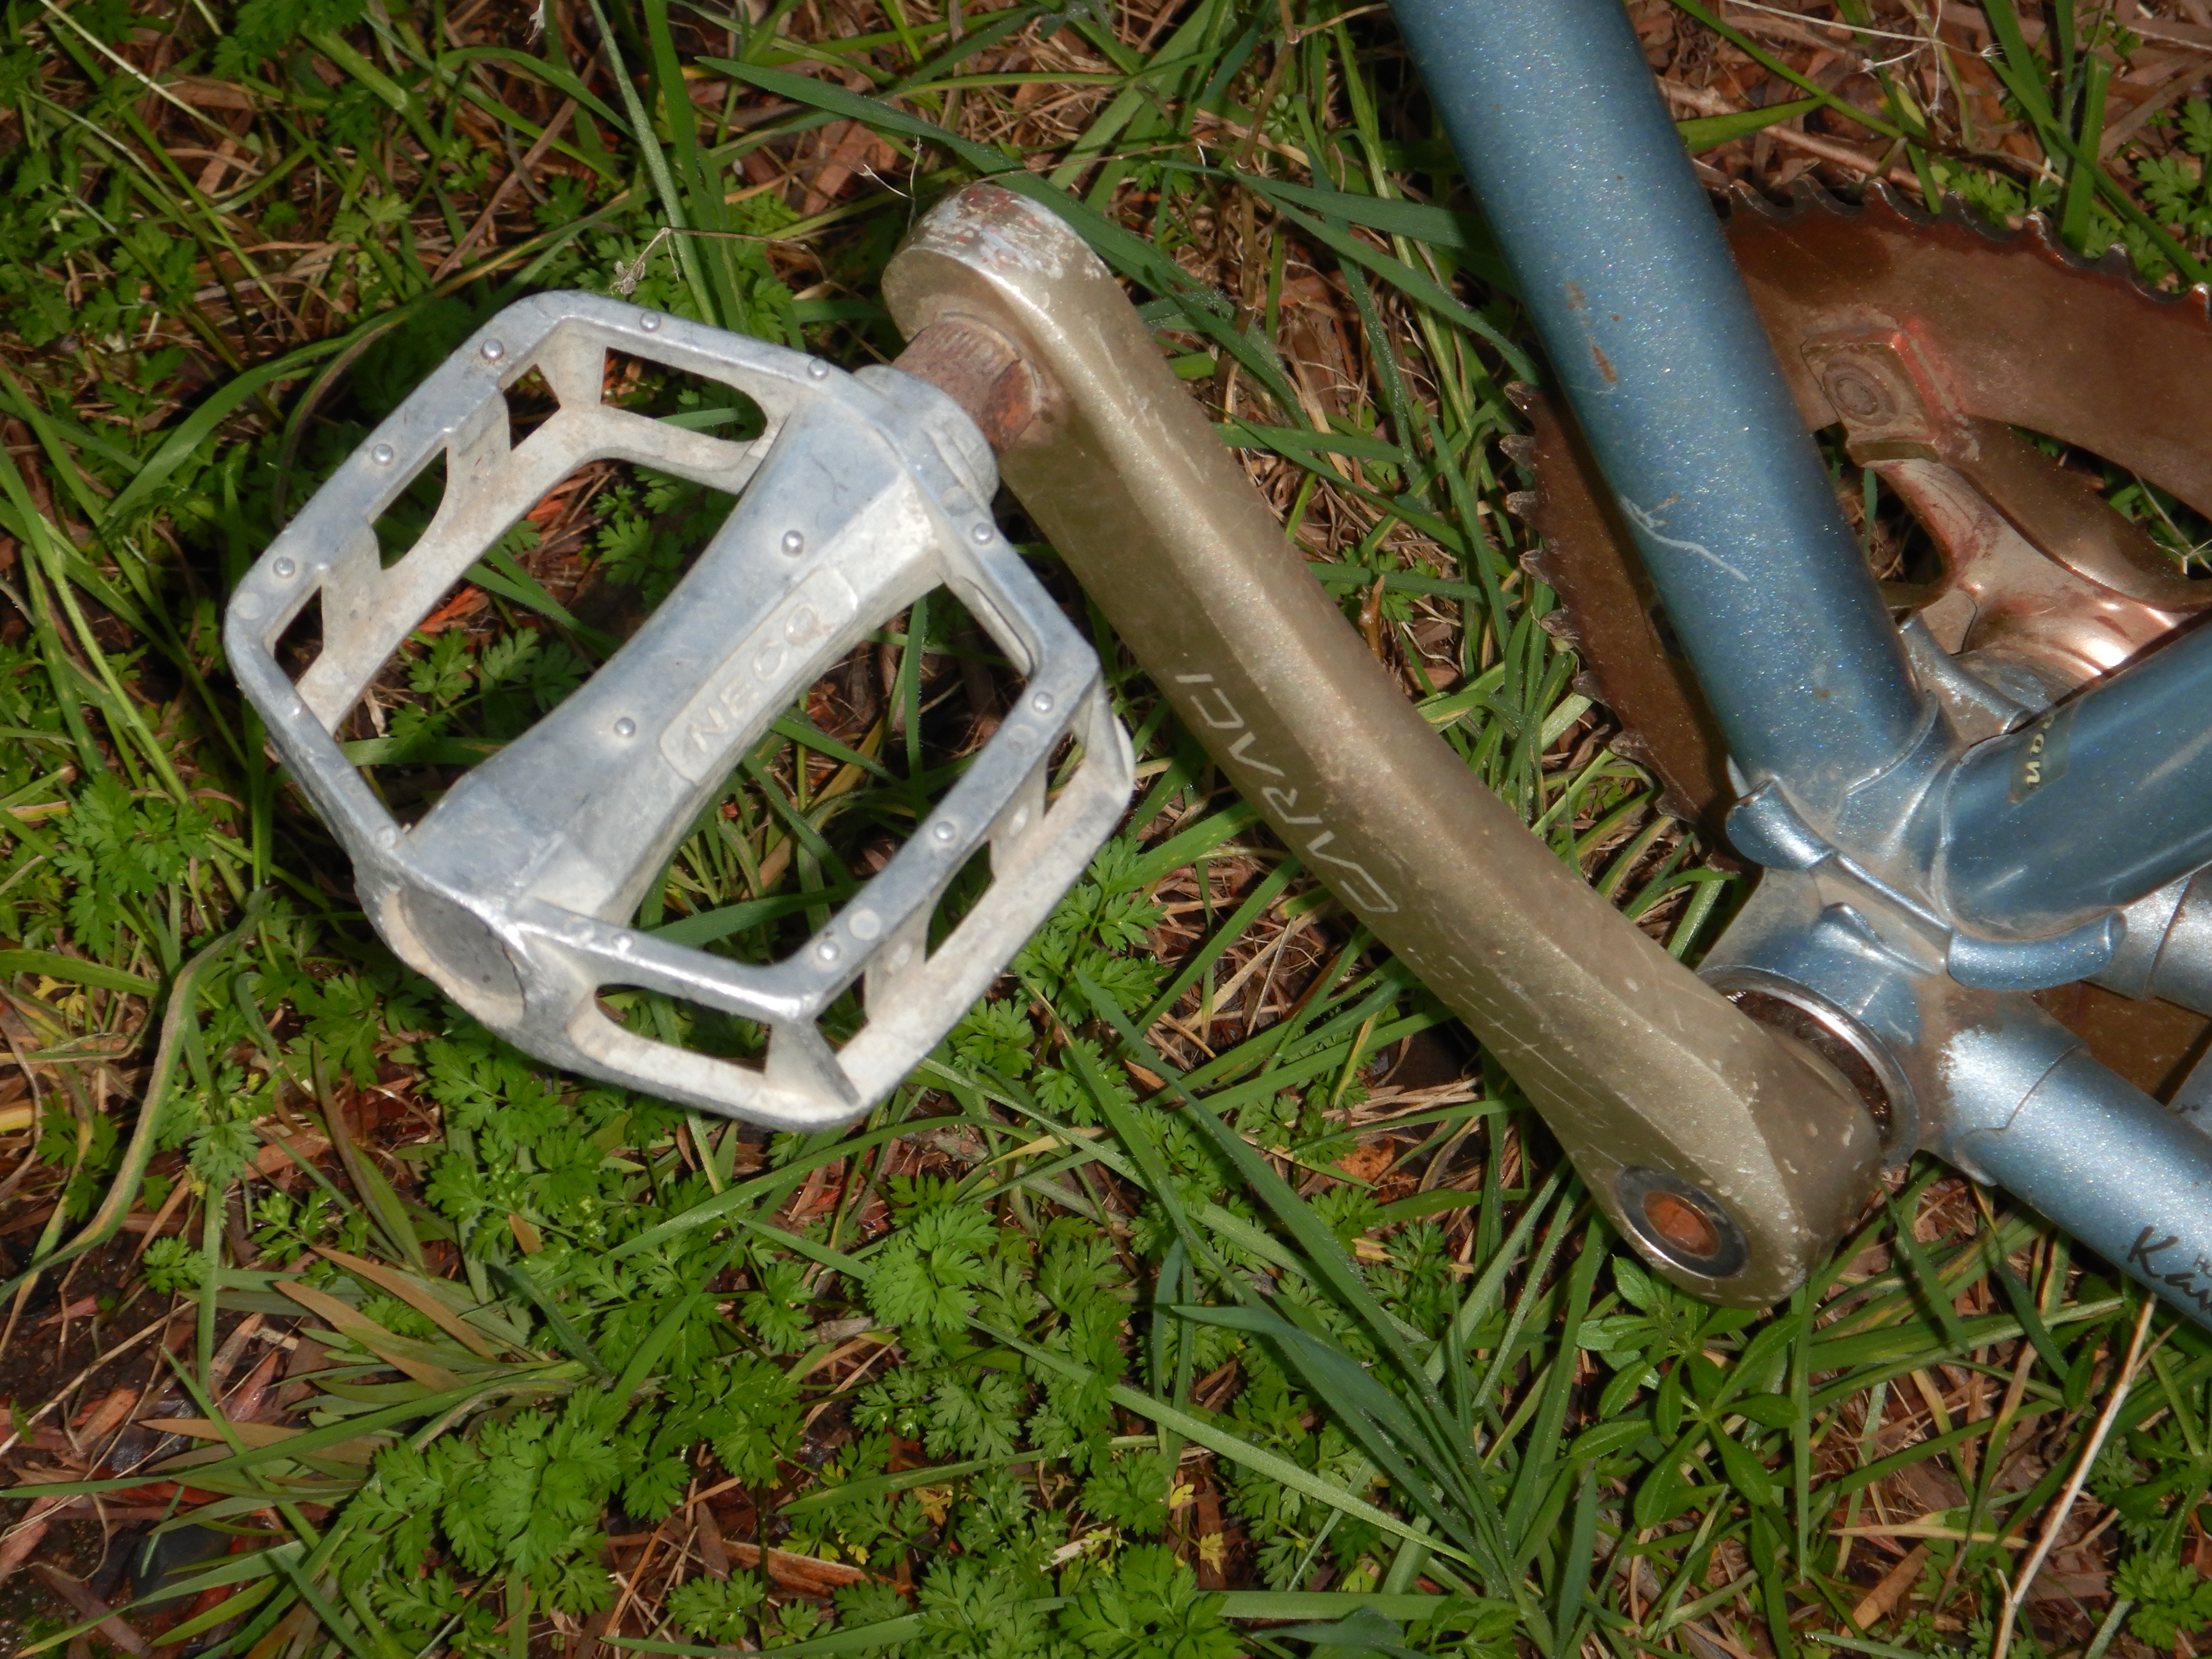
The lightweight alloy pedals spin freely and look usable.

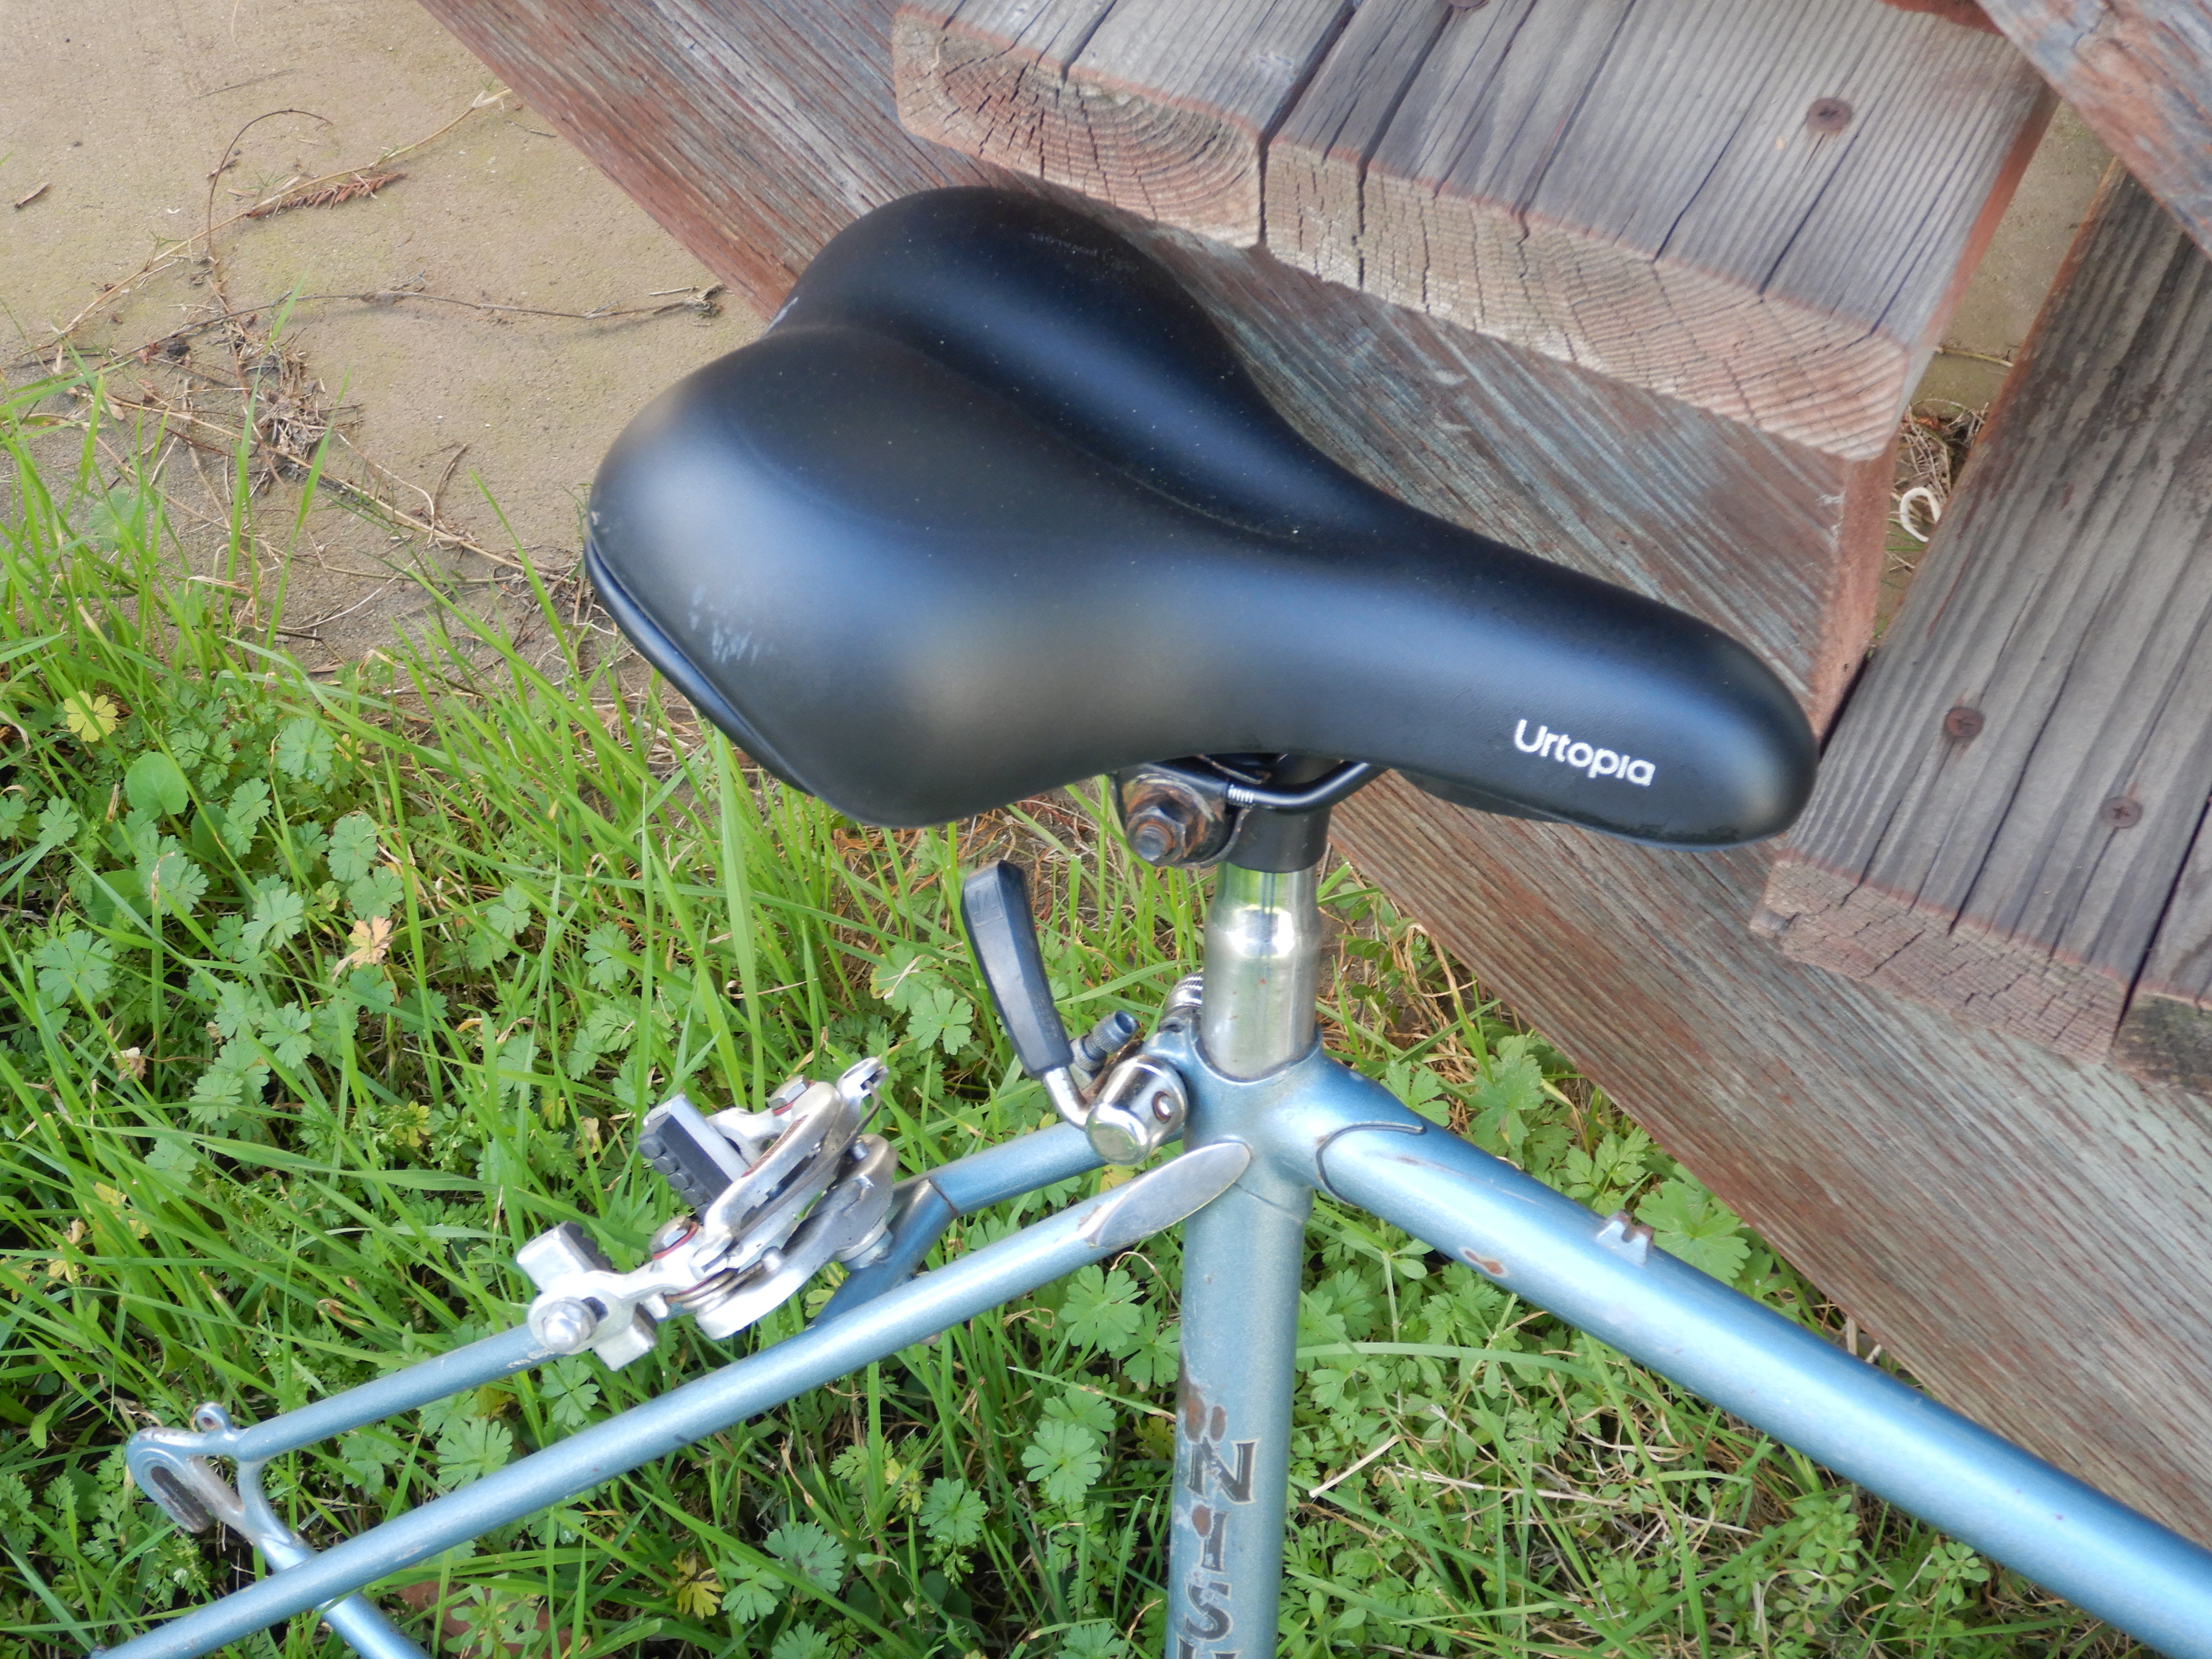
It appears my Schwinn book rack might imping on the rear center-pull brakes so I might need to swap it out for a side-pull type brake.
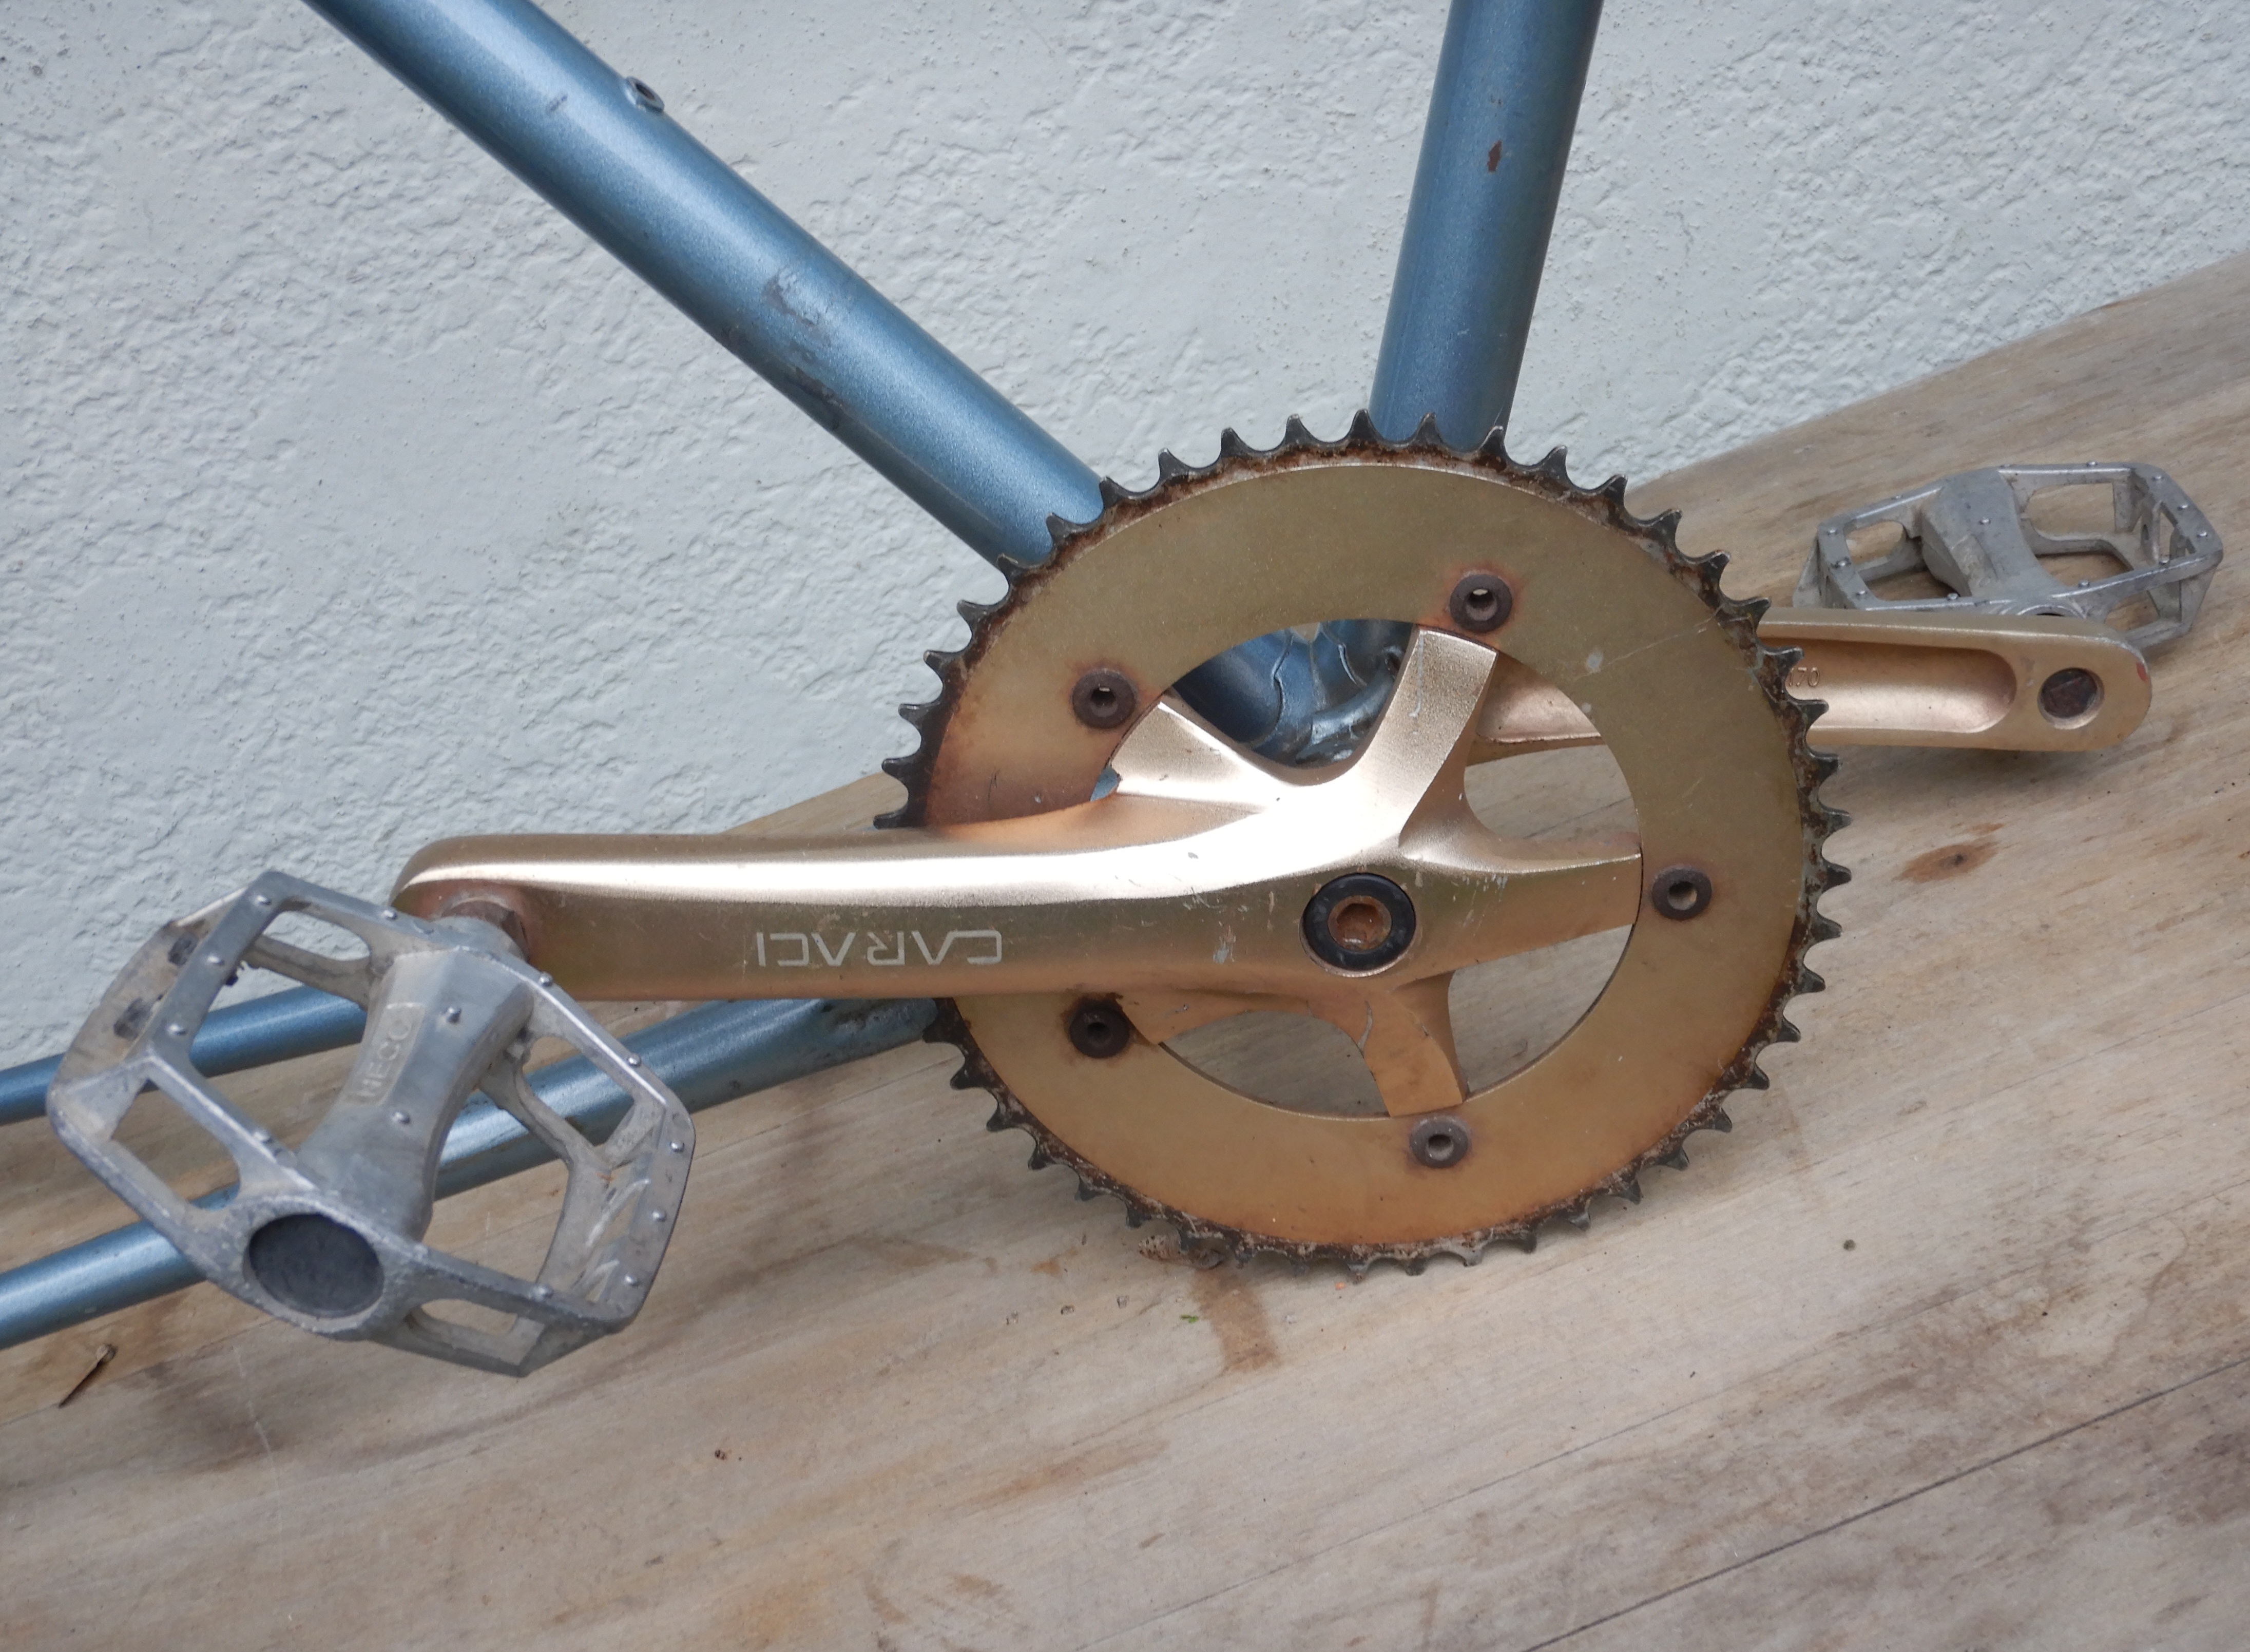
I’m also thinking of rigging up some kind of spacer to screw onto the axle to move the freewheel outboard to help with the chain alignment.
All I’m lacking now are a tire and tube to have the parts necessary to ride it. To keep my arthritic neck on the level I’ll also need a tall quill stem to raise the handlebar height. I’ll need to order that at a bike shop.
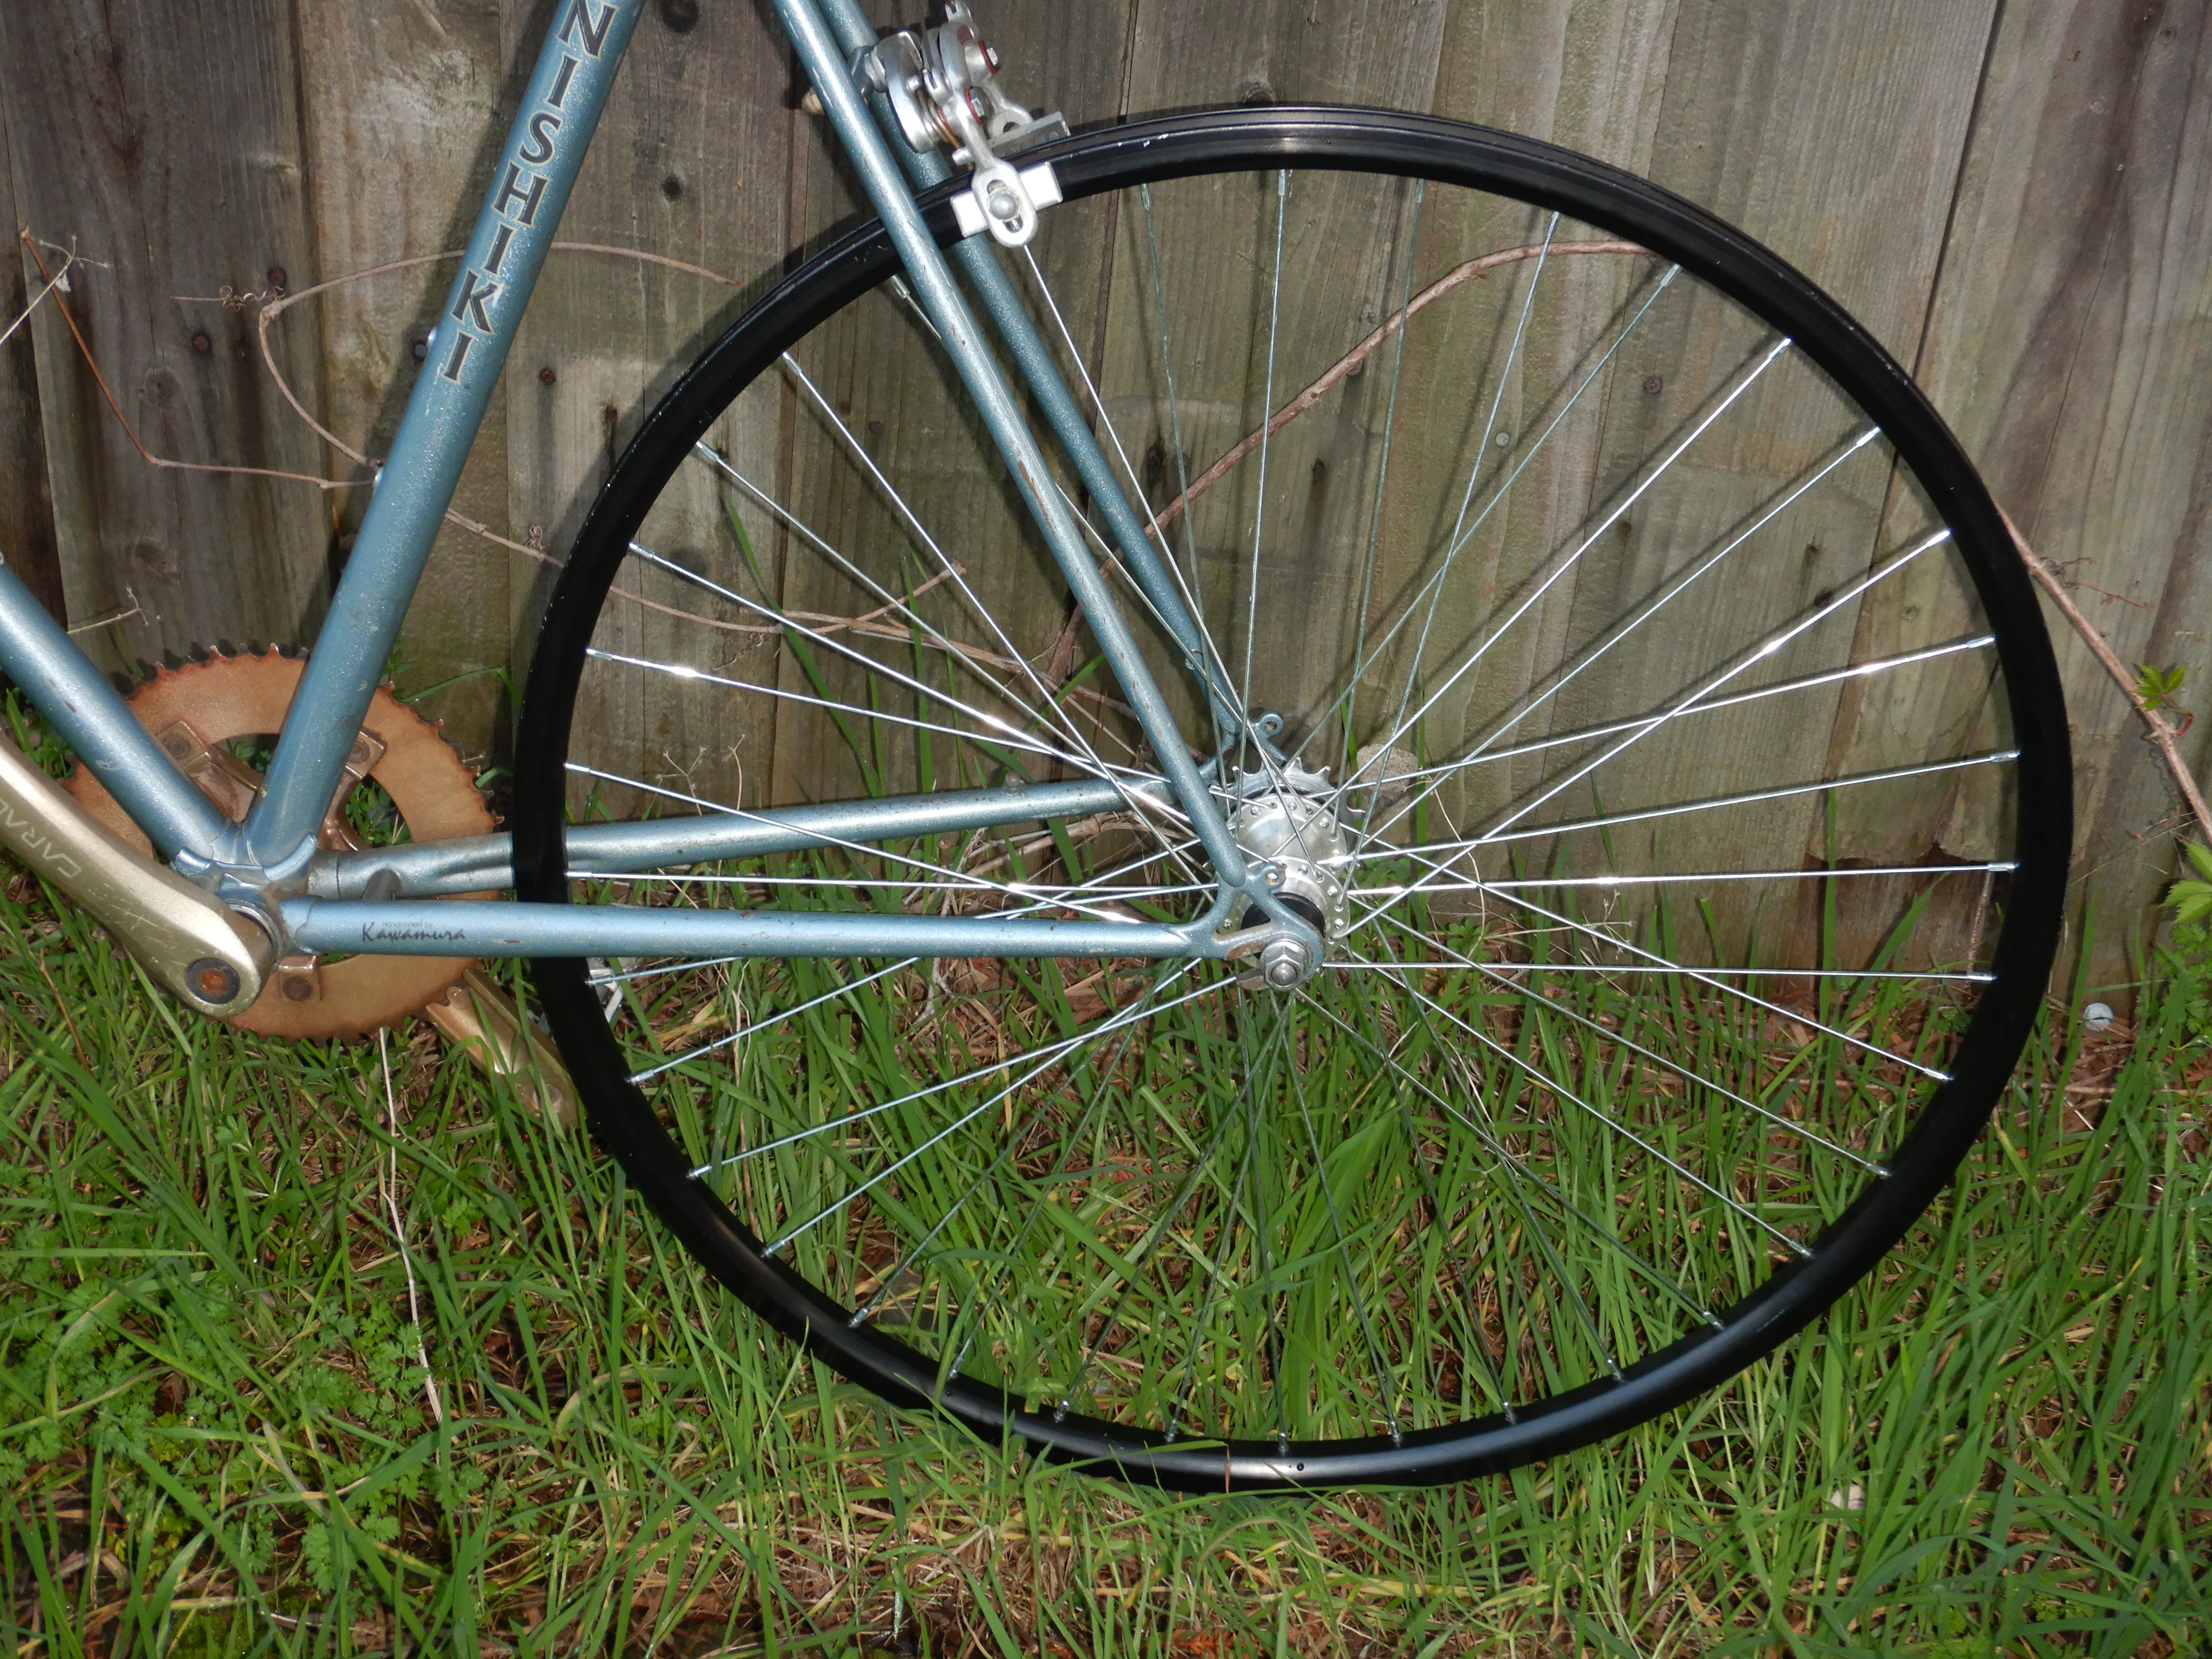
The horizontal alignment of the frame ‘dropouts’ (the hooks or slots on the frame the axle fits into) allow (fairly) easy wheel positioning and chain tensioning. Last manufactured probably in the 1980s, along with chro-mo steel lugged frames.
Here’s what I’ve spent on it so far: frame, $30; seat, bag & rack, $25; tube, $5; wheels & tire, $8; bar, $3; brake levers, bar grips, chain, $10; NOS 17-tooth freewheel, $40 (but not included because it was bought maybe back in the teens or aughts) Total = $81
My next step is to buy a tire and a tube, and to order a tall quill-stem. I’ll chop off the handlebar ends and install the brake levers, cables, and bar grips tomorrow.
Unless noted, all text, images, audio and video by todgermanica.com.
