
 Here’s how the Lido sailboat and trailer looked when we bought it- olive drab deck, rusty and being eaten by a tree.
 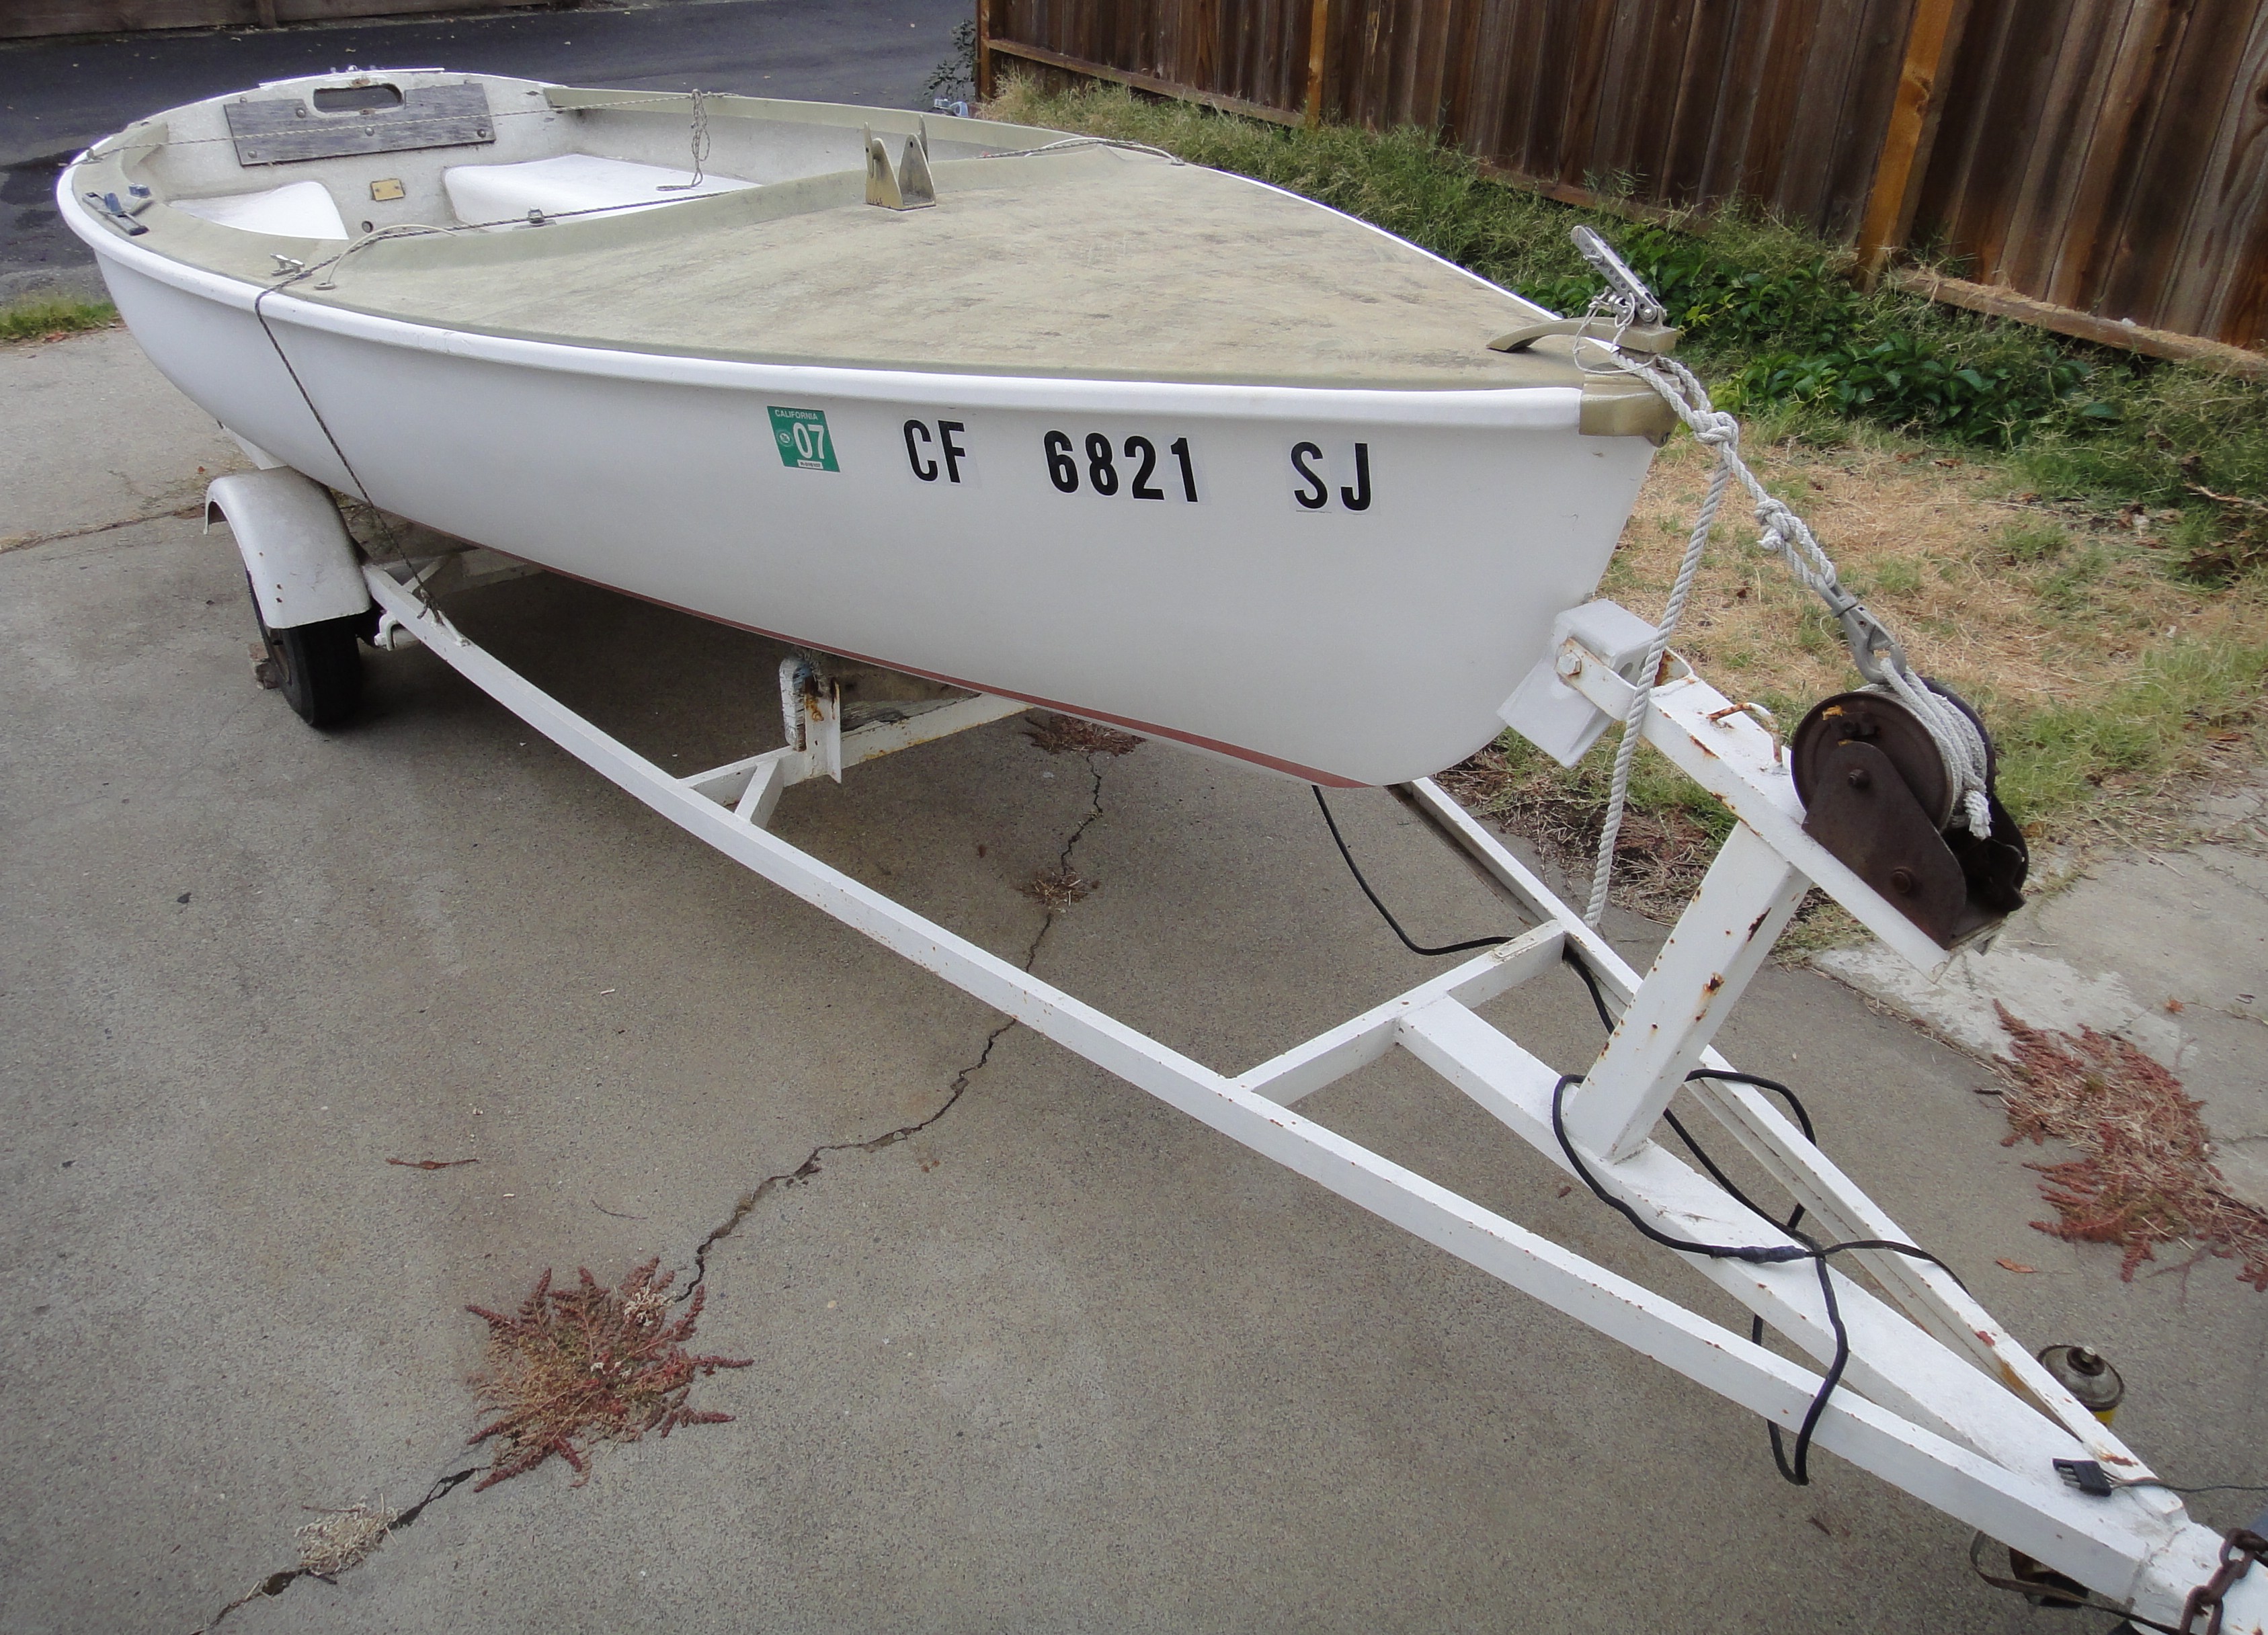 It doesn’t look too bad here and at this point I had hopes of refurbing the boat as well as the trailer.
  But here was the rub, the transom was rotten, delaminating and so full of water it stained the bottom. So I sold the boat to someone braver and more capable than me and decided to convert the trailer to a flatbed to haul my canoes.
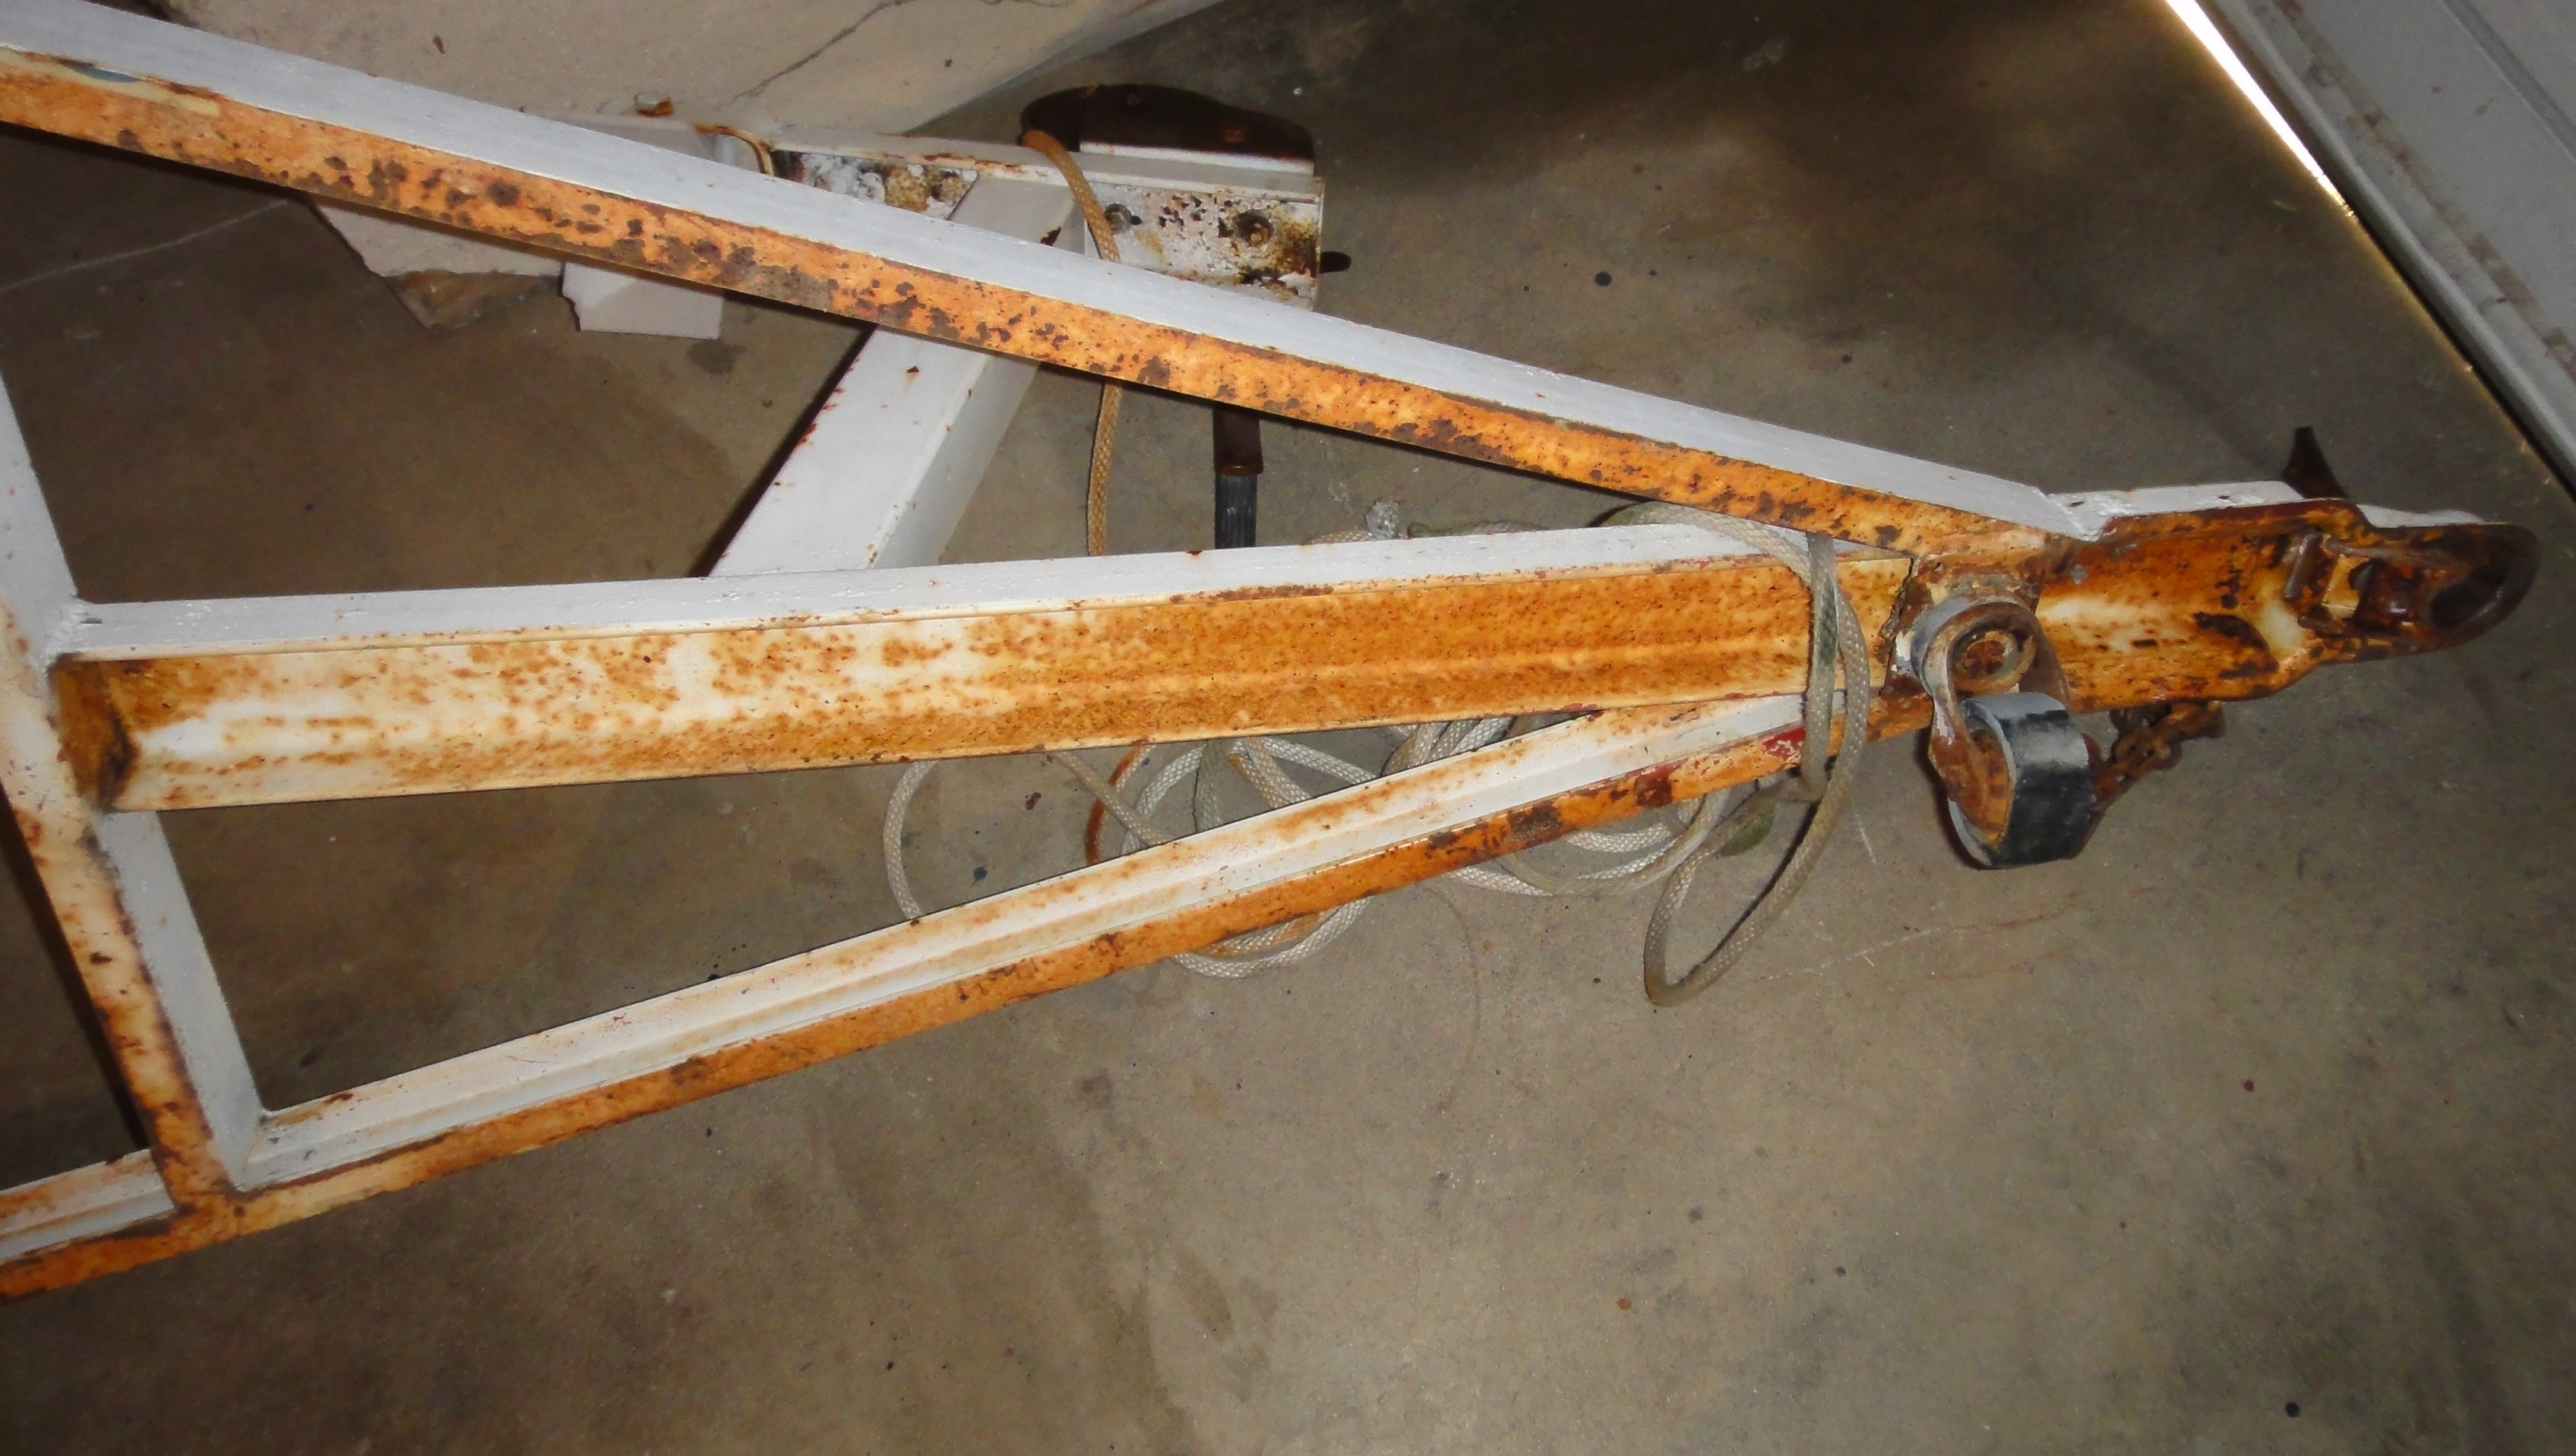
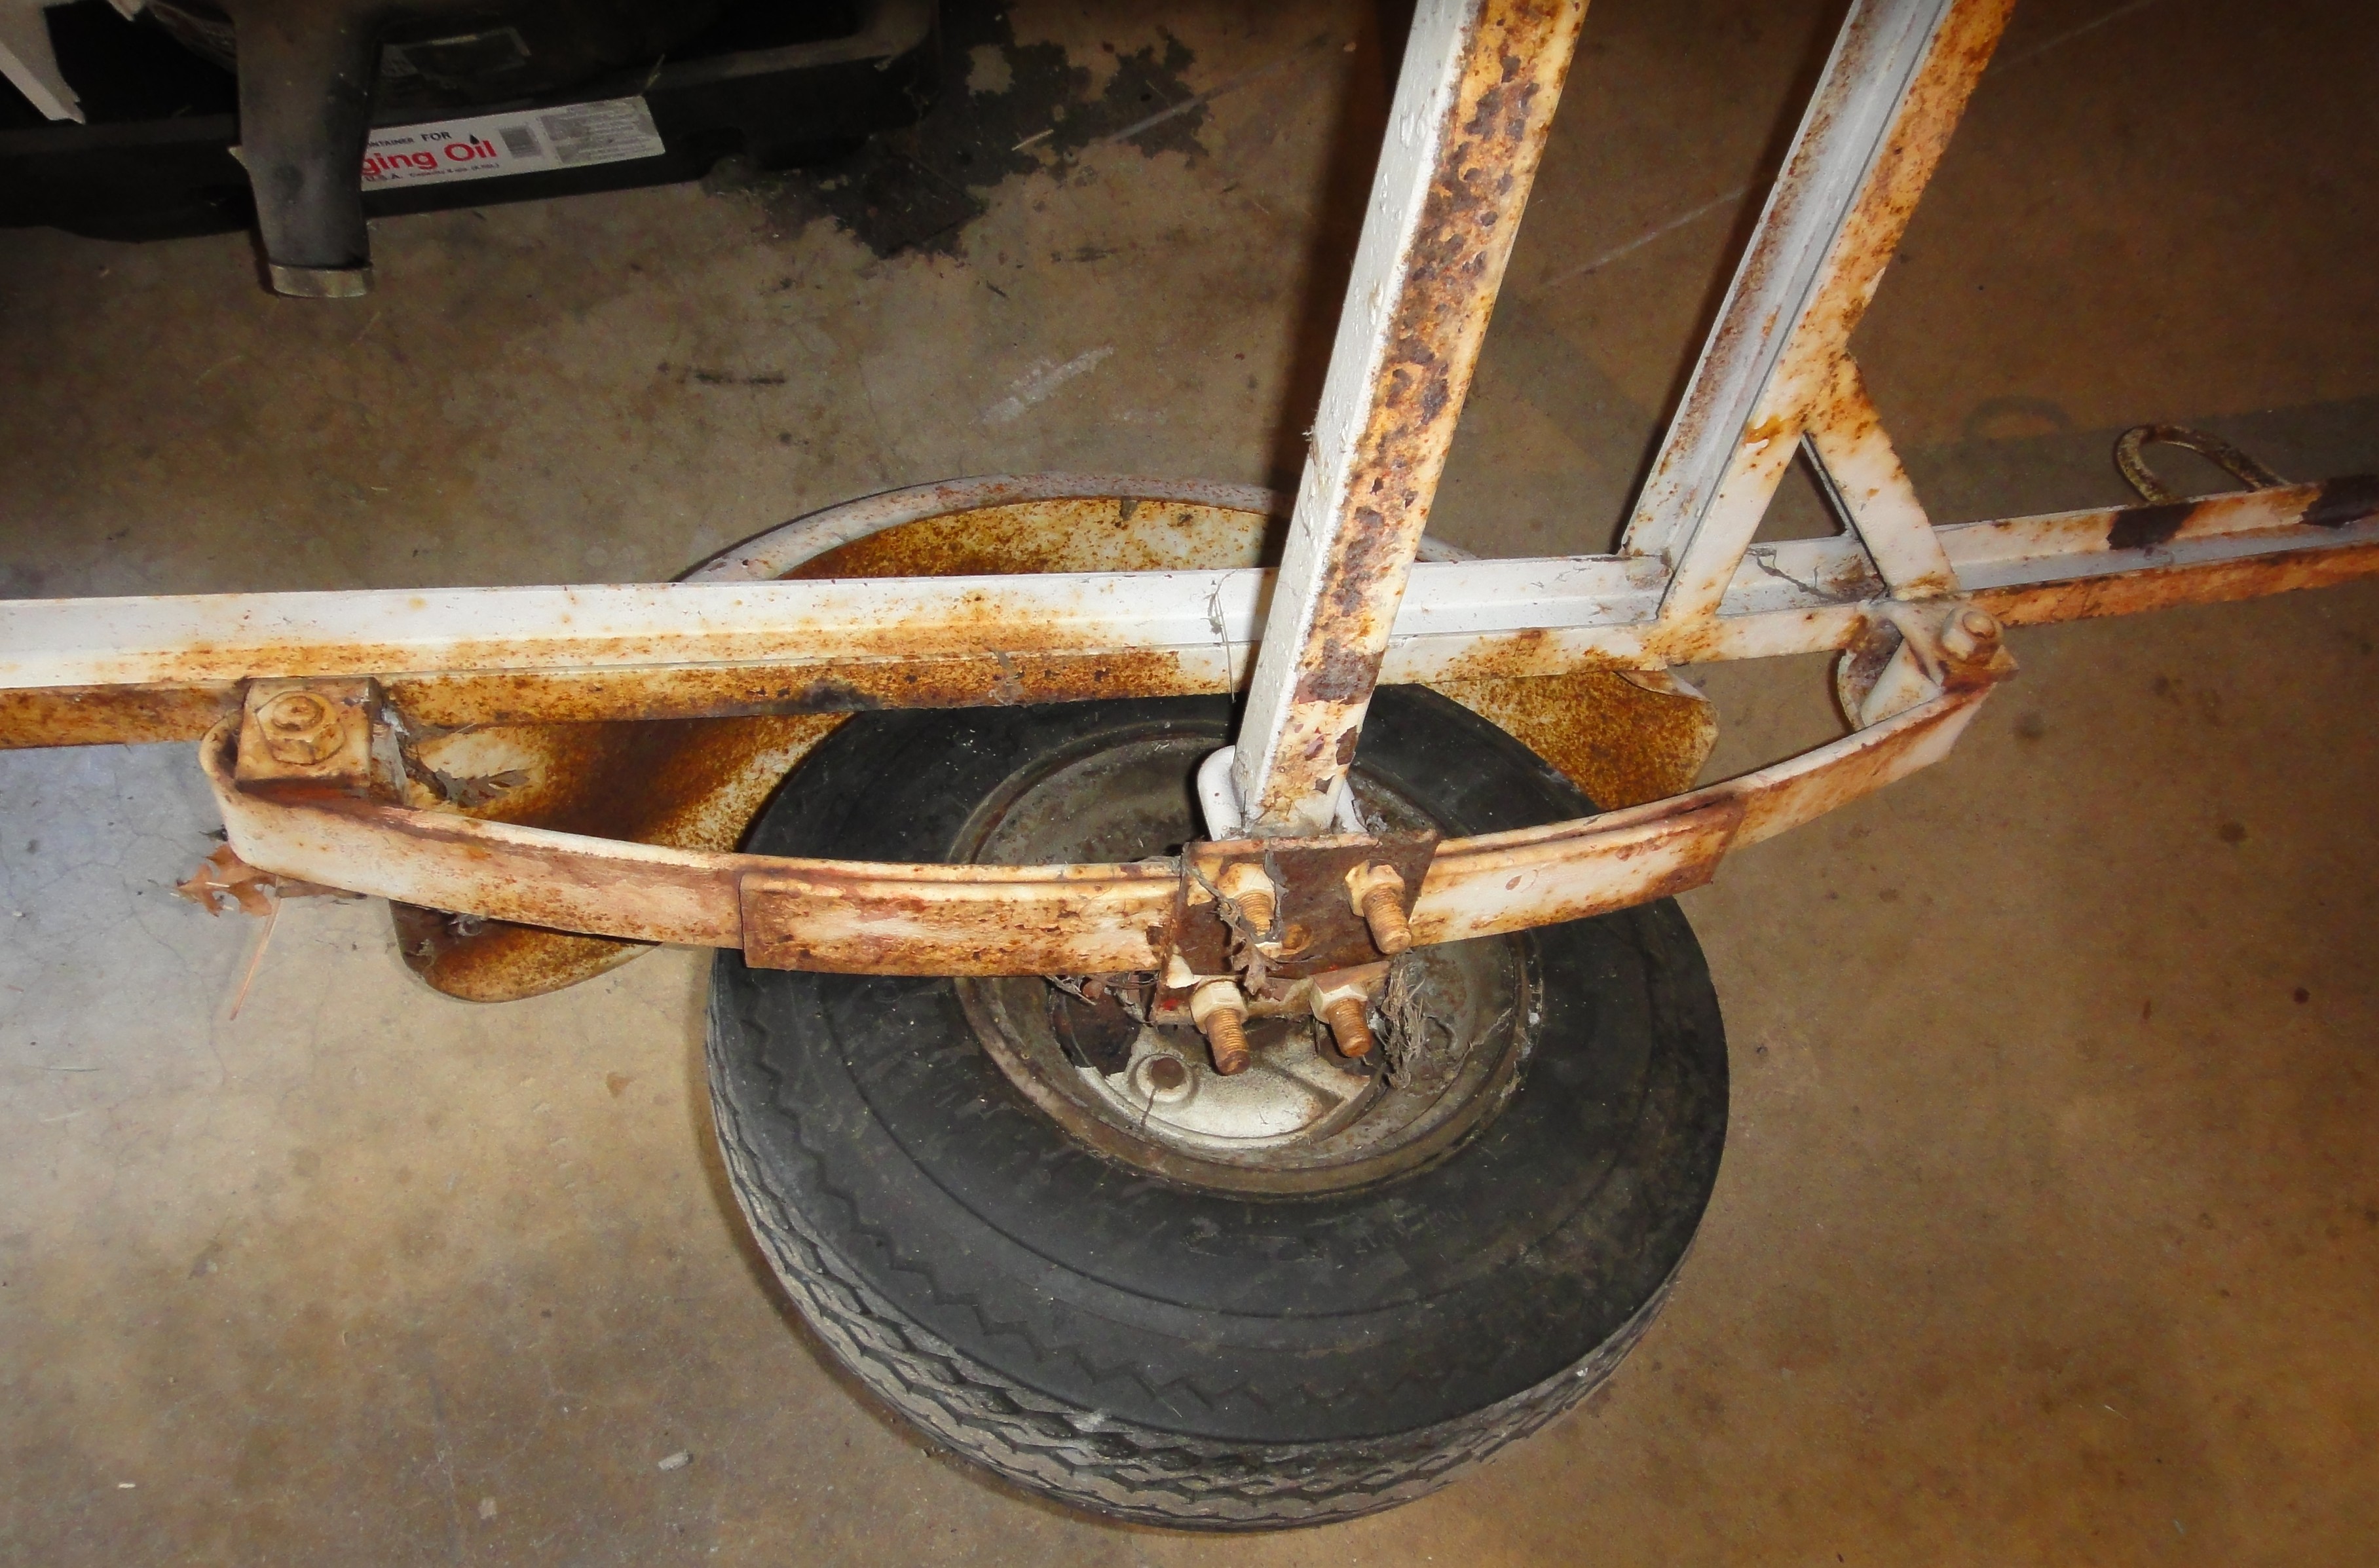
Step one was removing the contoured ‘bunk’ boards that supported the boat. Wiring was stripped out and discarded as well. This is what neglected boat trailers look like underneath- rusty. It didn’t affect the trailer’s strength but OTOH it was not superficial. I used metric tonnes of sandpaper and put lots of wear on my random orbital Ryobi sander. 

 After sanding and painting the frame and fenders with cheap white Rust-Oleum paint, I bought common fir construction 2×6 boards which I varnished with outdoor polyurethane and bolted in fore and aft. The waterproof taillights cost around $40 and I placed the license plate on the board to determine the correct location. At this point I had no middle support board.
 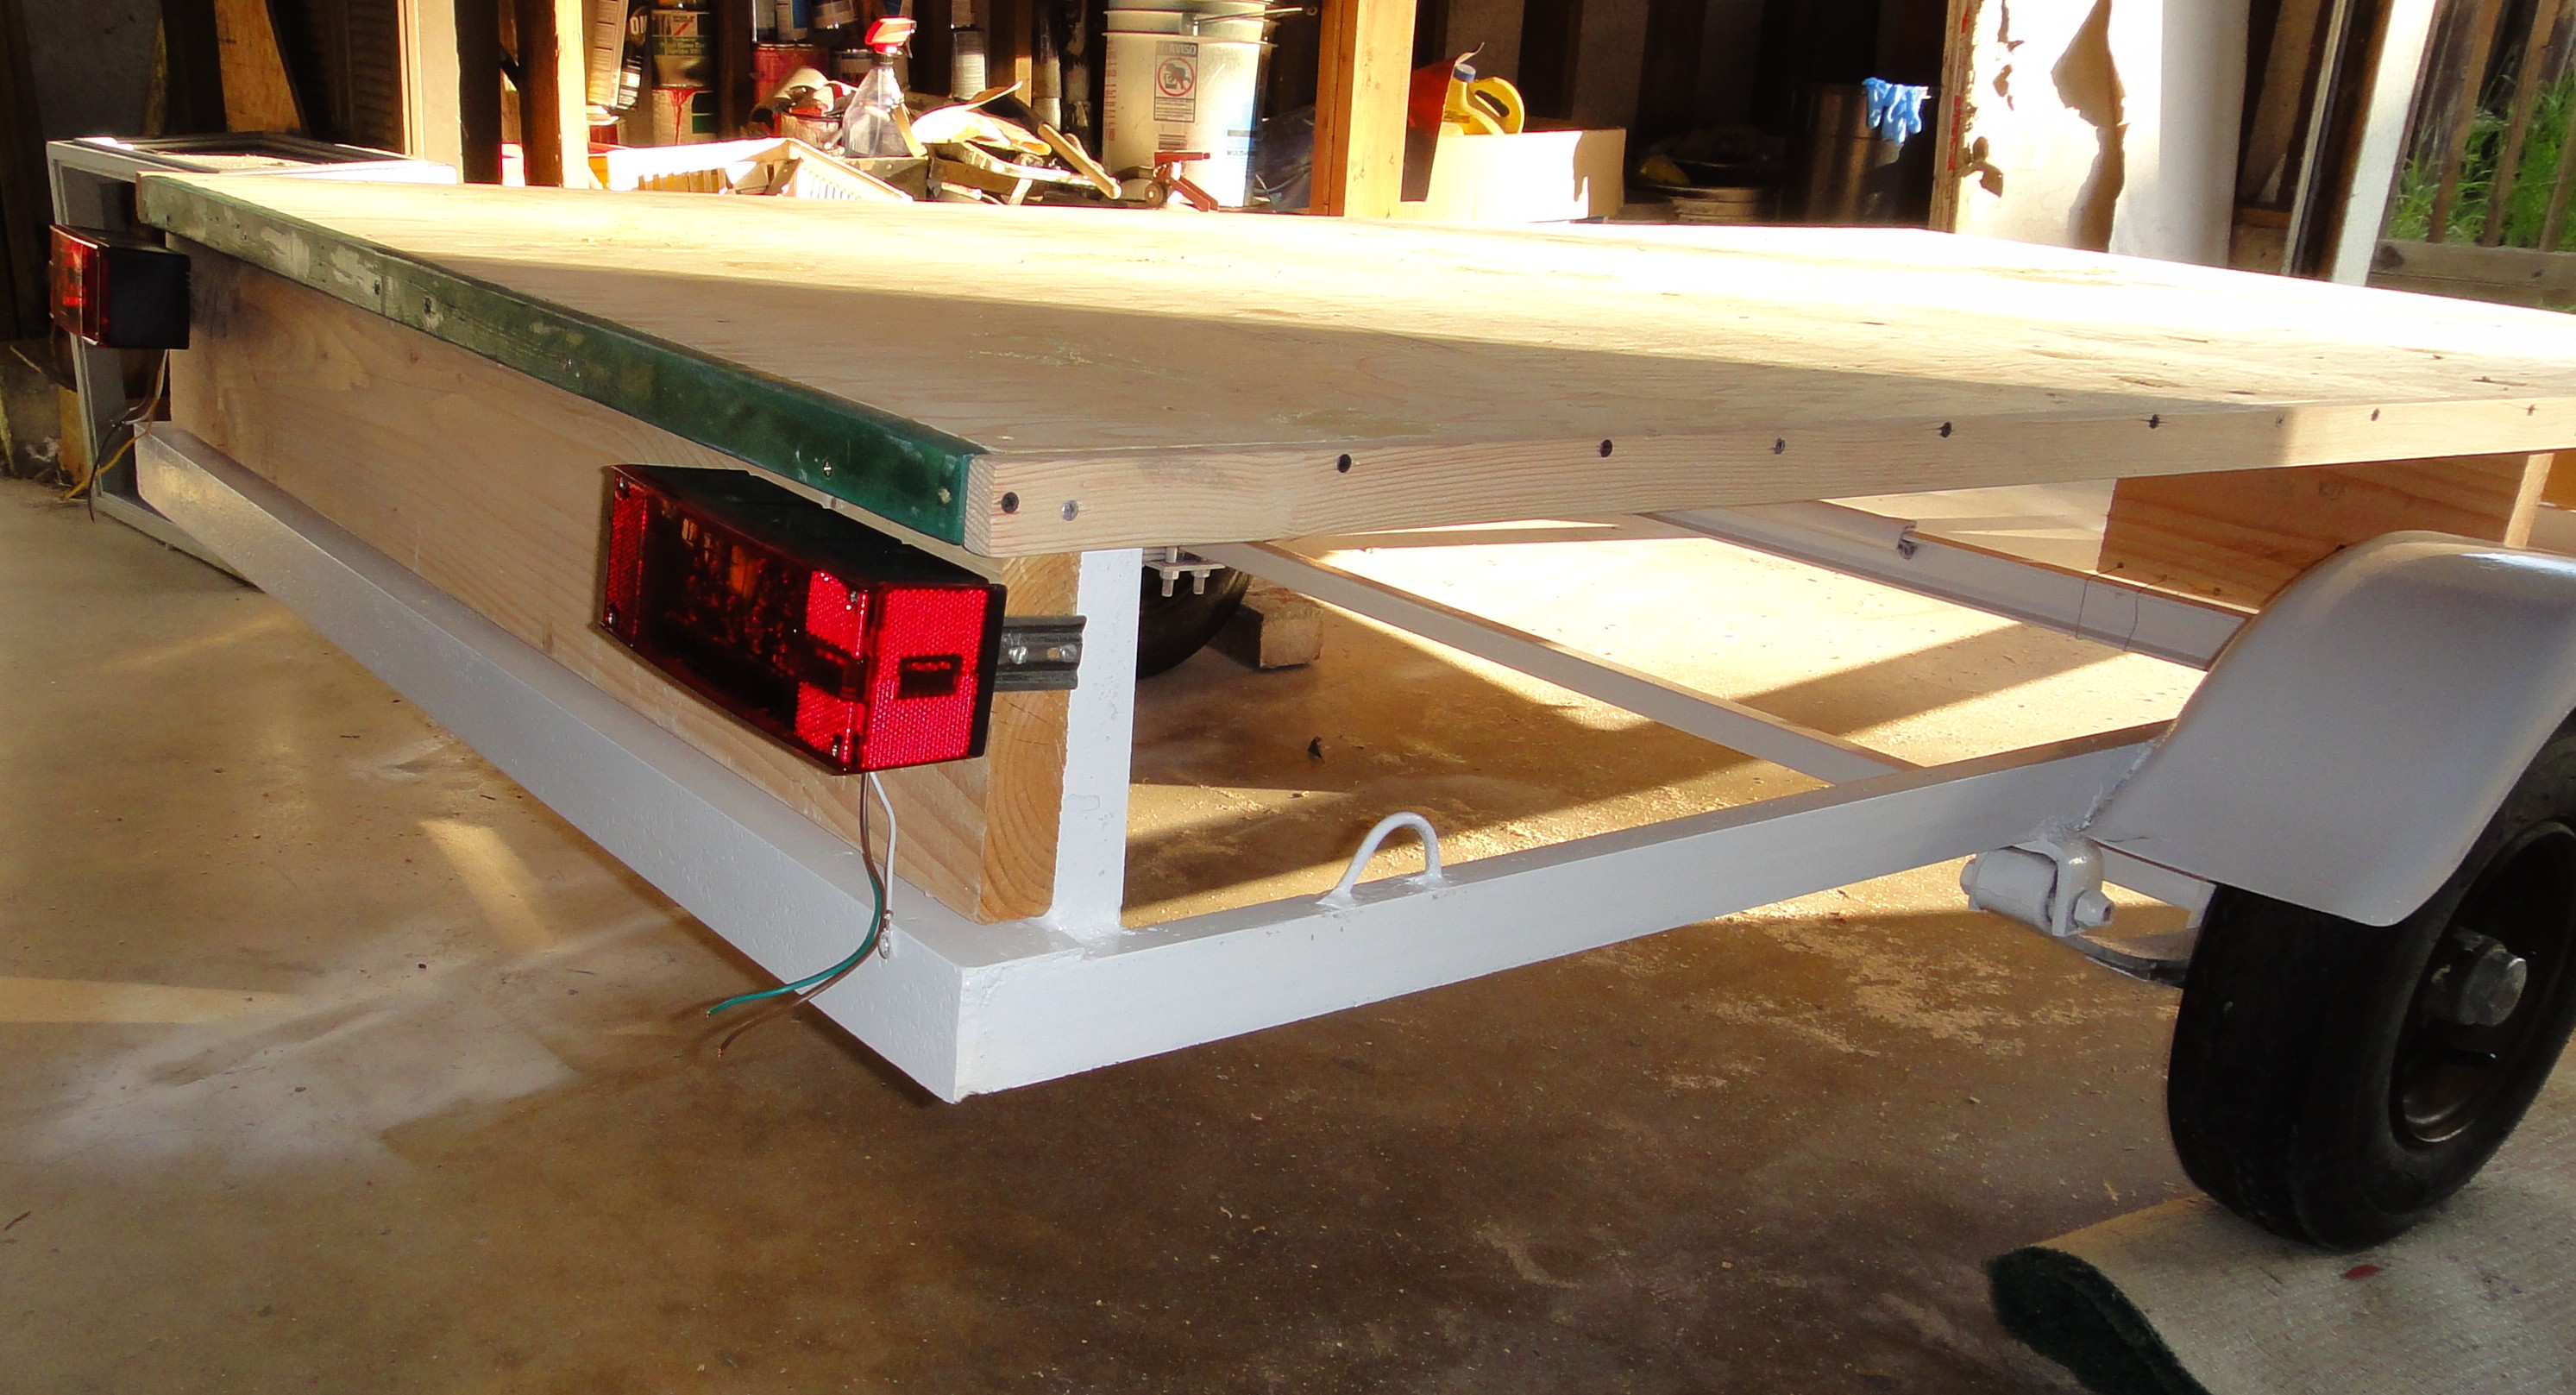 The deck was one sheet of 4×8 foot, 1/2 inch thick (thin), cheap construction grade plywood; the trim pieces I had lying around the garage. Here it is pre-assembled before varnishing and painting. At this point I had no full length middle support board and was trying to use two short boards wired to the frame. That was, of course, too flimsy so I bought another 2×6 inch board, painted it, and screwed it into place where the Lido’s centerboard protective strip used to be.
  Here’s a front view showing the hunter green winch and ball security latch.
 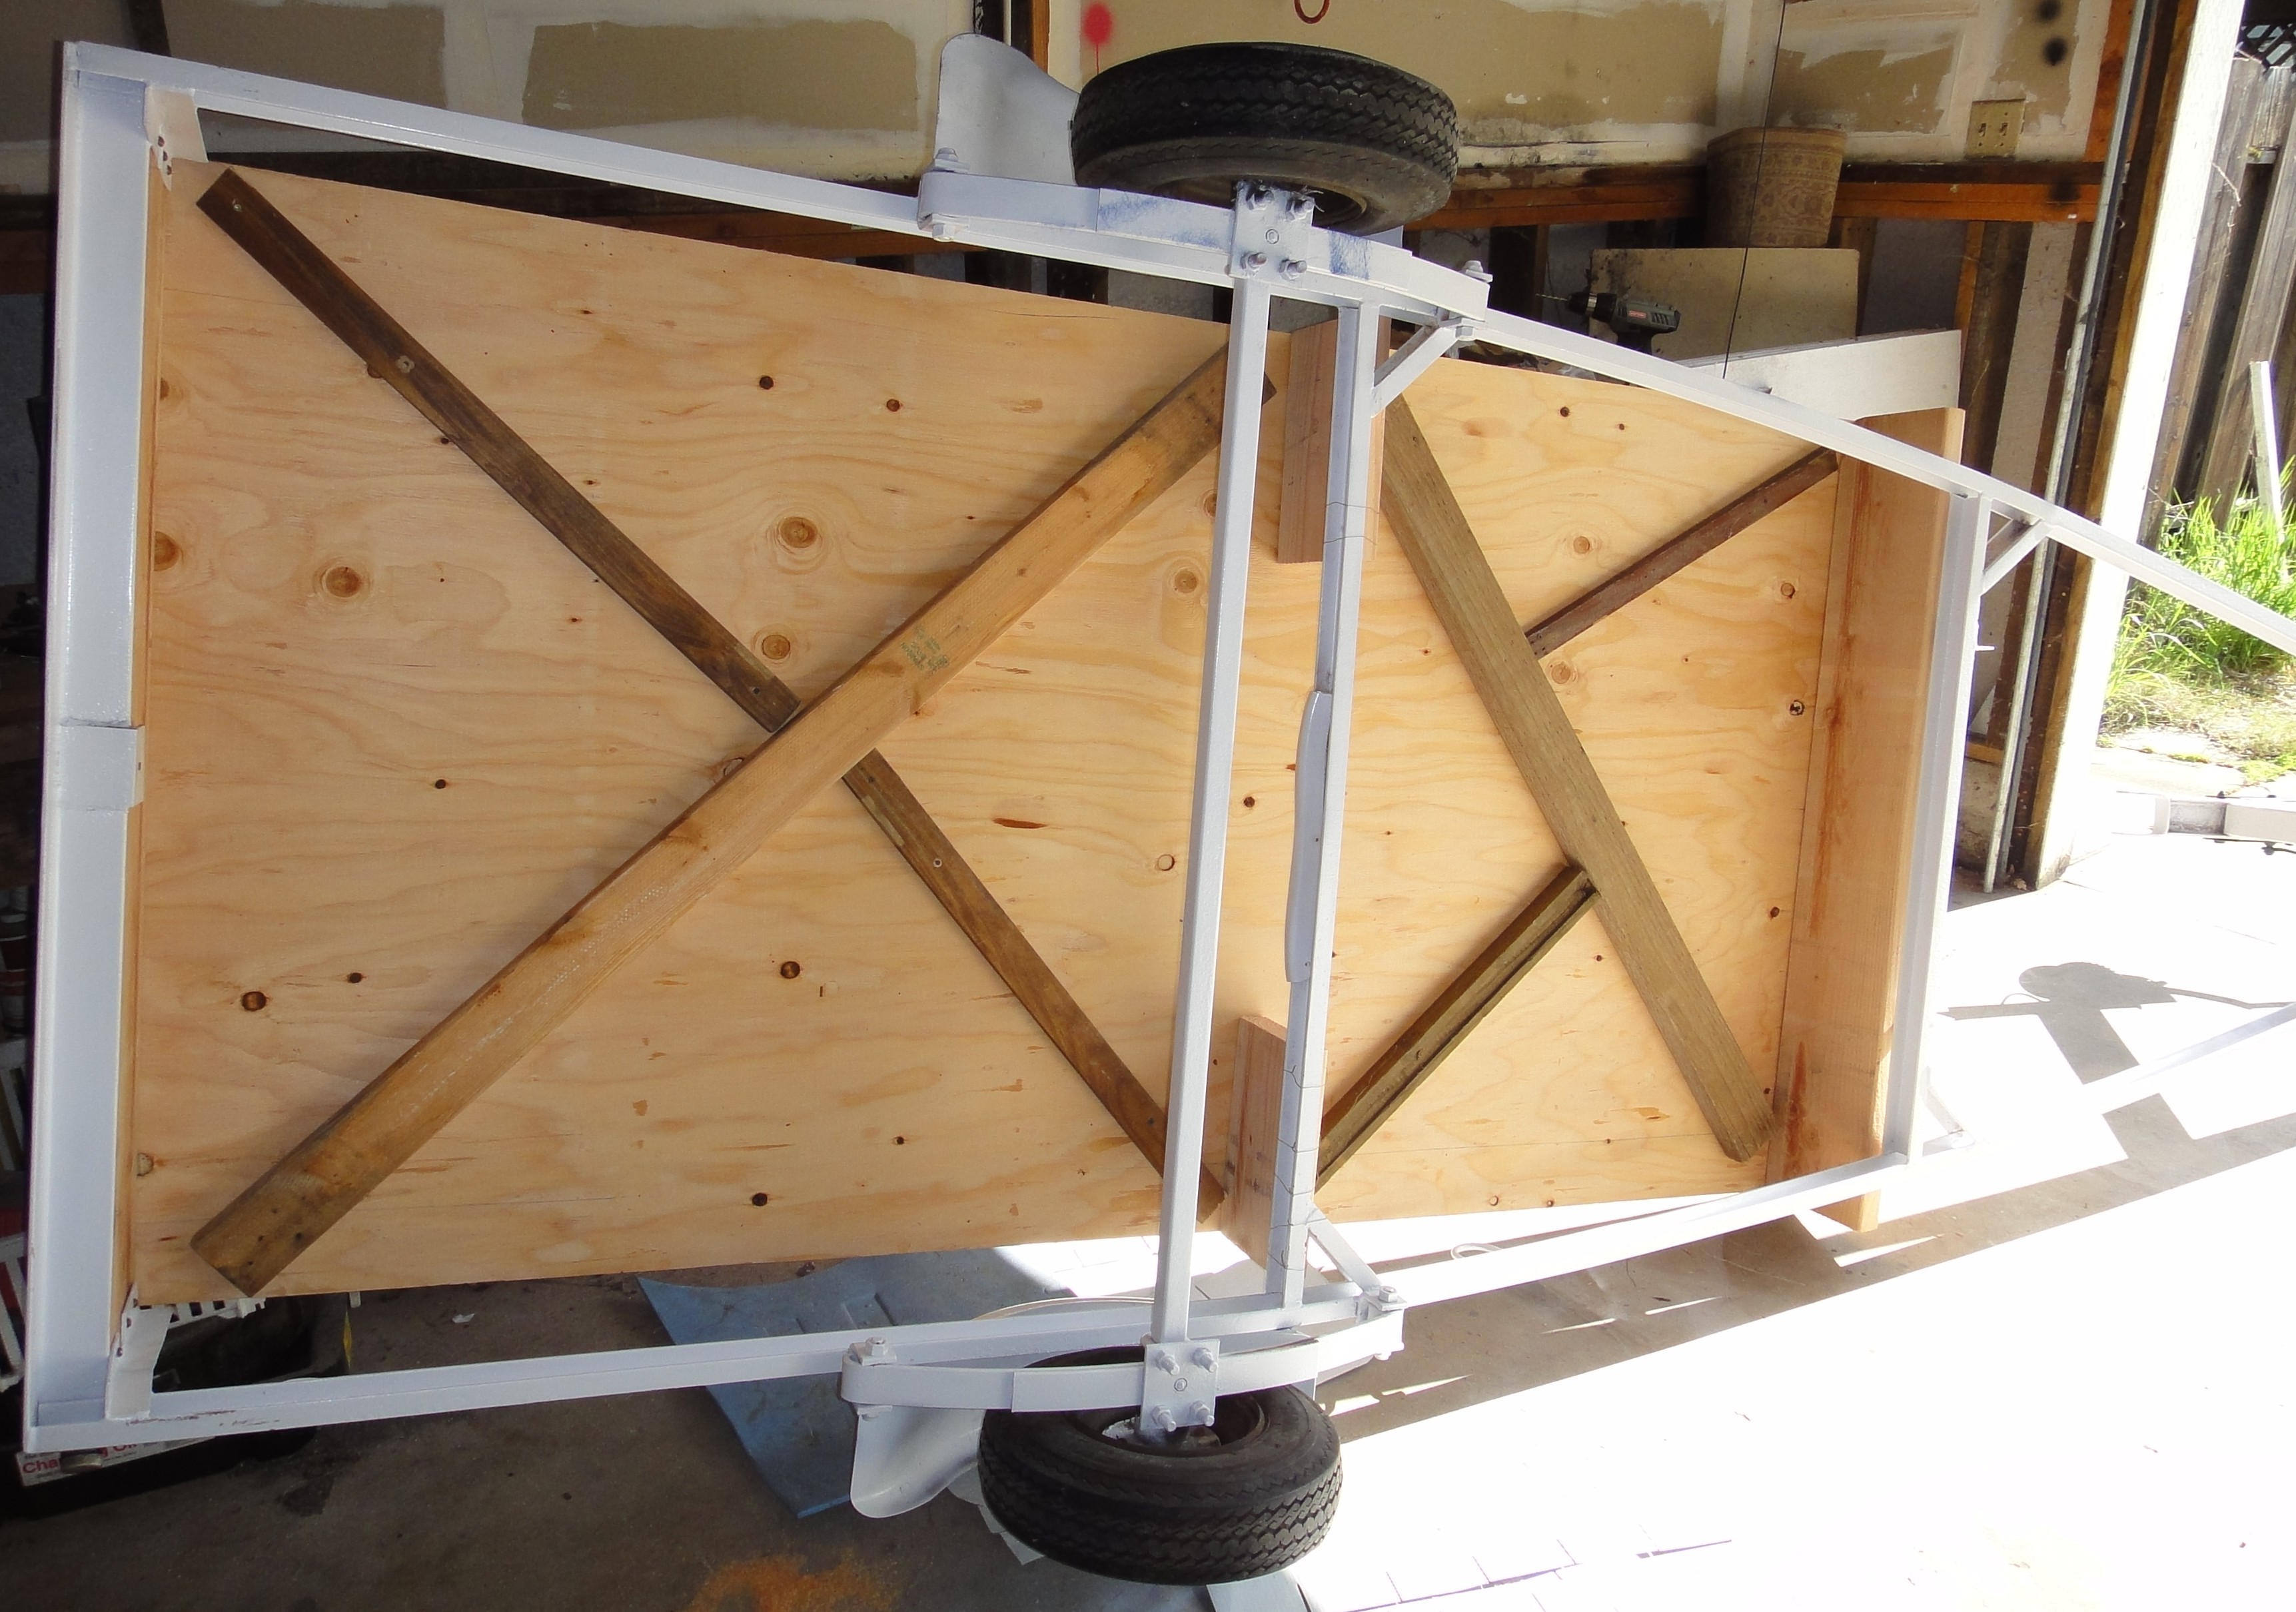 Now I’m a major cheapskate as you can probably tell. So I used whatever boards I had around the garage to brace the thin plywood from underneath. After all, the canoes weigh less than 100 lbs. (45.36 kg)
  Of course when you use cheap plywood and cheap paint it takes a power of putty to fill the voids. (Putty and paint make a carpenter what he ain’t).
 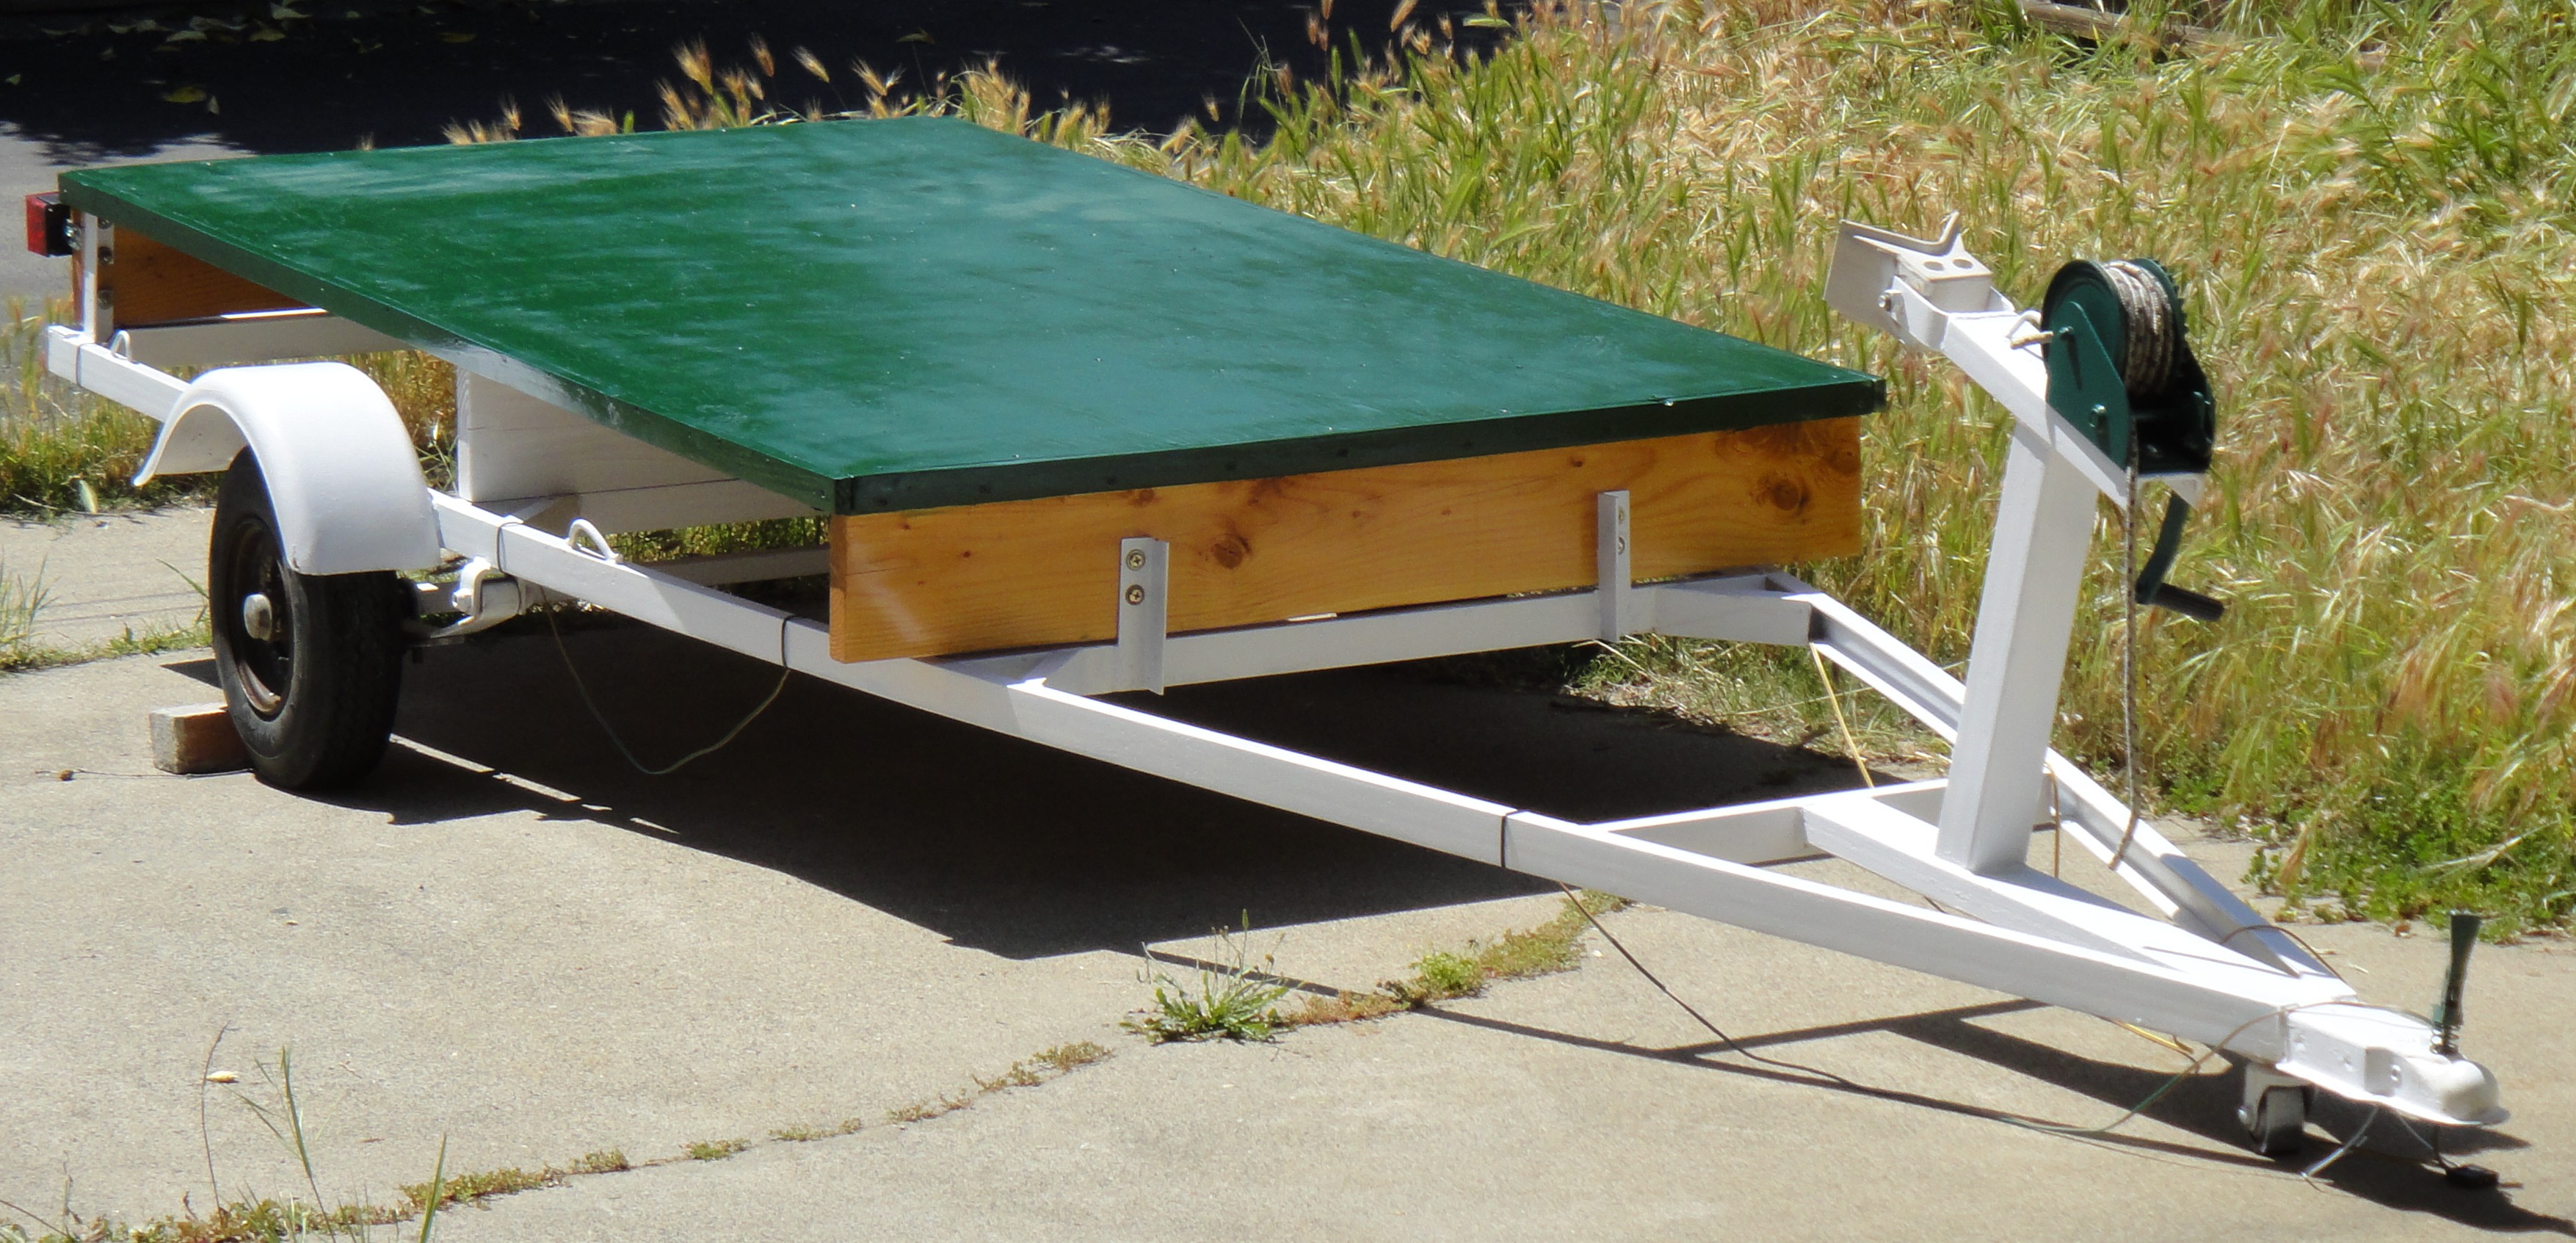 Here it is before I got the electrical wiring quite dialed in.
 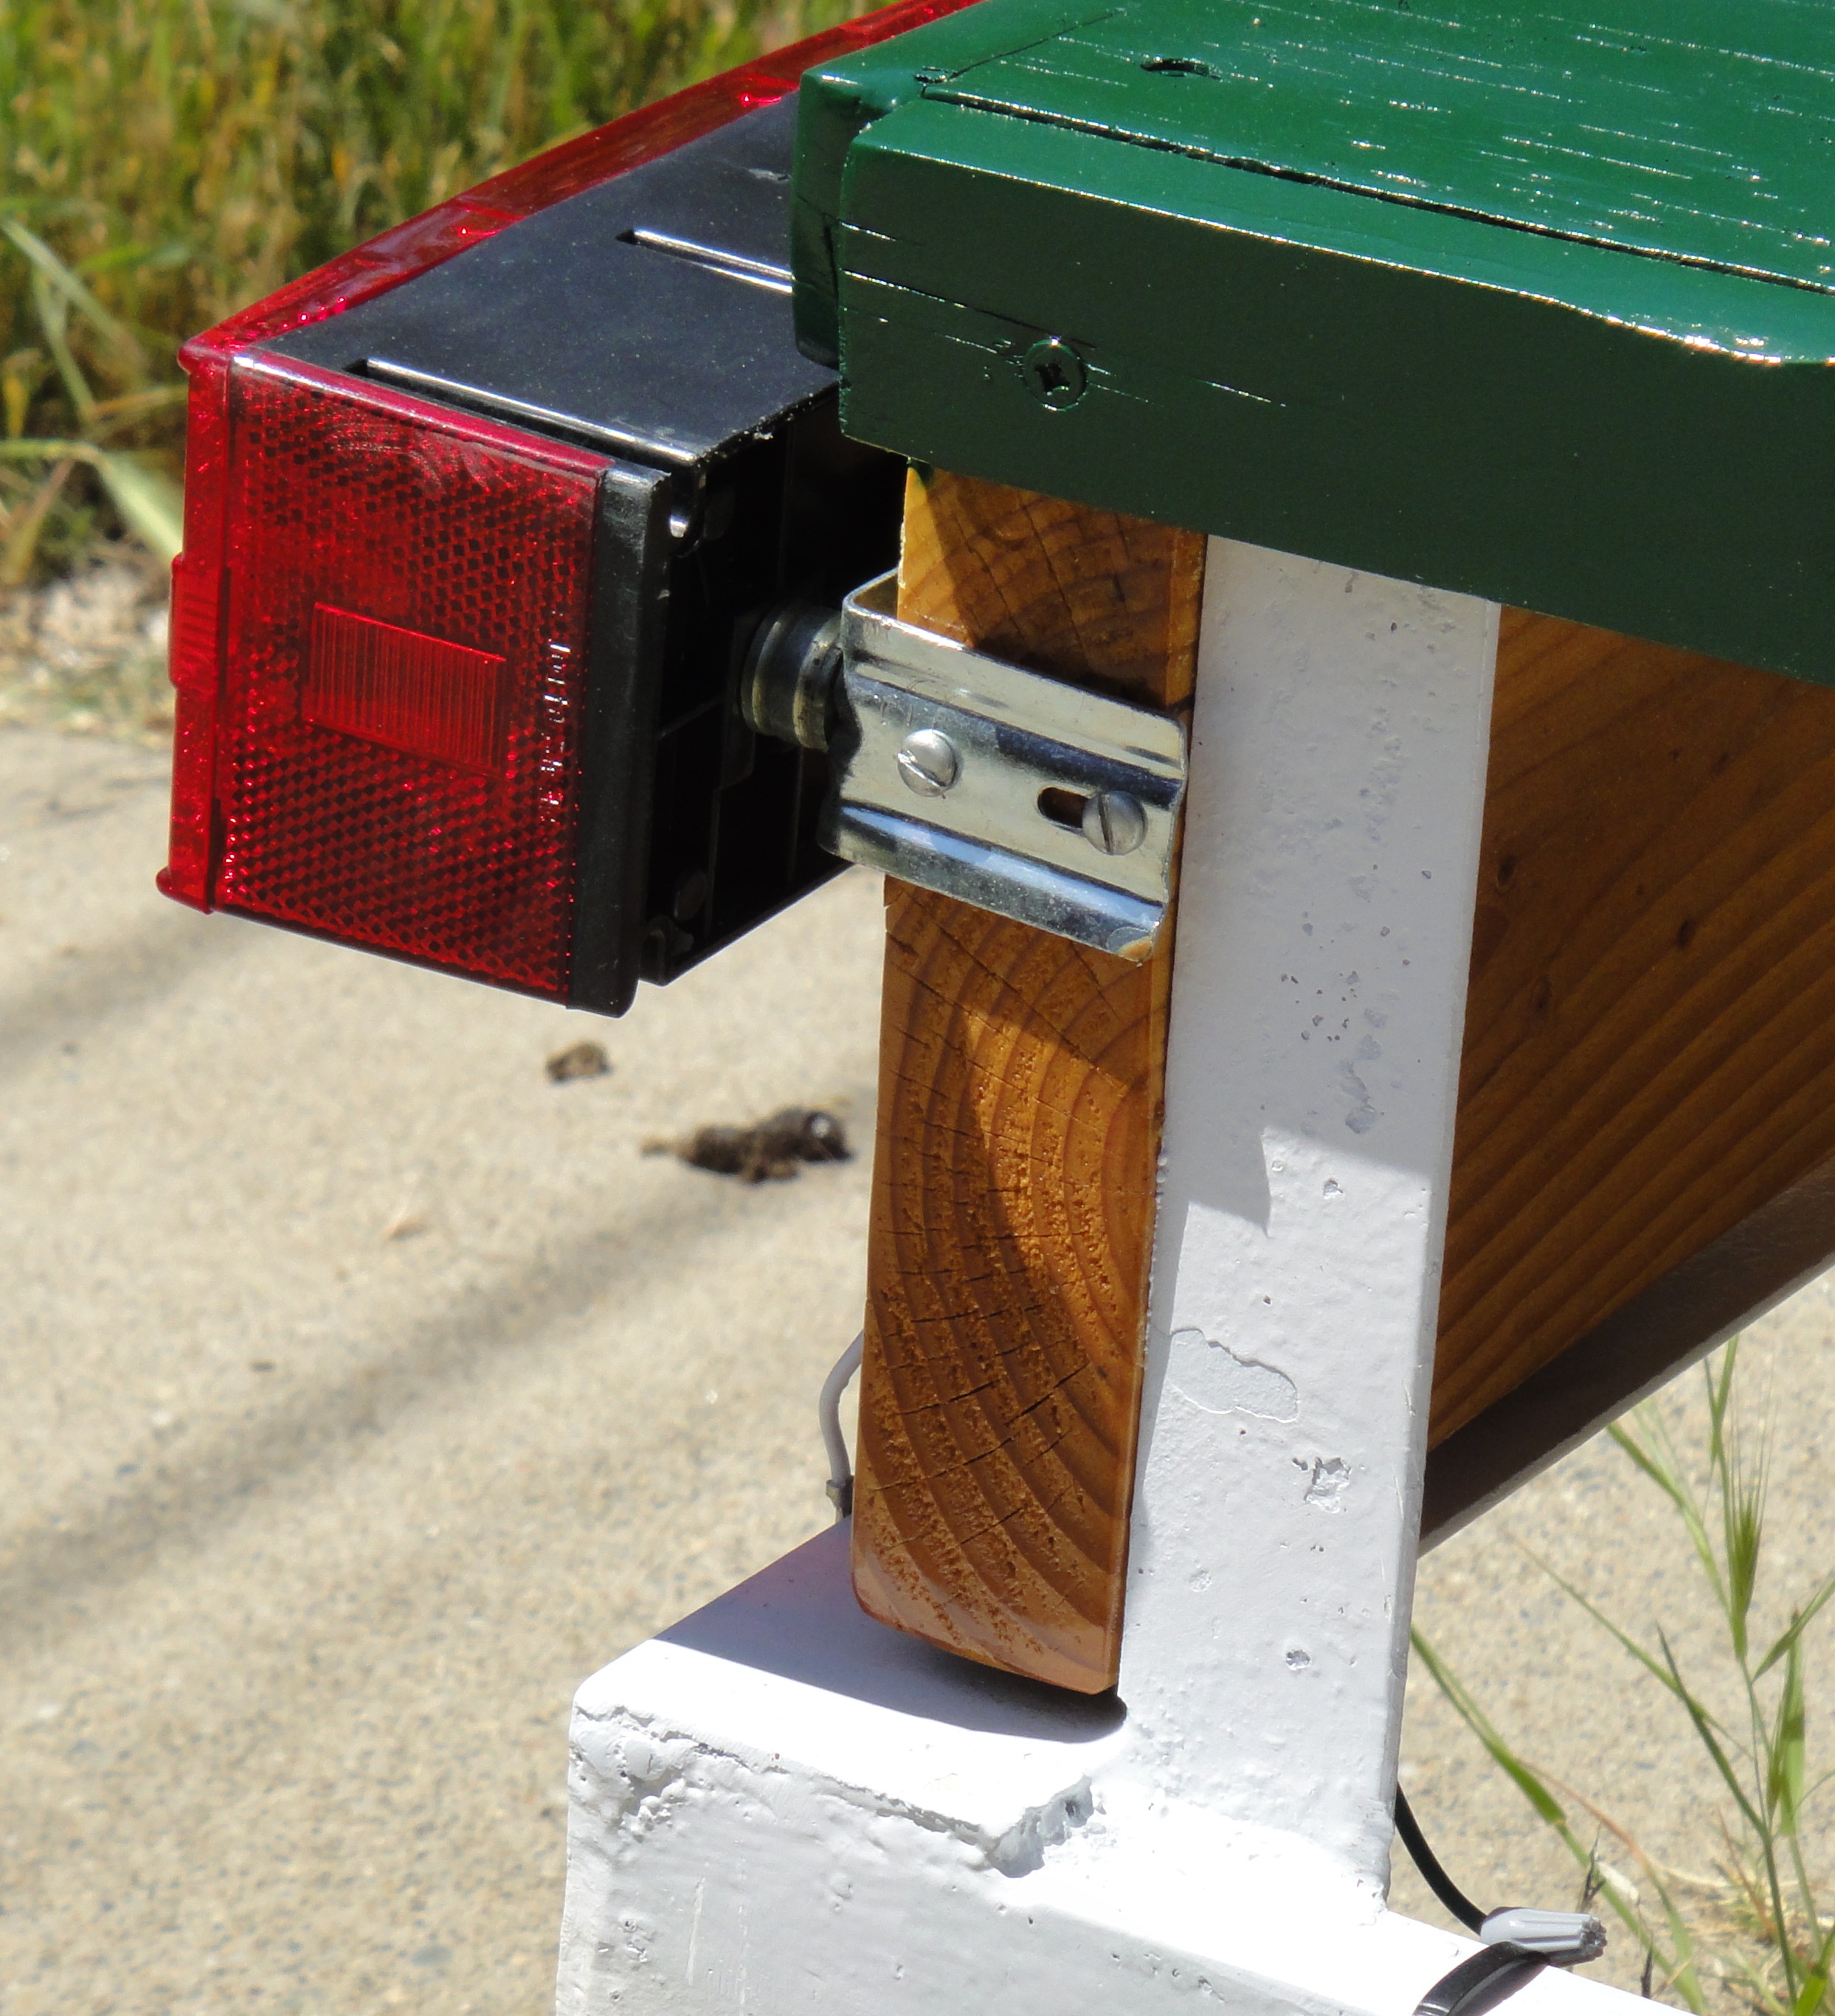 I used L-shaped brackets to mount the lights.
  Here’s the ratcheting winch with mil-surplus nylon camo line.
 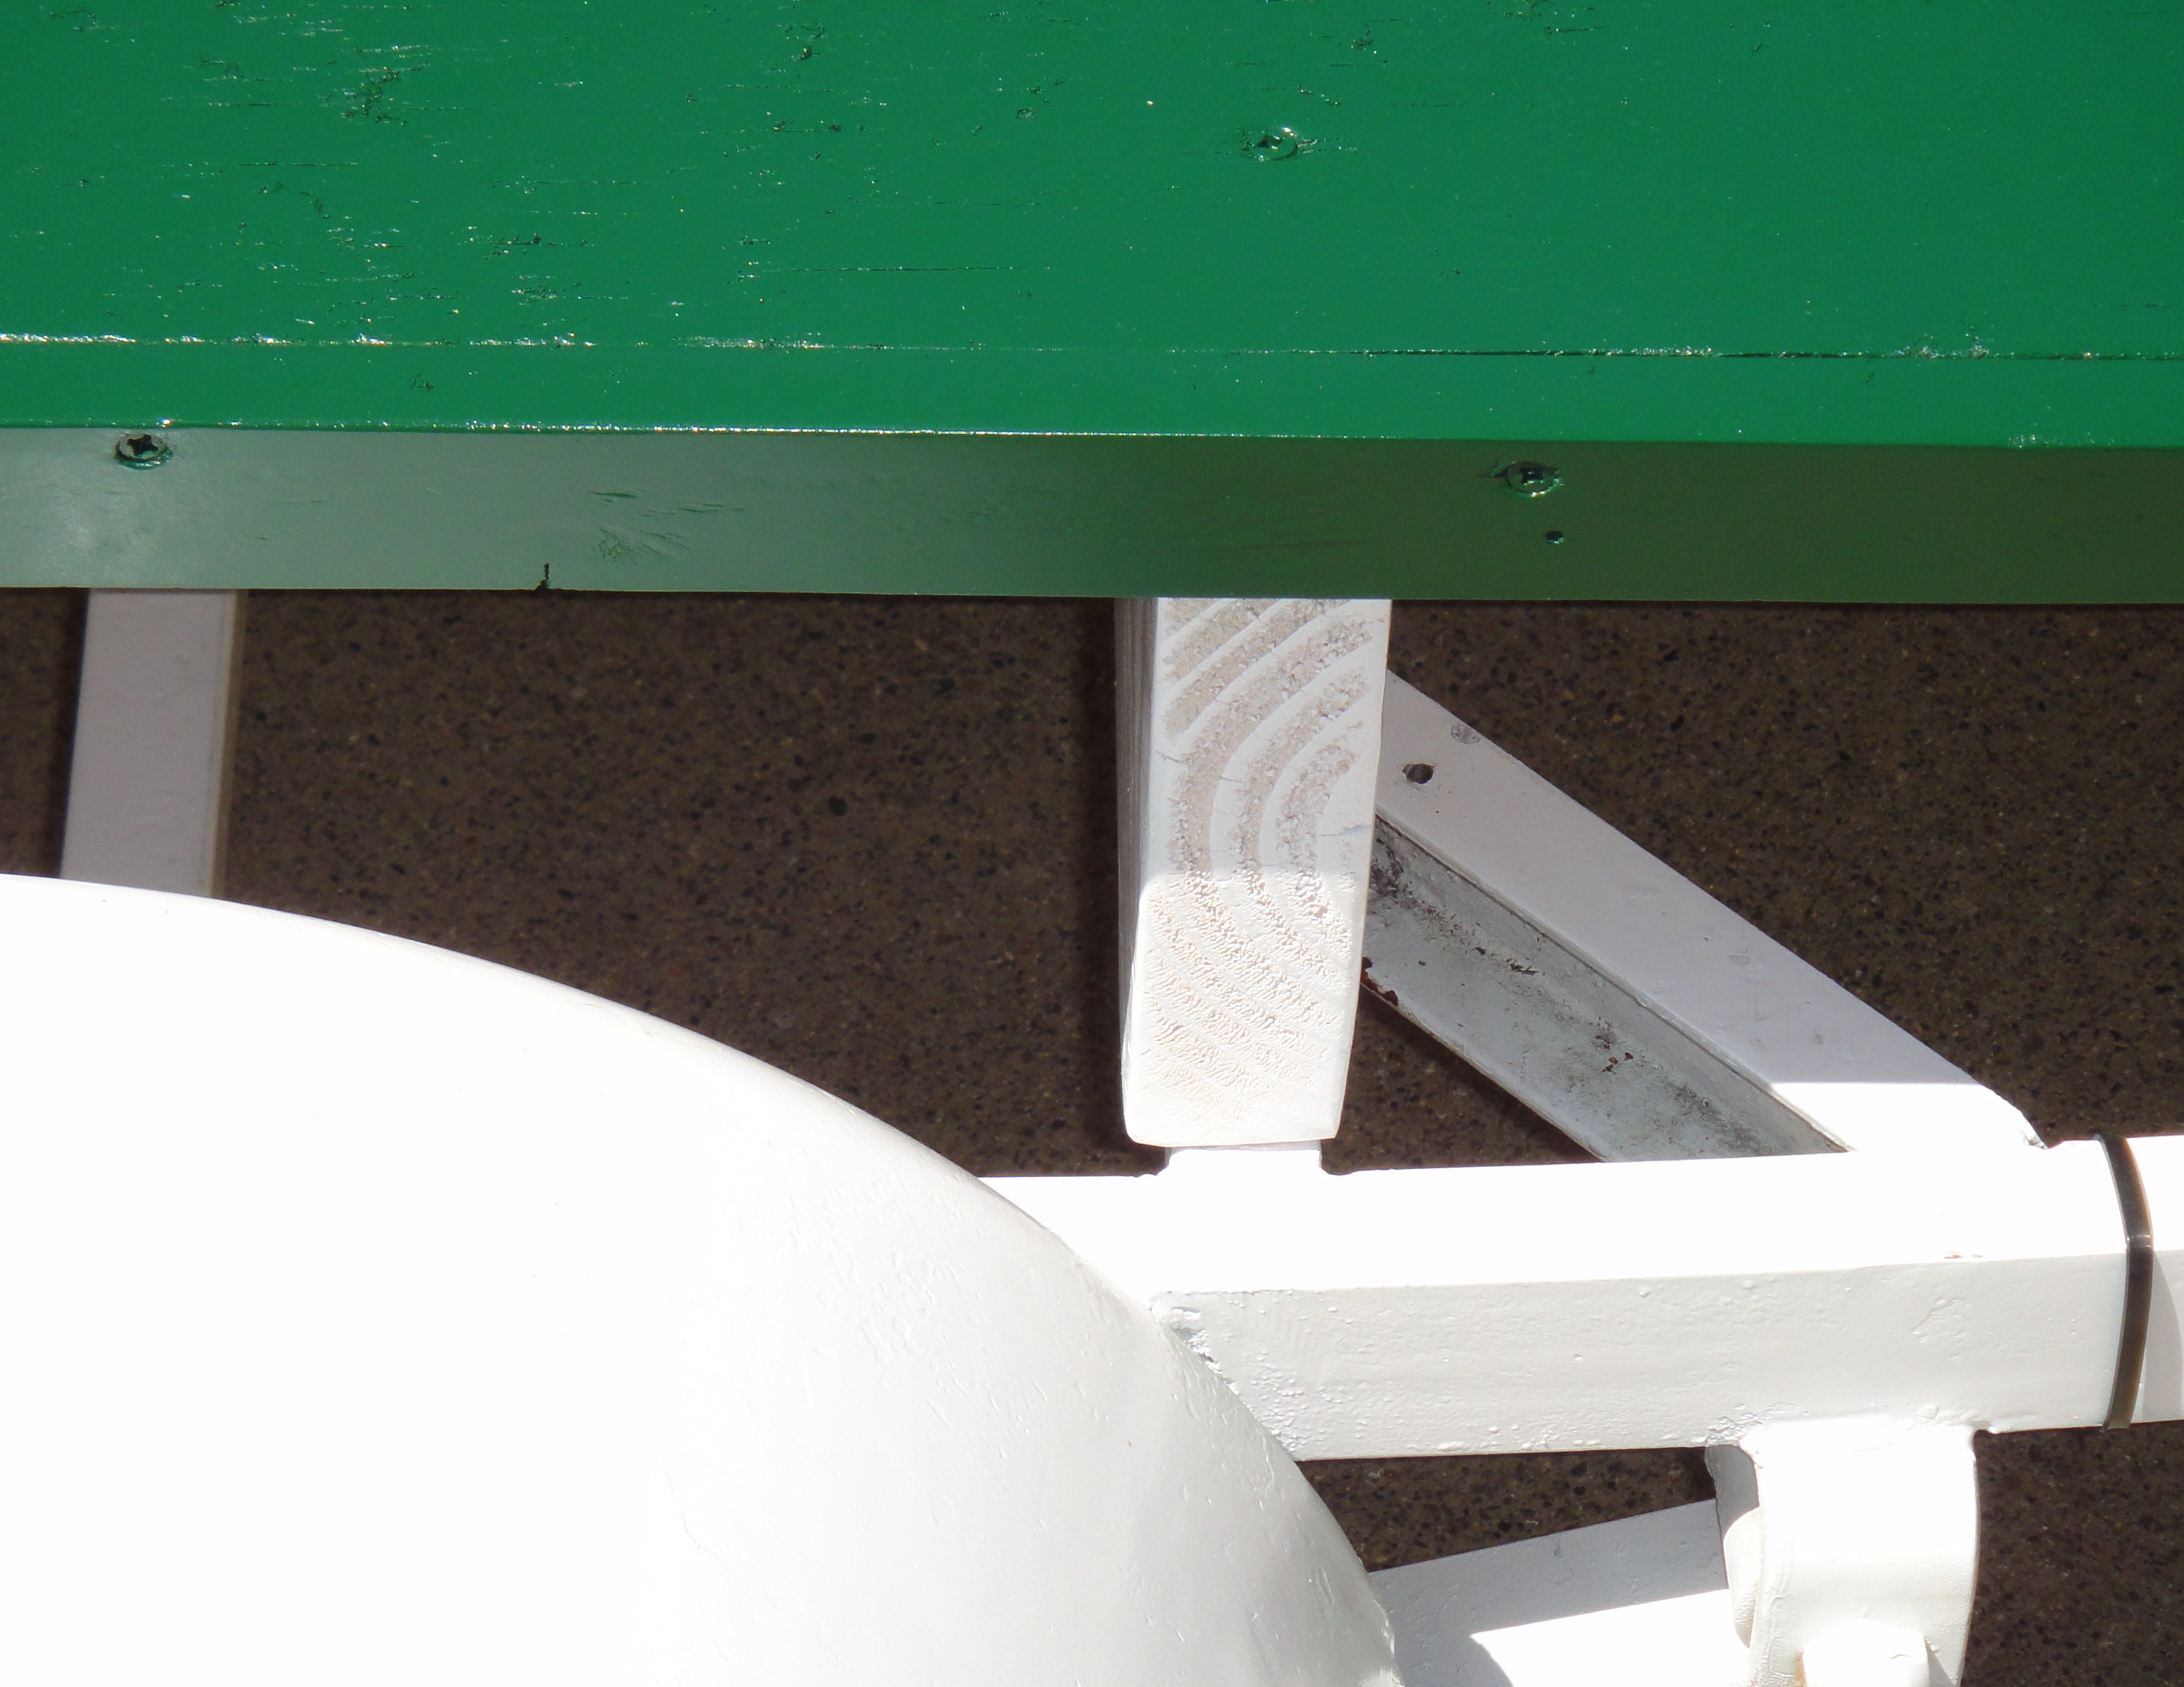 This shows the end of the middle support board. I used whatever bugle-headed drywall screws I had lying around for the deck and used zip-ties to tidy up the wiring.
 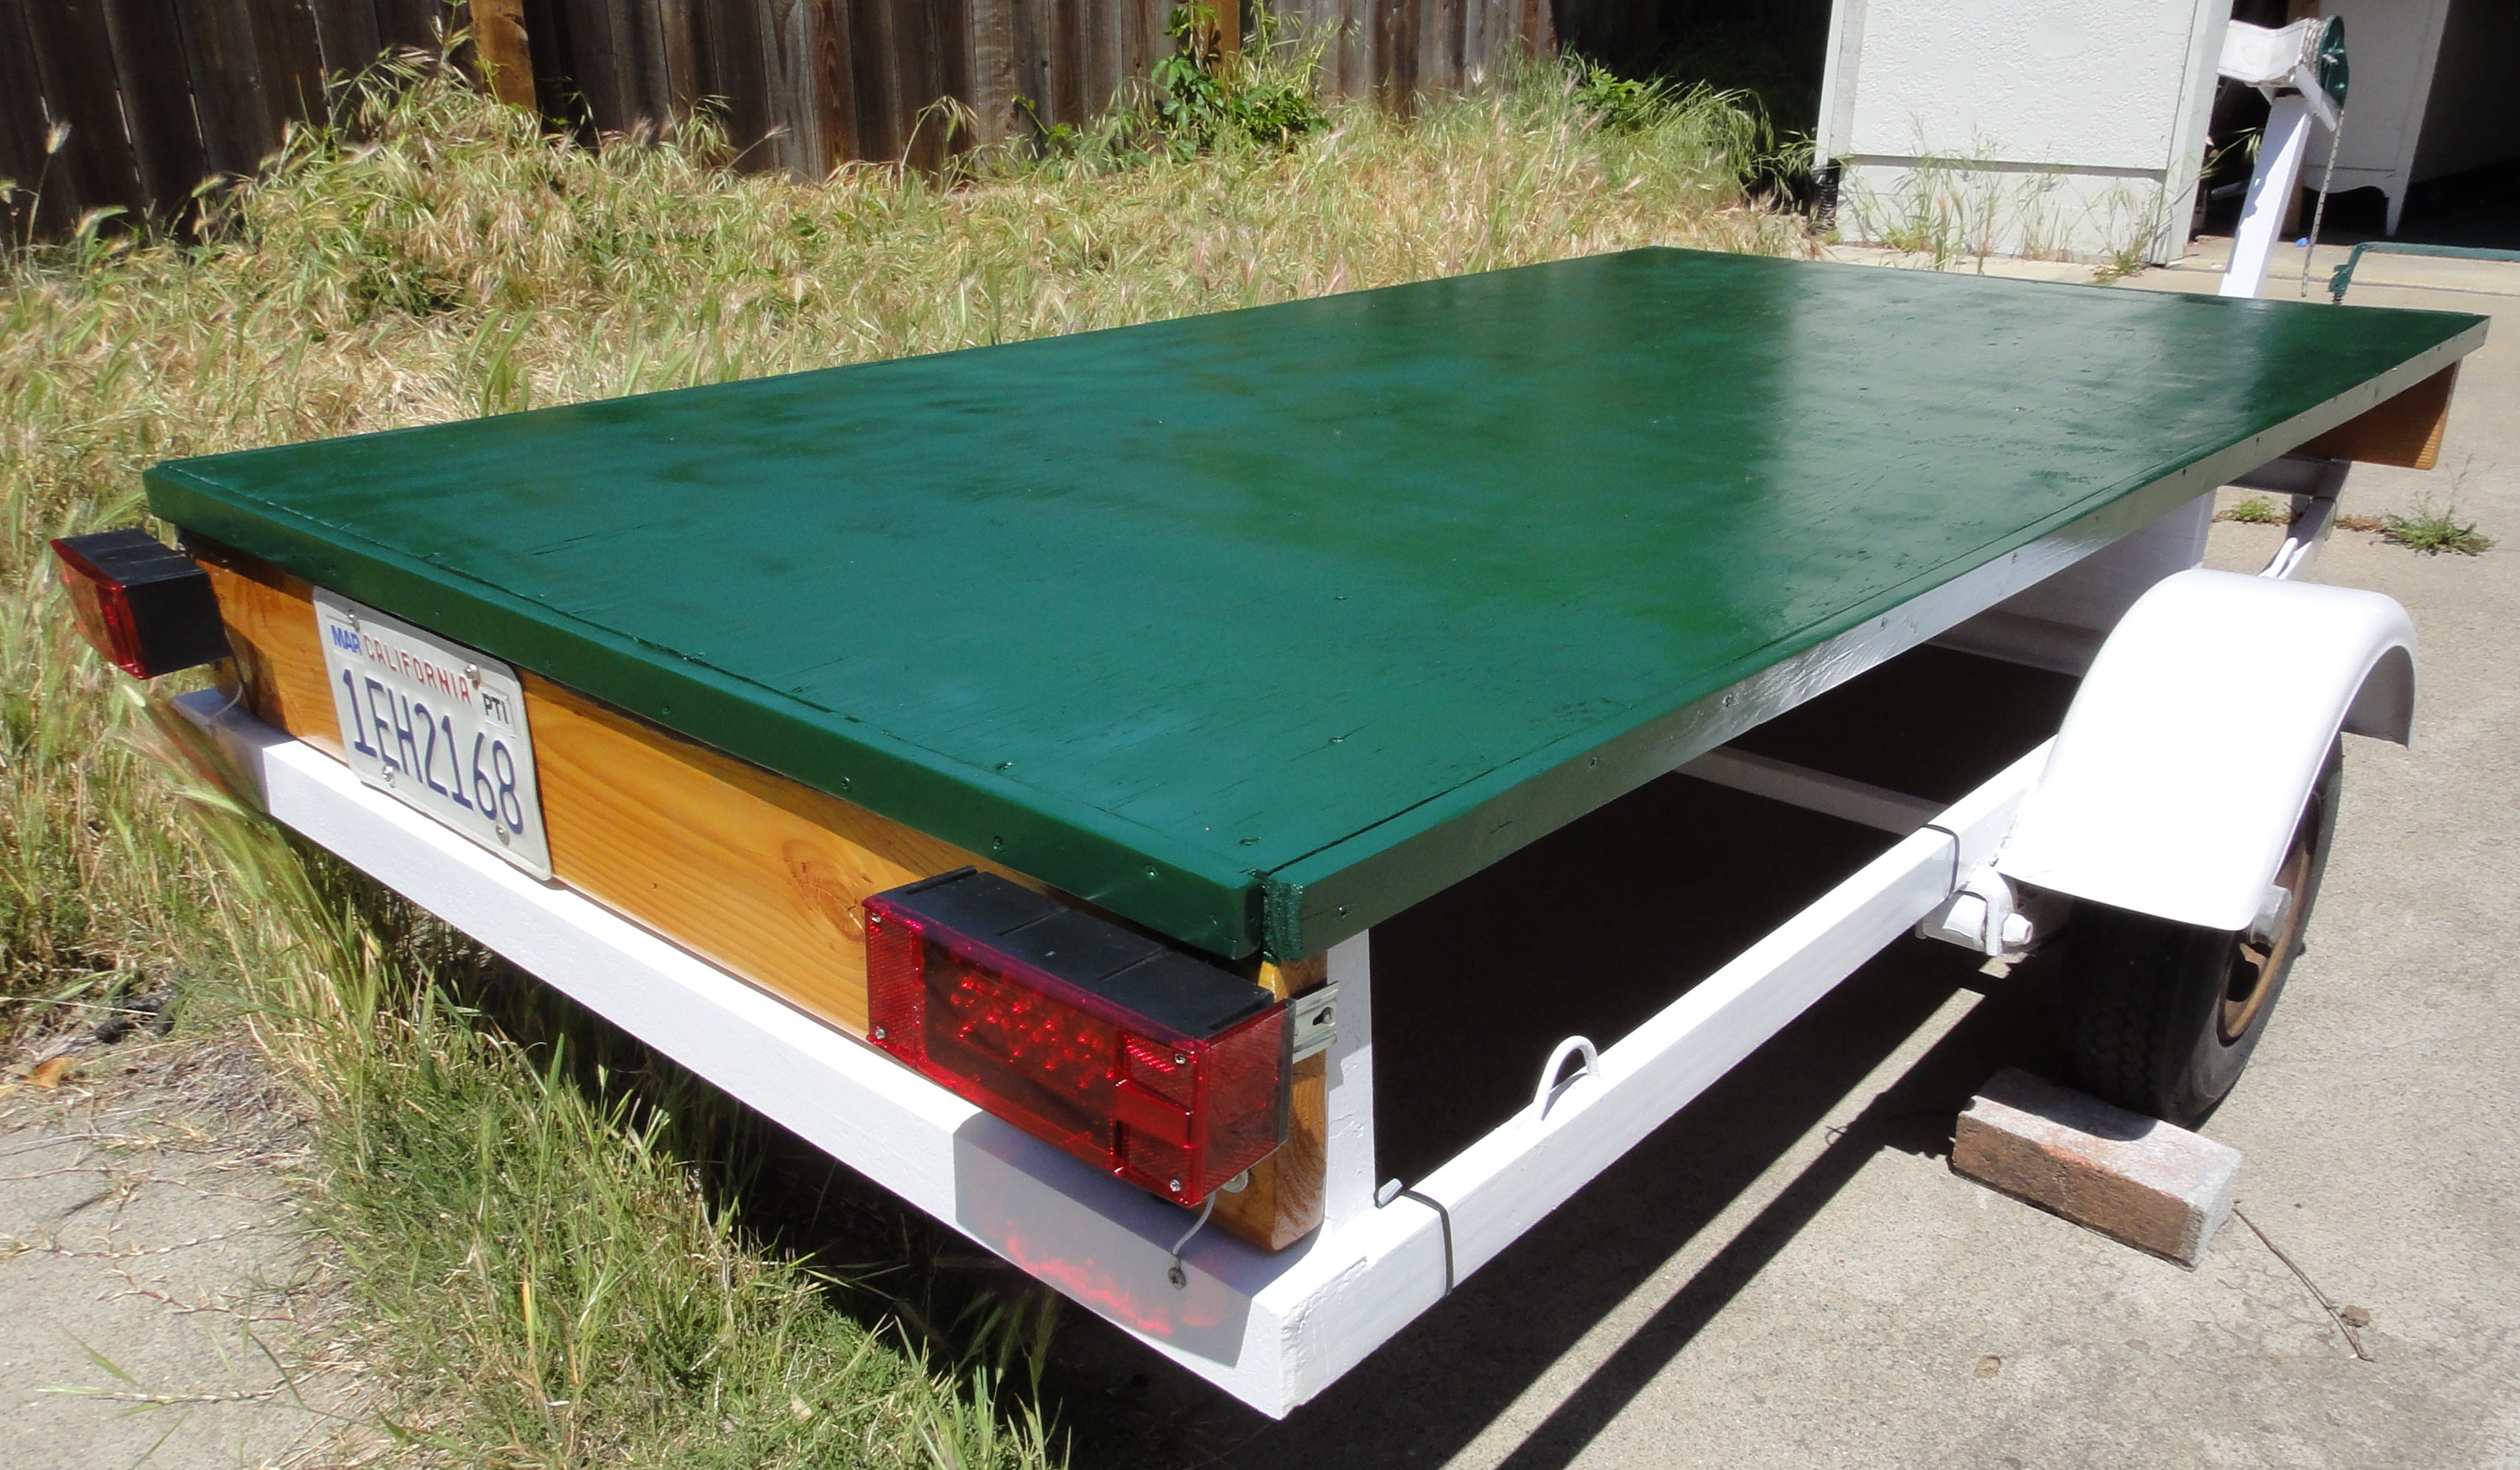 Here it is pictured finished. Not shown is the several hours work I needed to grease and replace the bearings. It was not too difficult but the cover caps didn’t fit after the job so I used the hunter green jingle-can paint caps instead. The one-time California DMV cost for registration of the trailer was only $10. Cheap! But since I built this thing I no longer have a vehicle capable of towing it so I’m selling it for $300 in the Roseville, CA area if anyone is interested.
[7/30/15-Sold for $250 to Charlie from Napa who’s going to tow his Pygmy Boat sail/pulling boat with it. Calm seas or fair winds Charlie.]
Unless otherwise noted, all text and images produced and copyrighted by todgermanica.com and are free to use with attribution.
Any advertisement you see on these pages is chosen, placed and monetized by WordPress. I am neither consulted nor compensated by WordPress.
