My Cheapskate Tips series on fixing up an old house while living on board it continues here with linen closet repainting and flooring.

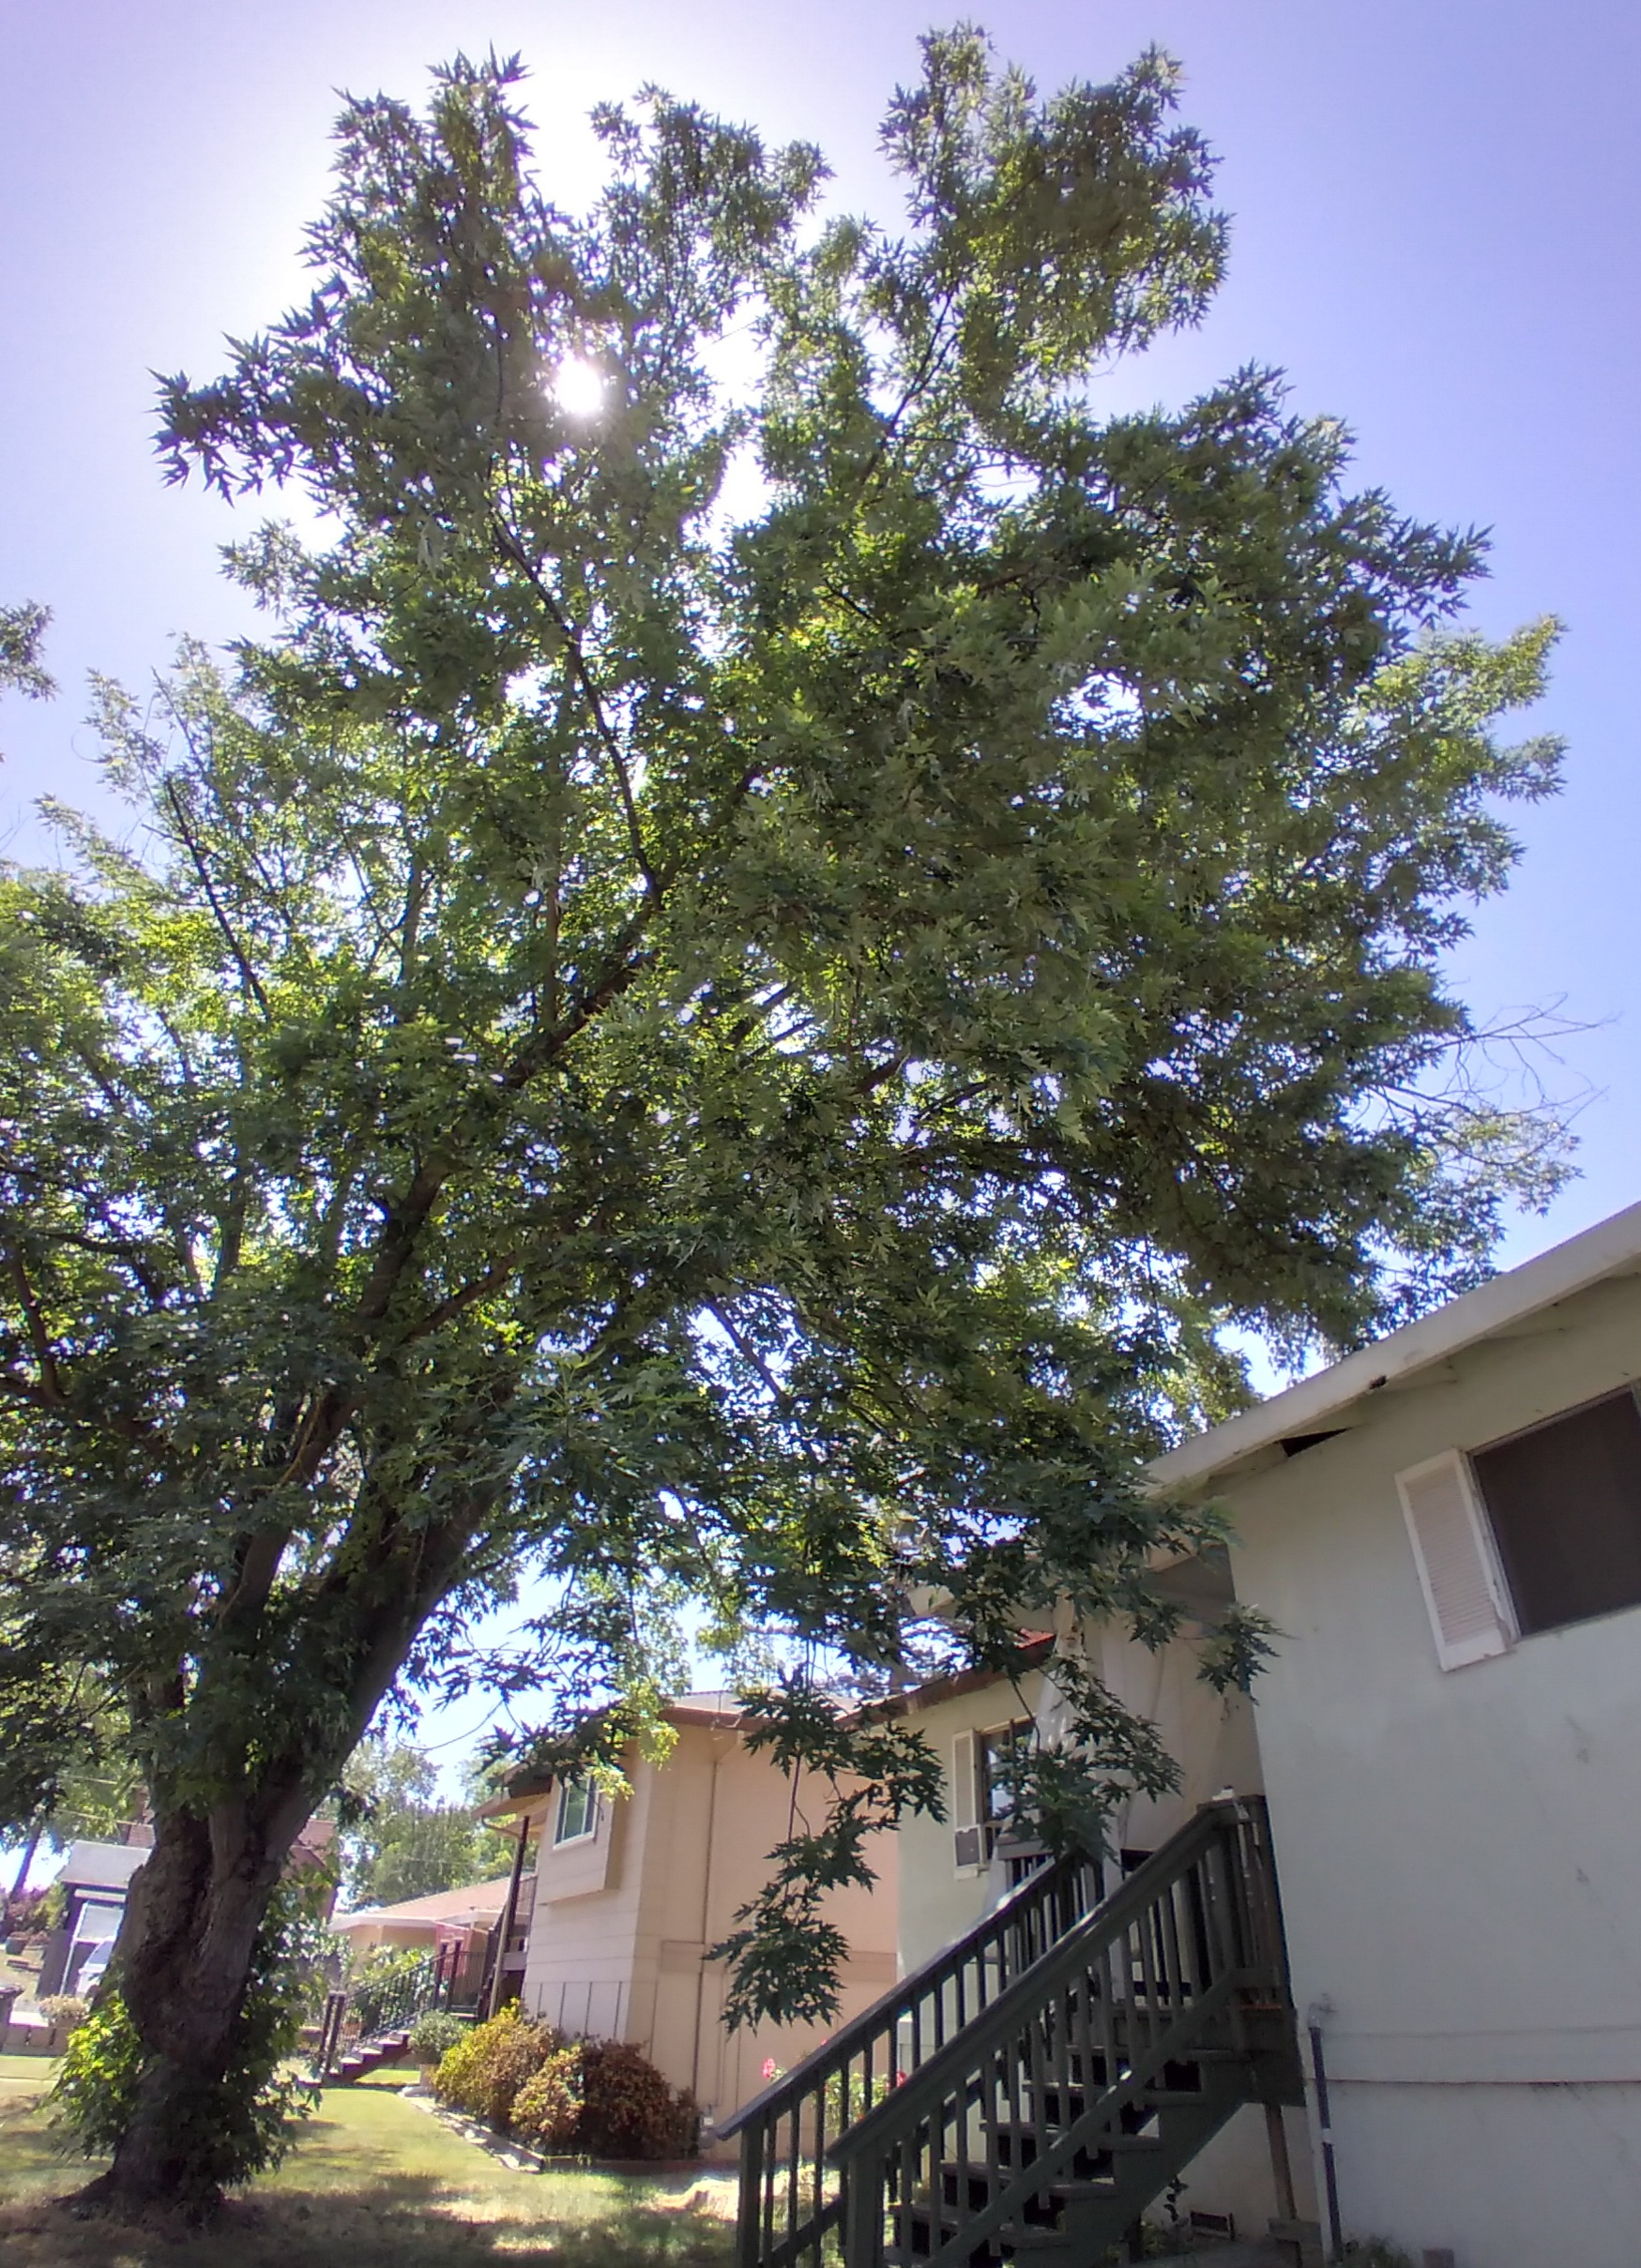
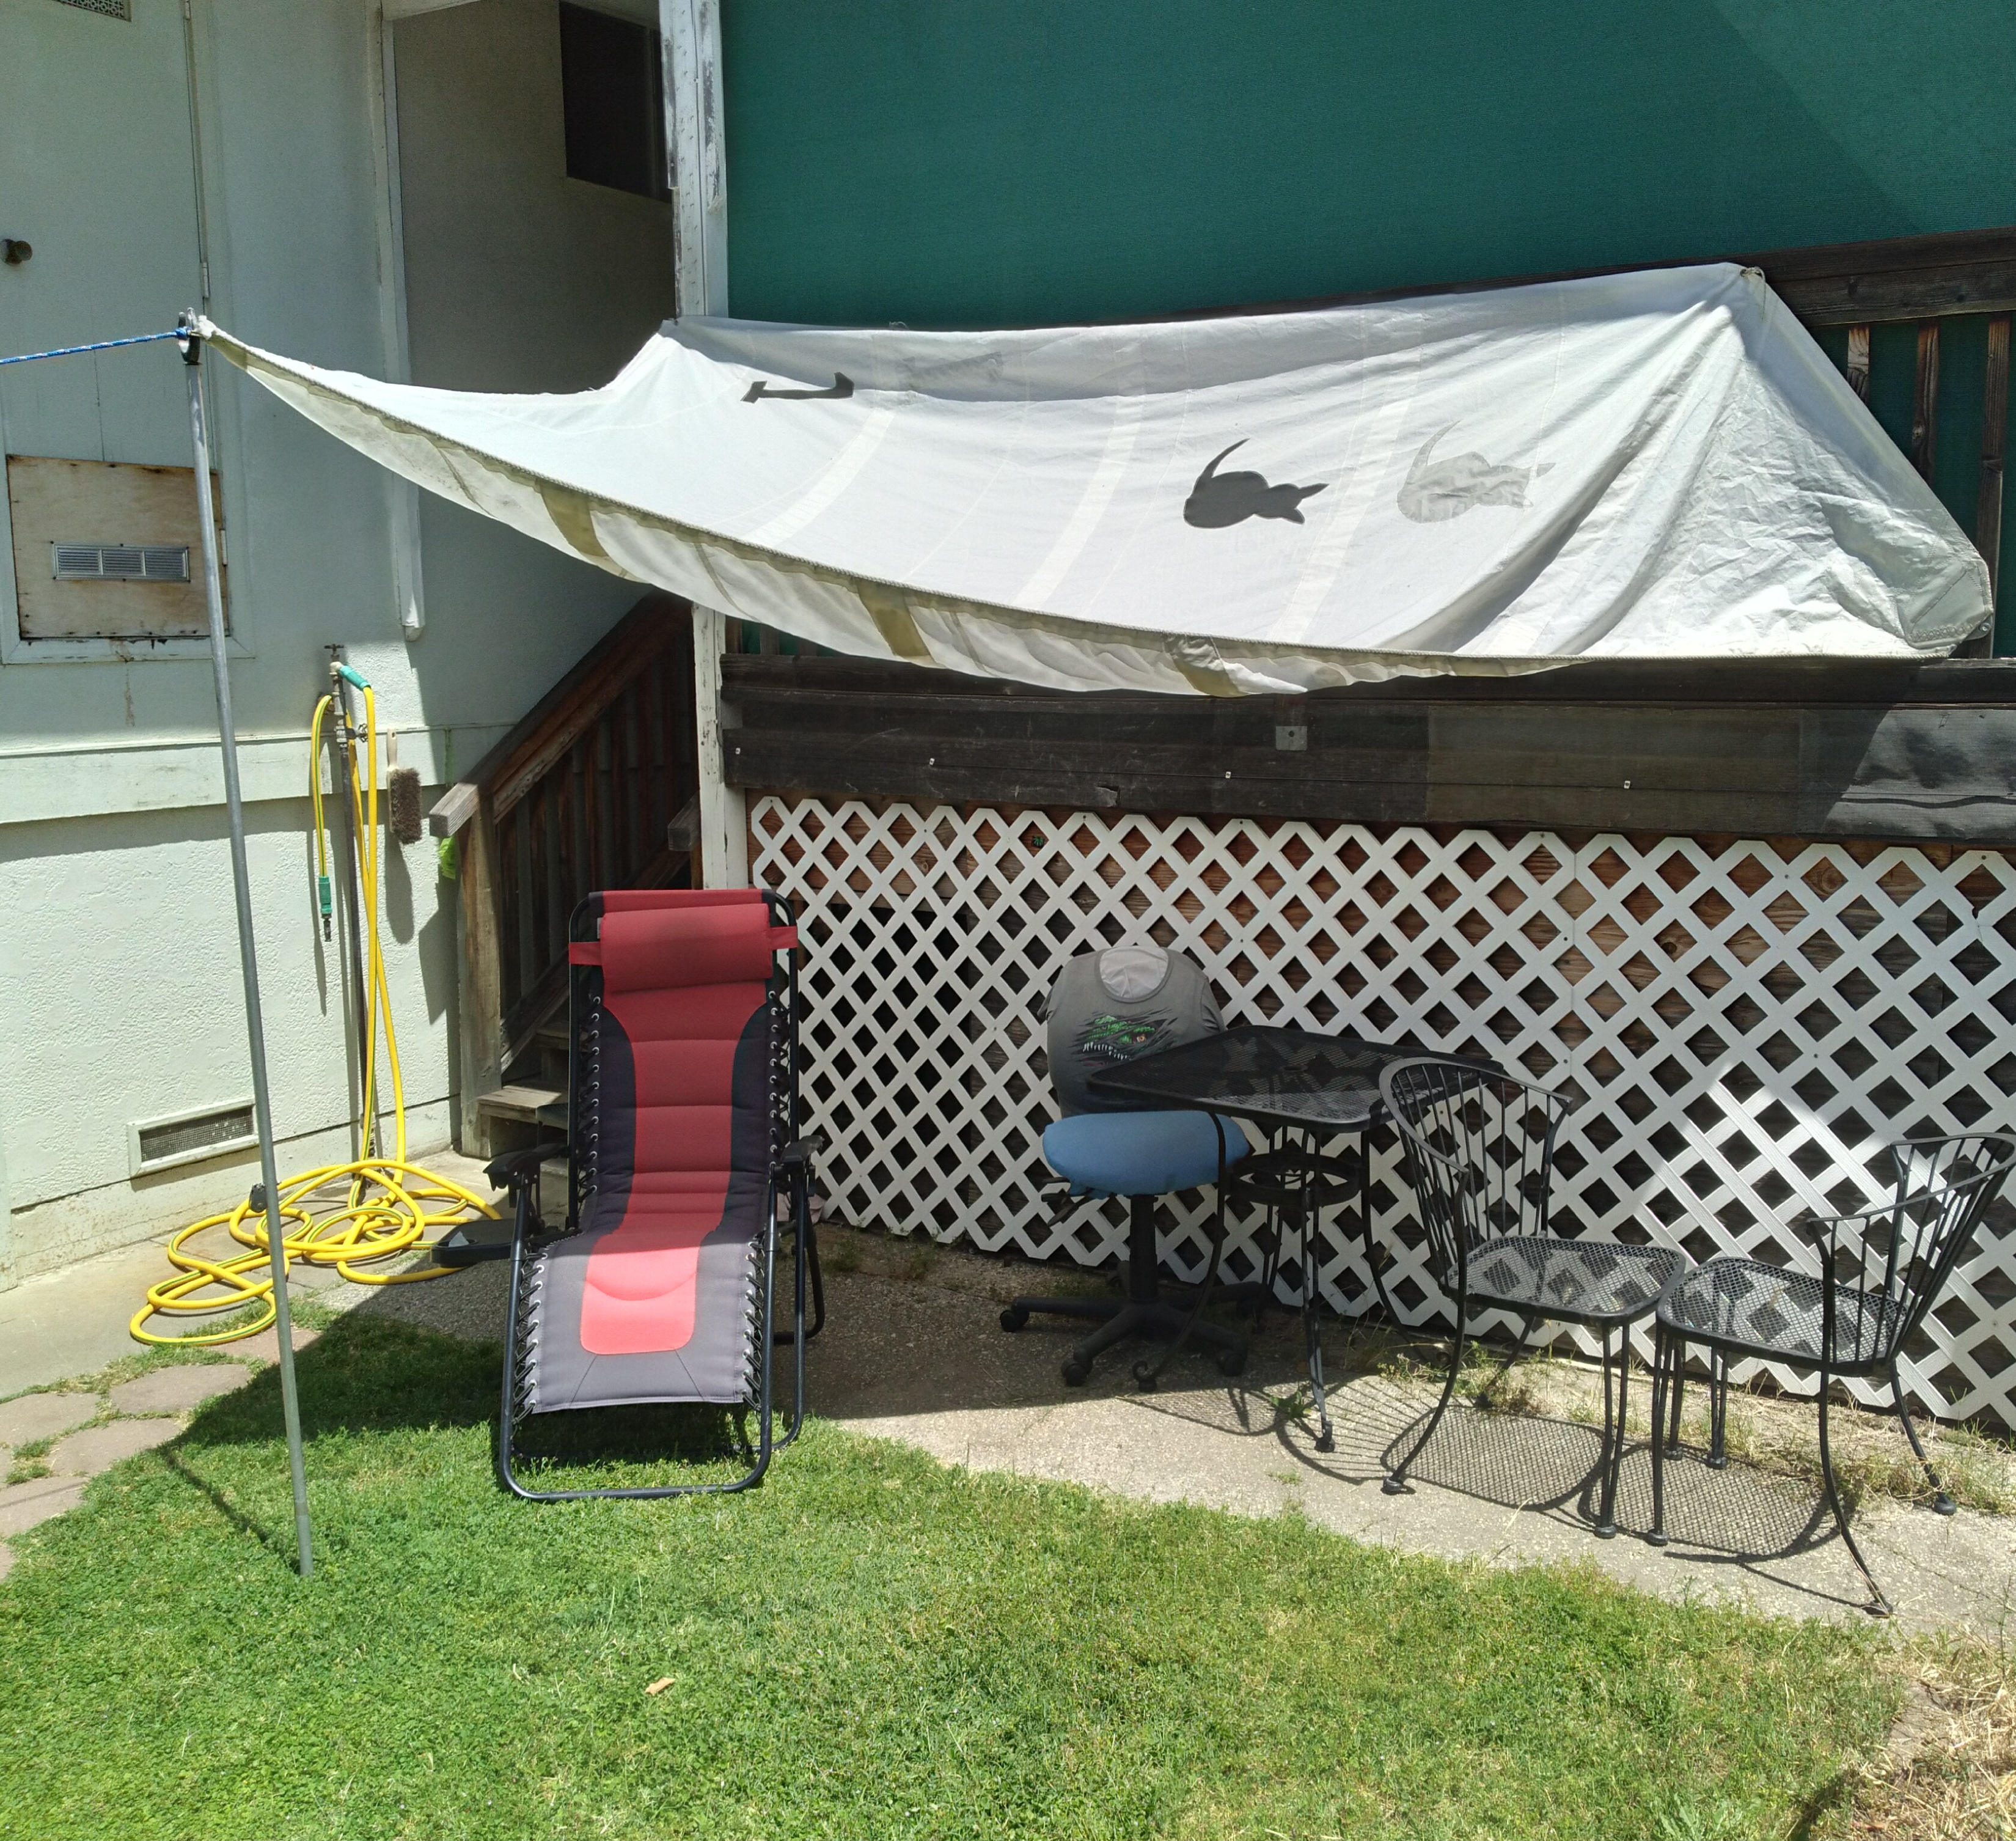
But first a tour of my old 1967 suburban 3-bdrm house near Dry Creek in old Roseville, California.
I love this decrepit old house in a great neighborhood, and feel lucky to be working on it again.
Glad arthritic and age related inflammation and strain have receded enough for me to work. With constant breaks. [This was prior to my recent hammer-toe surgery.]
It’s a perimeter foundation, wood frame, gorilla cage, built 16-inches-on-center and hell for stout. Strong, flexible, quake resistant. Easy to burn though. Stay alert for termites.
Painting I especially dread because of the contortions needed to see what you’re doing. Pretty important that I keep my spine aligned with my head, and dead level most of the time.
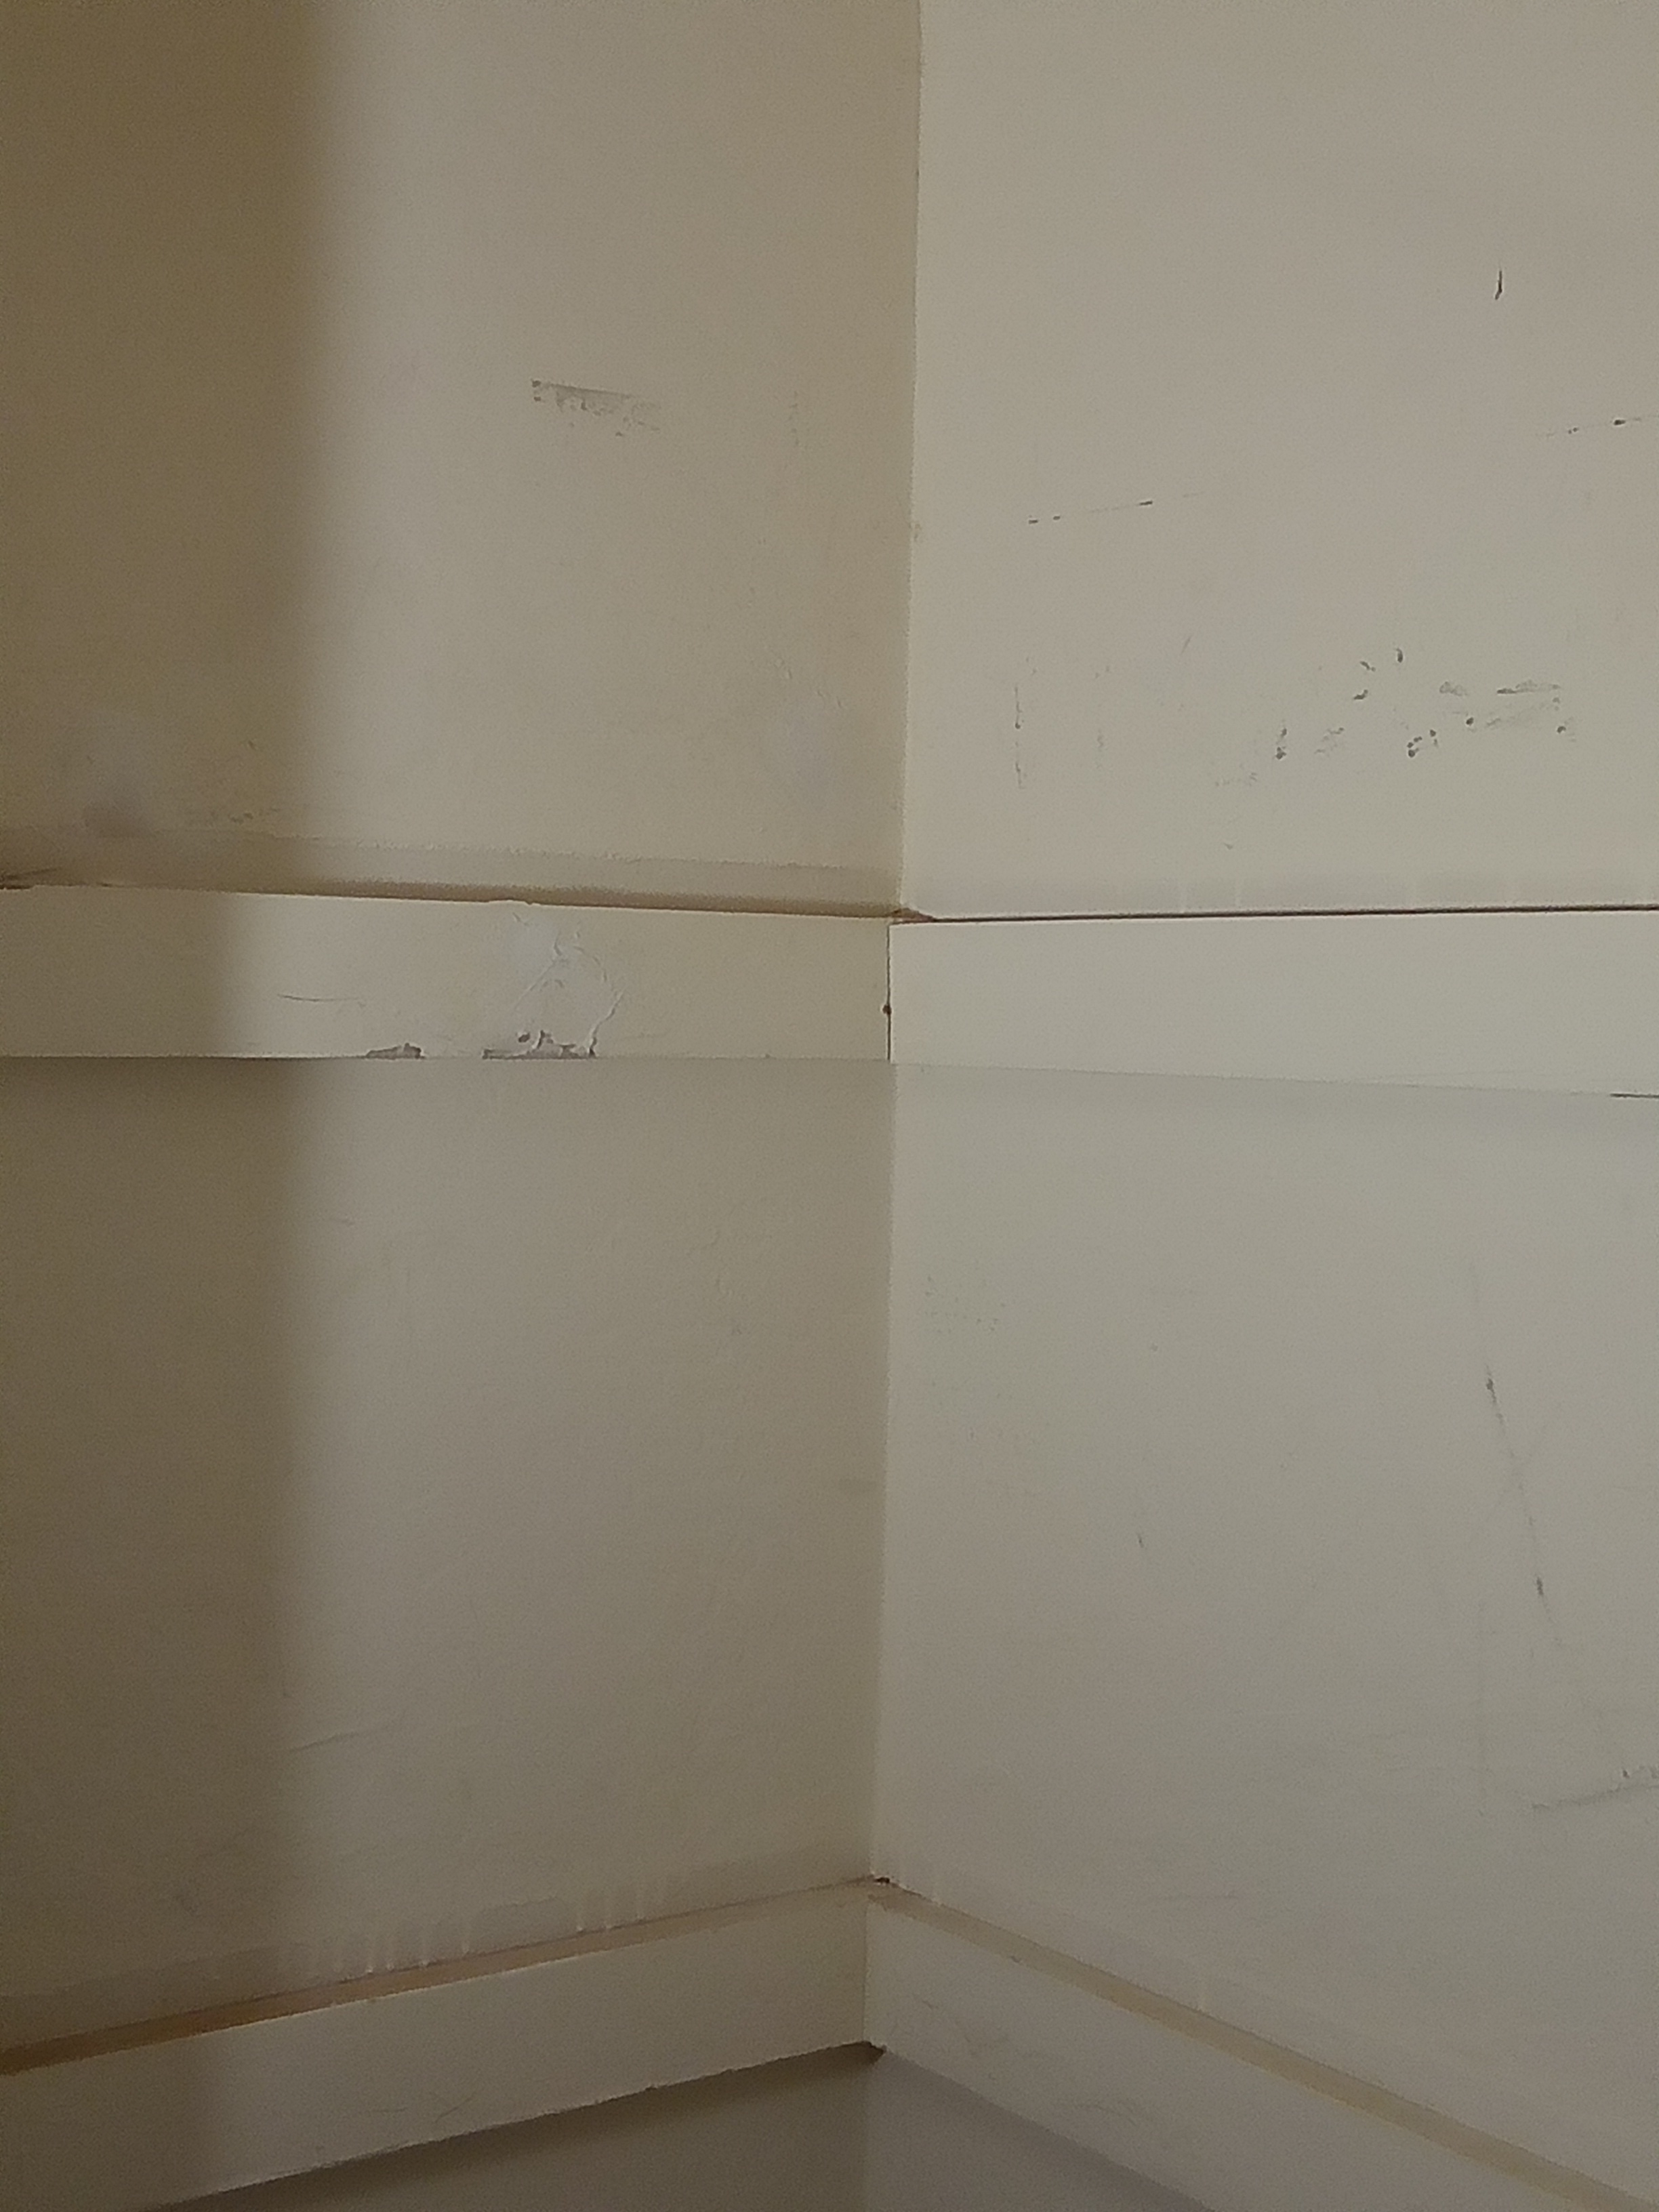
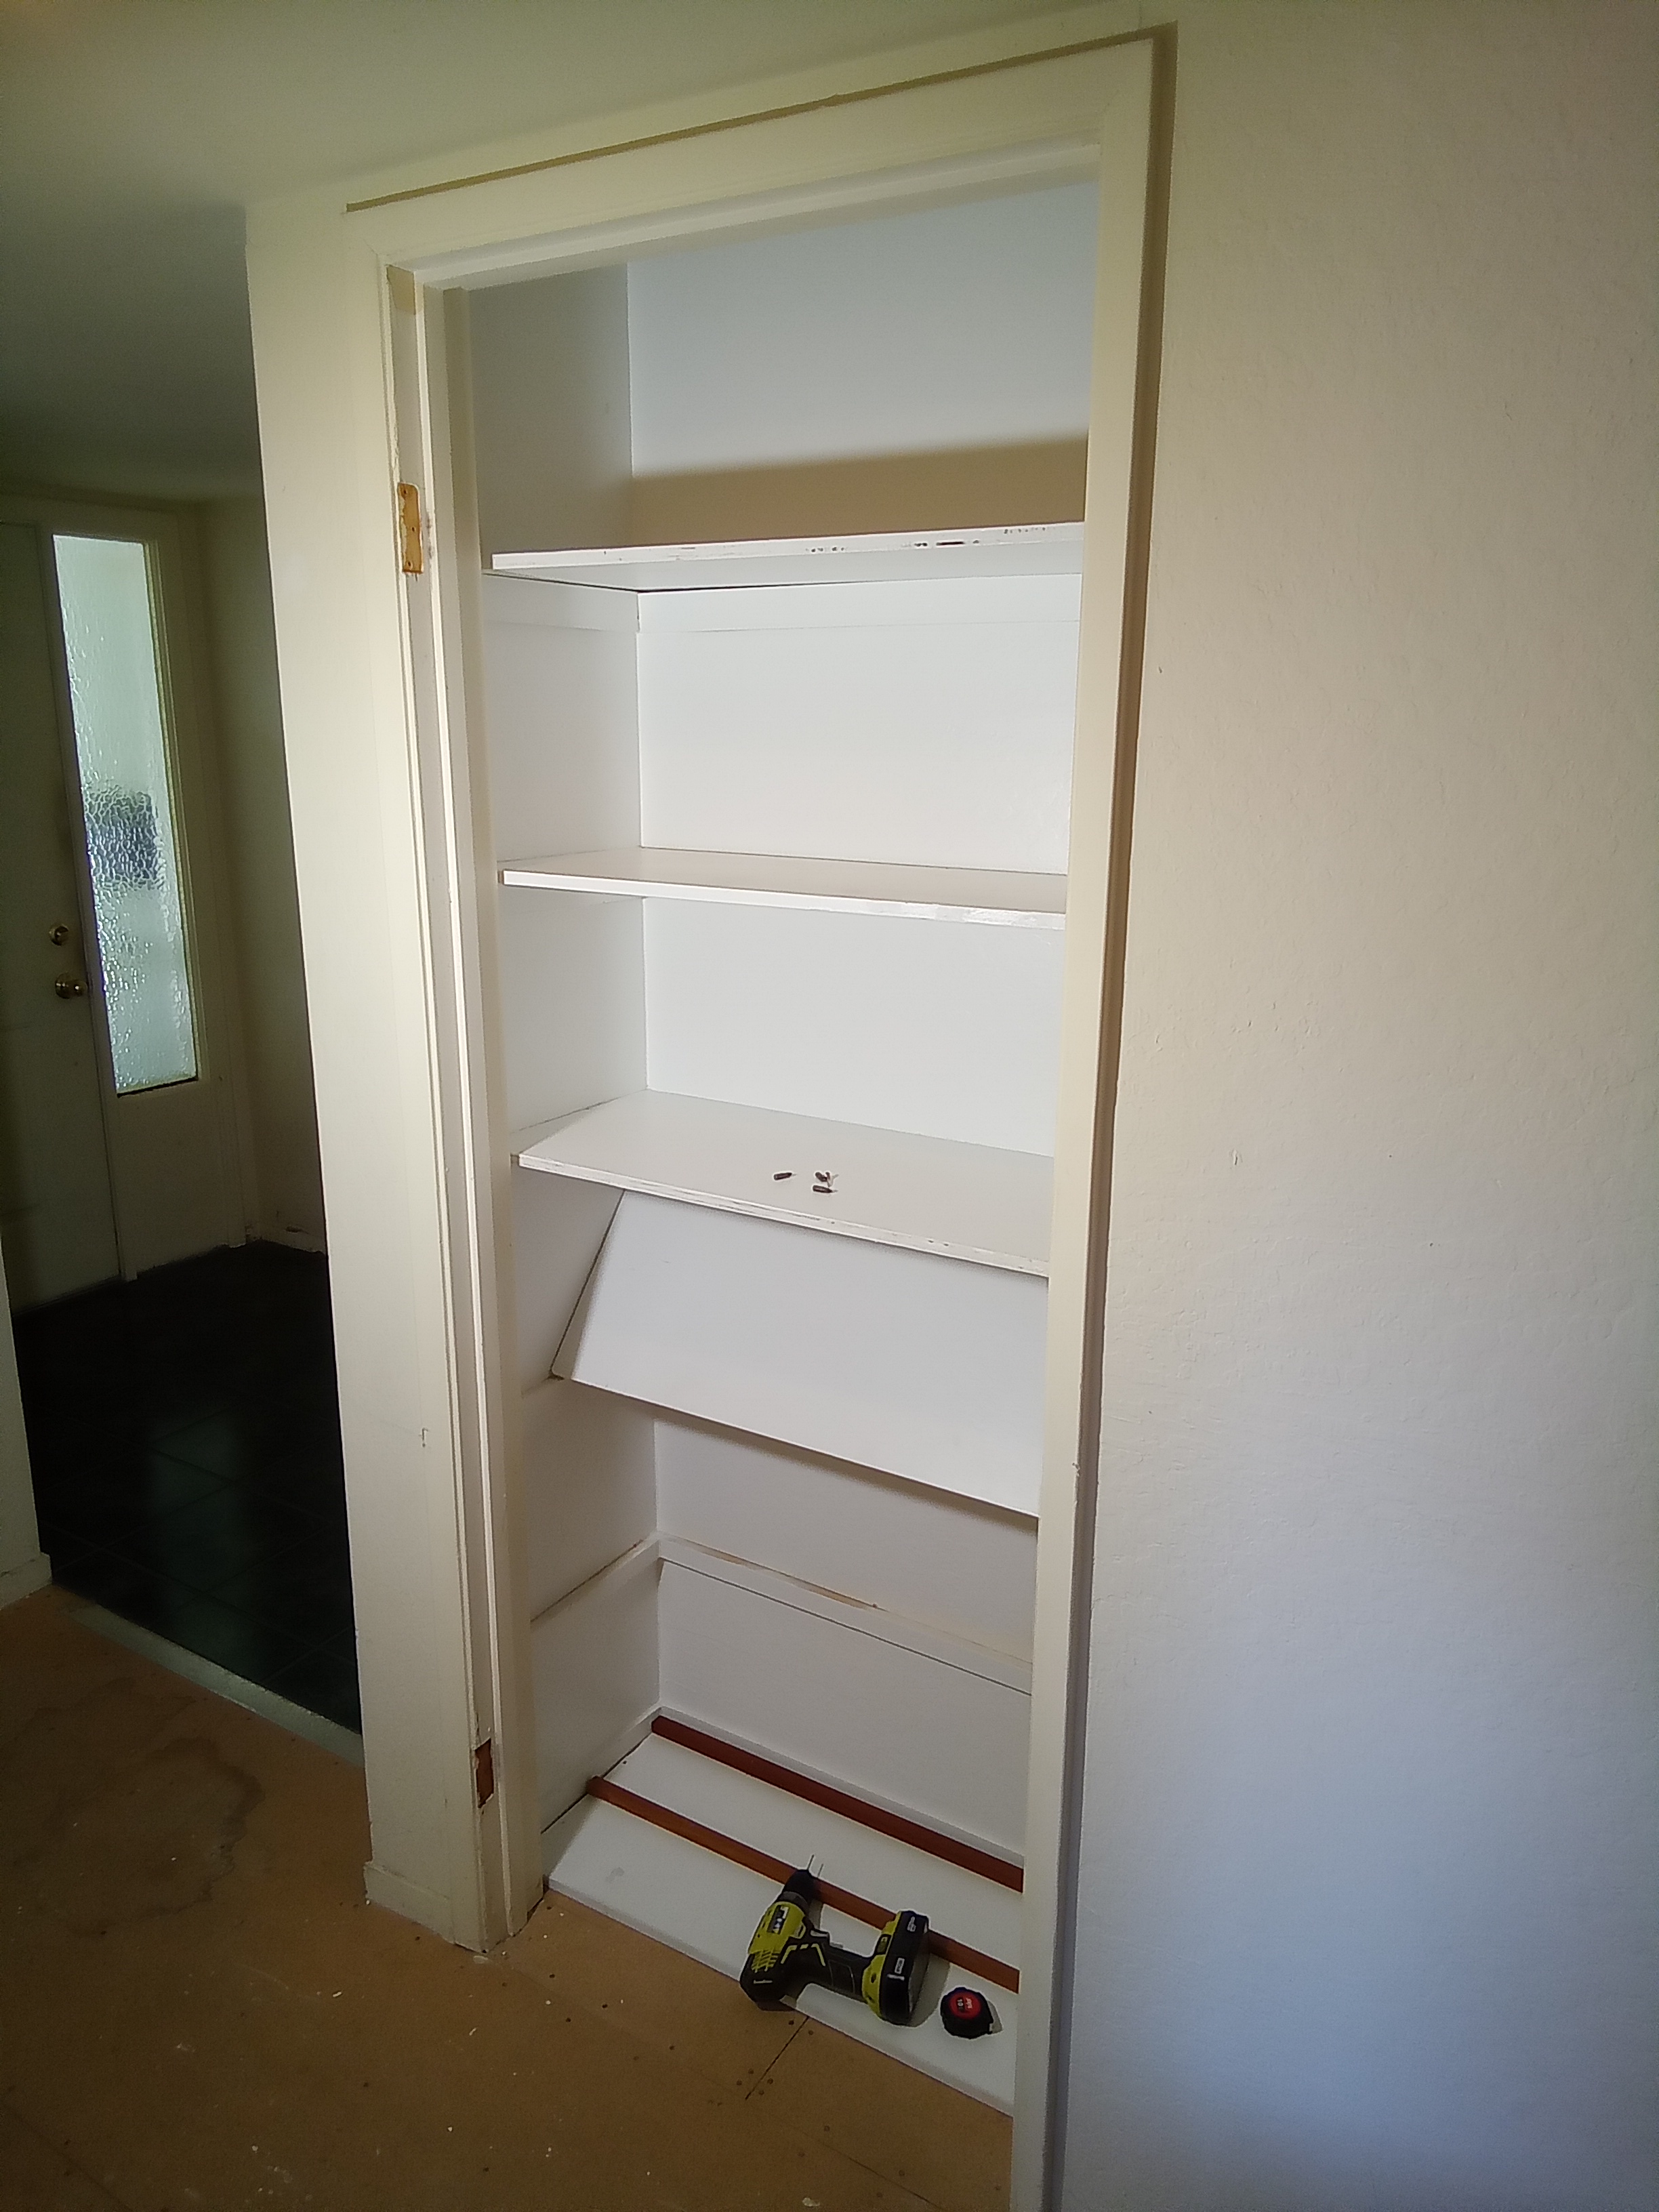
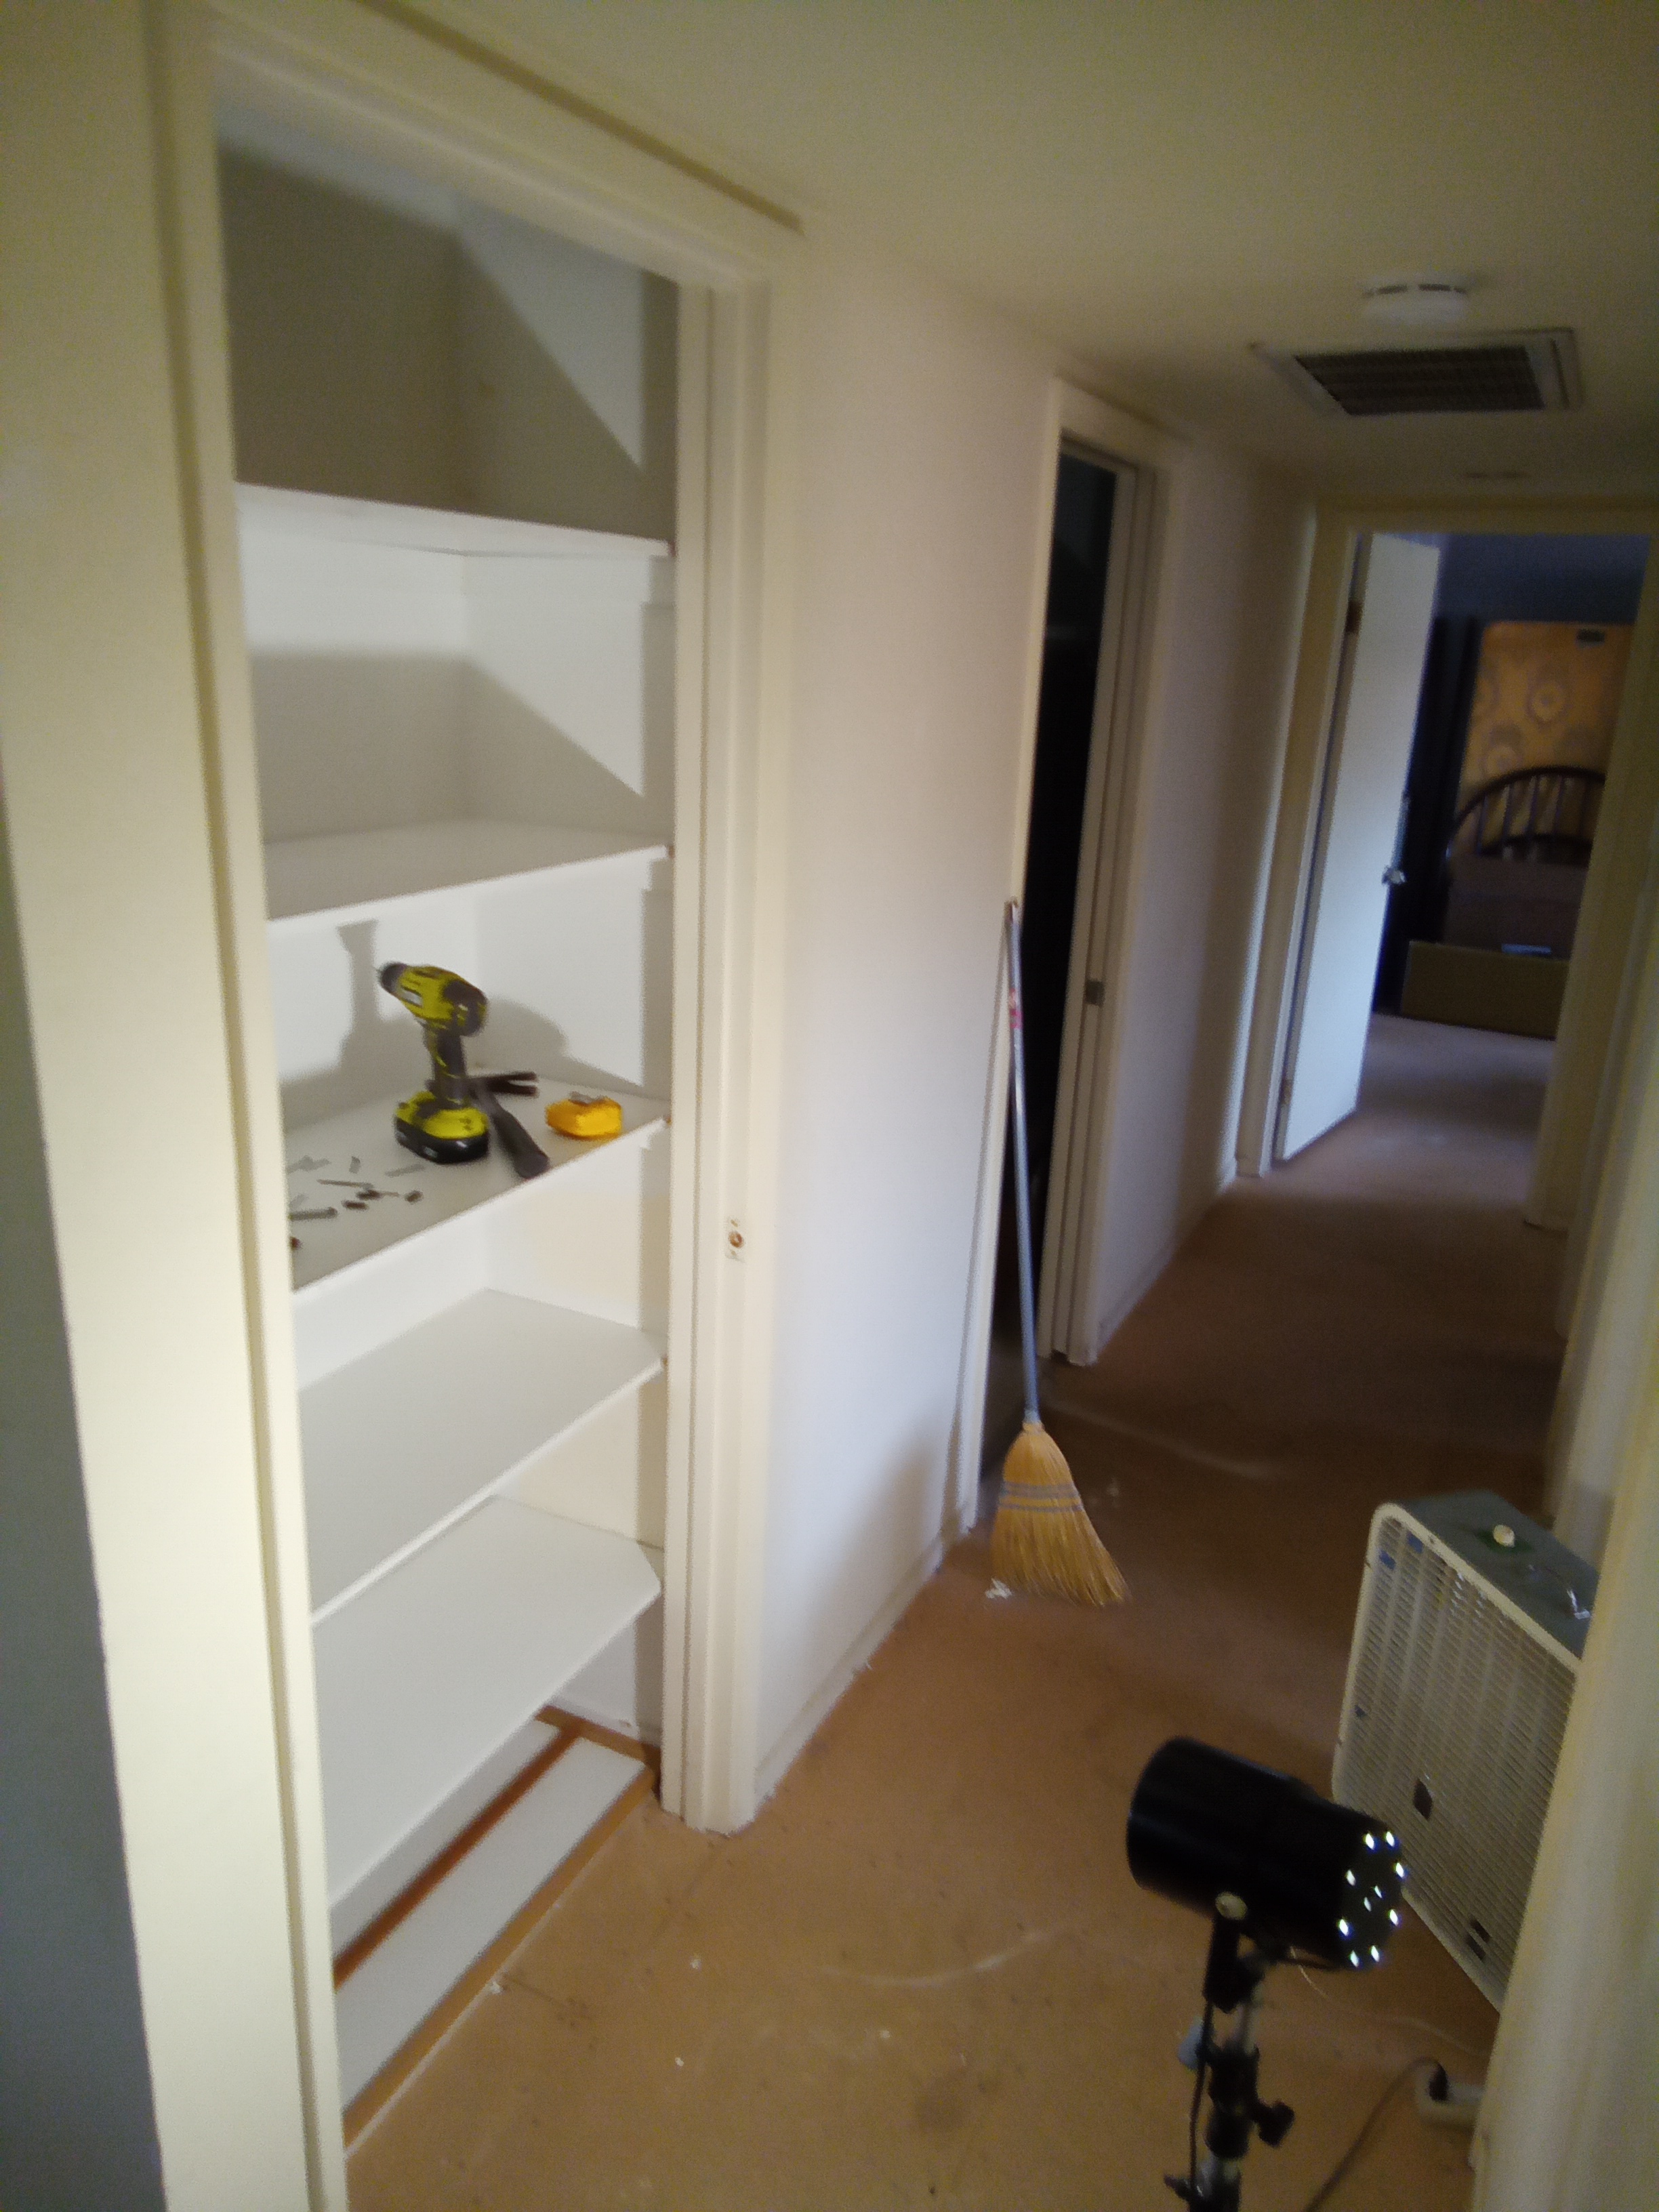
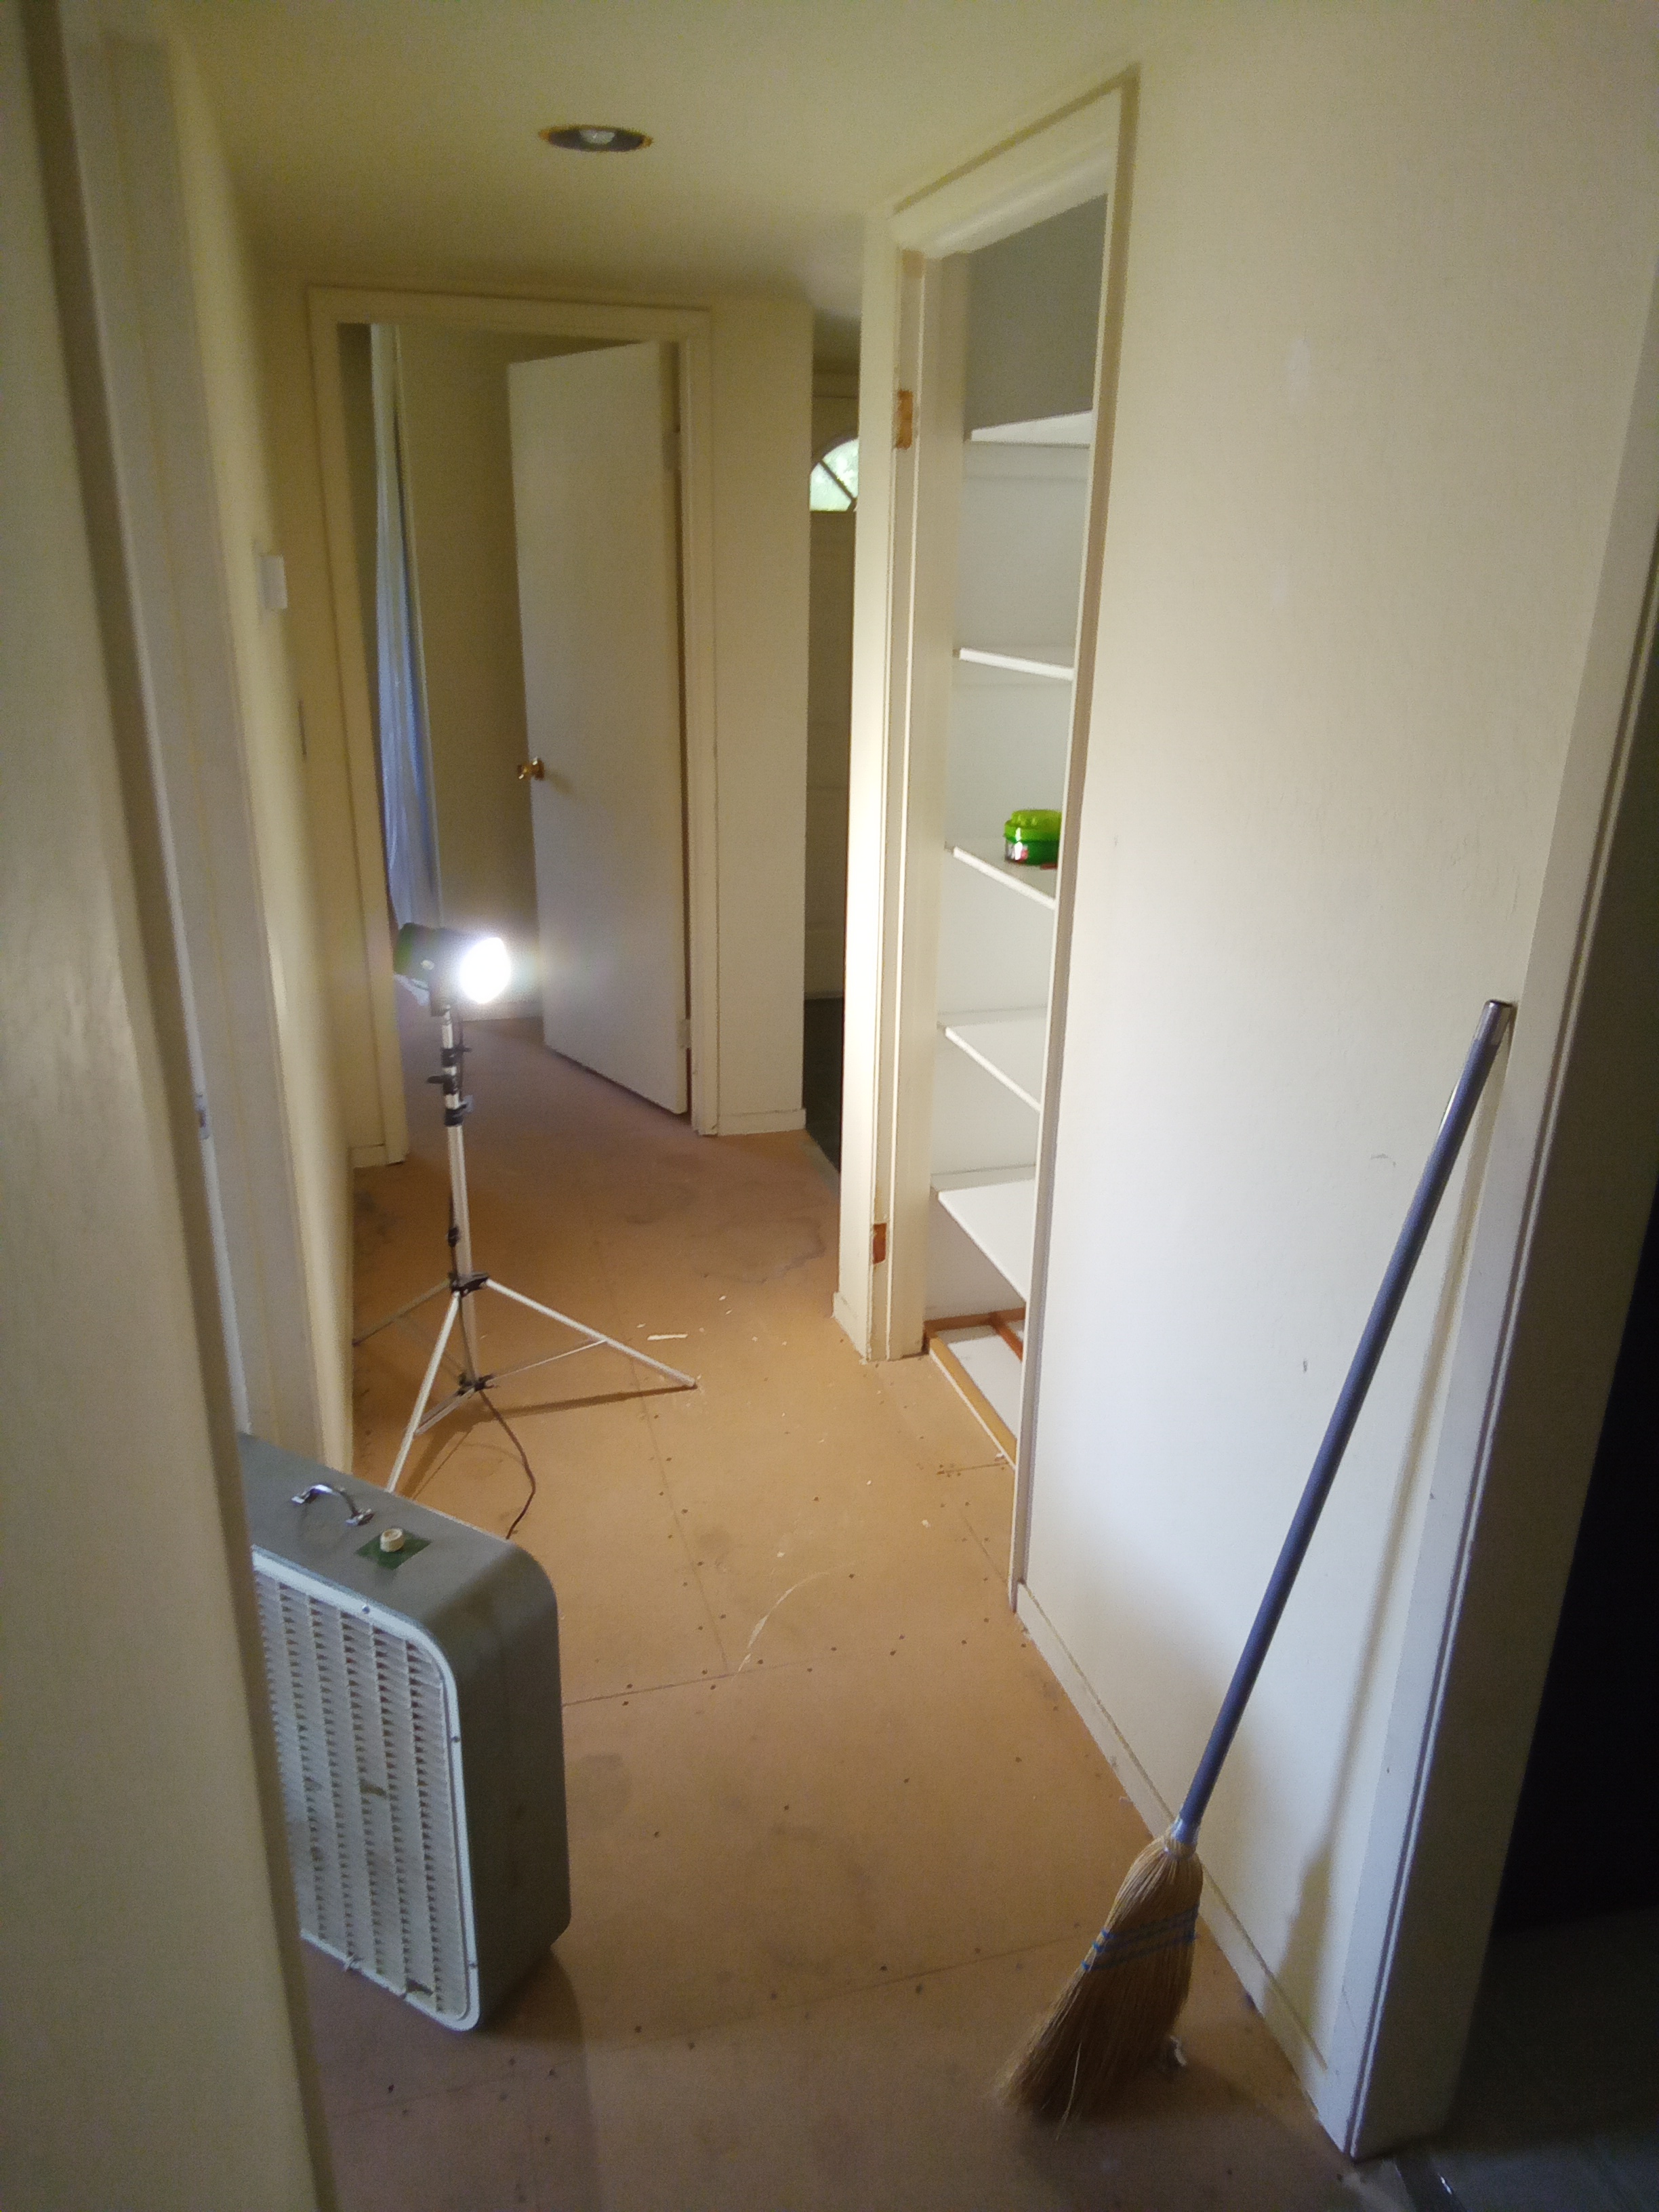
But I folded myself successfully into this small 36 inch wide x twenty-something inch long hall linen closet after removing and painting the closet door.
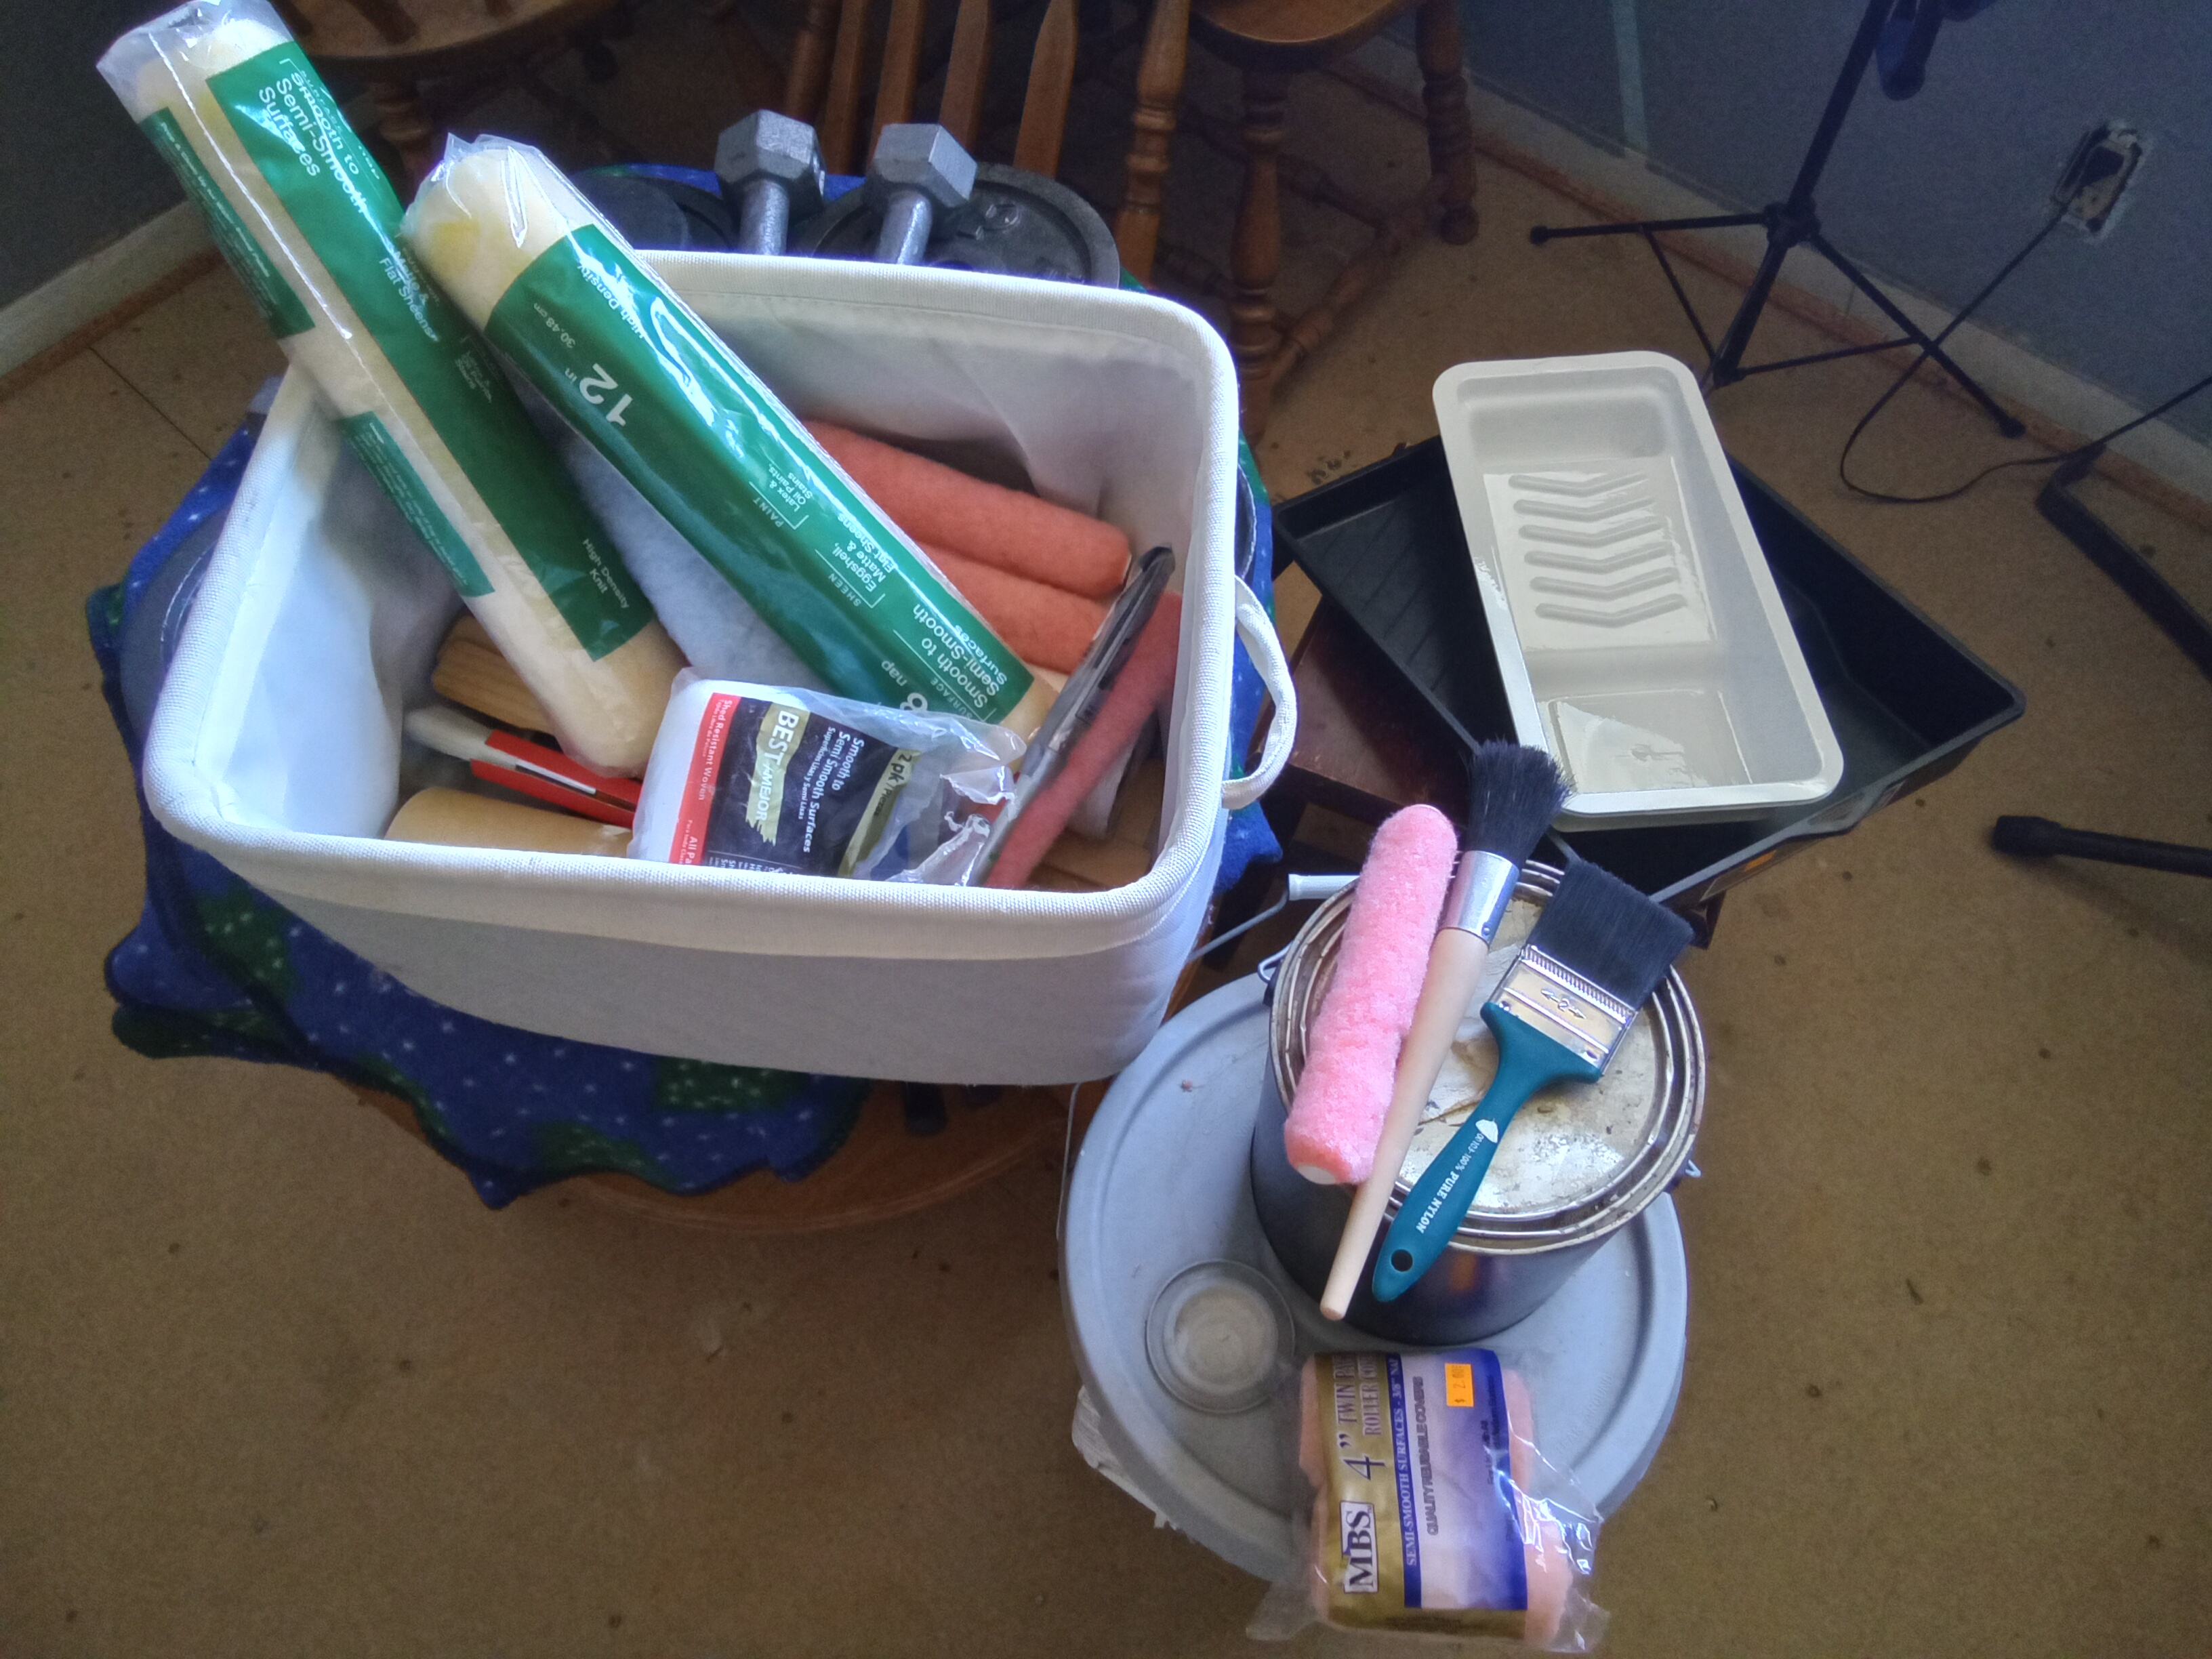
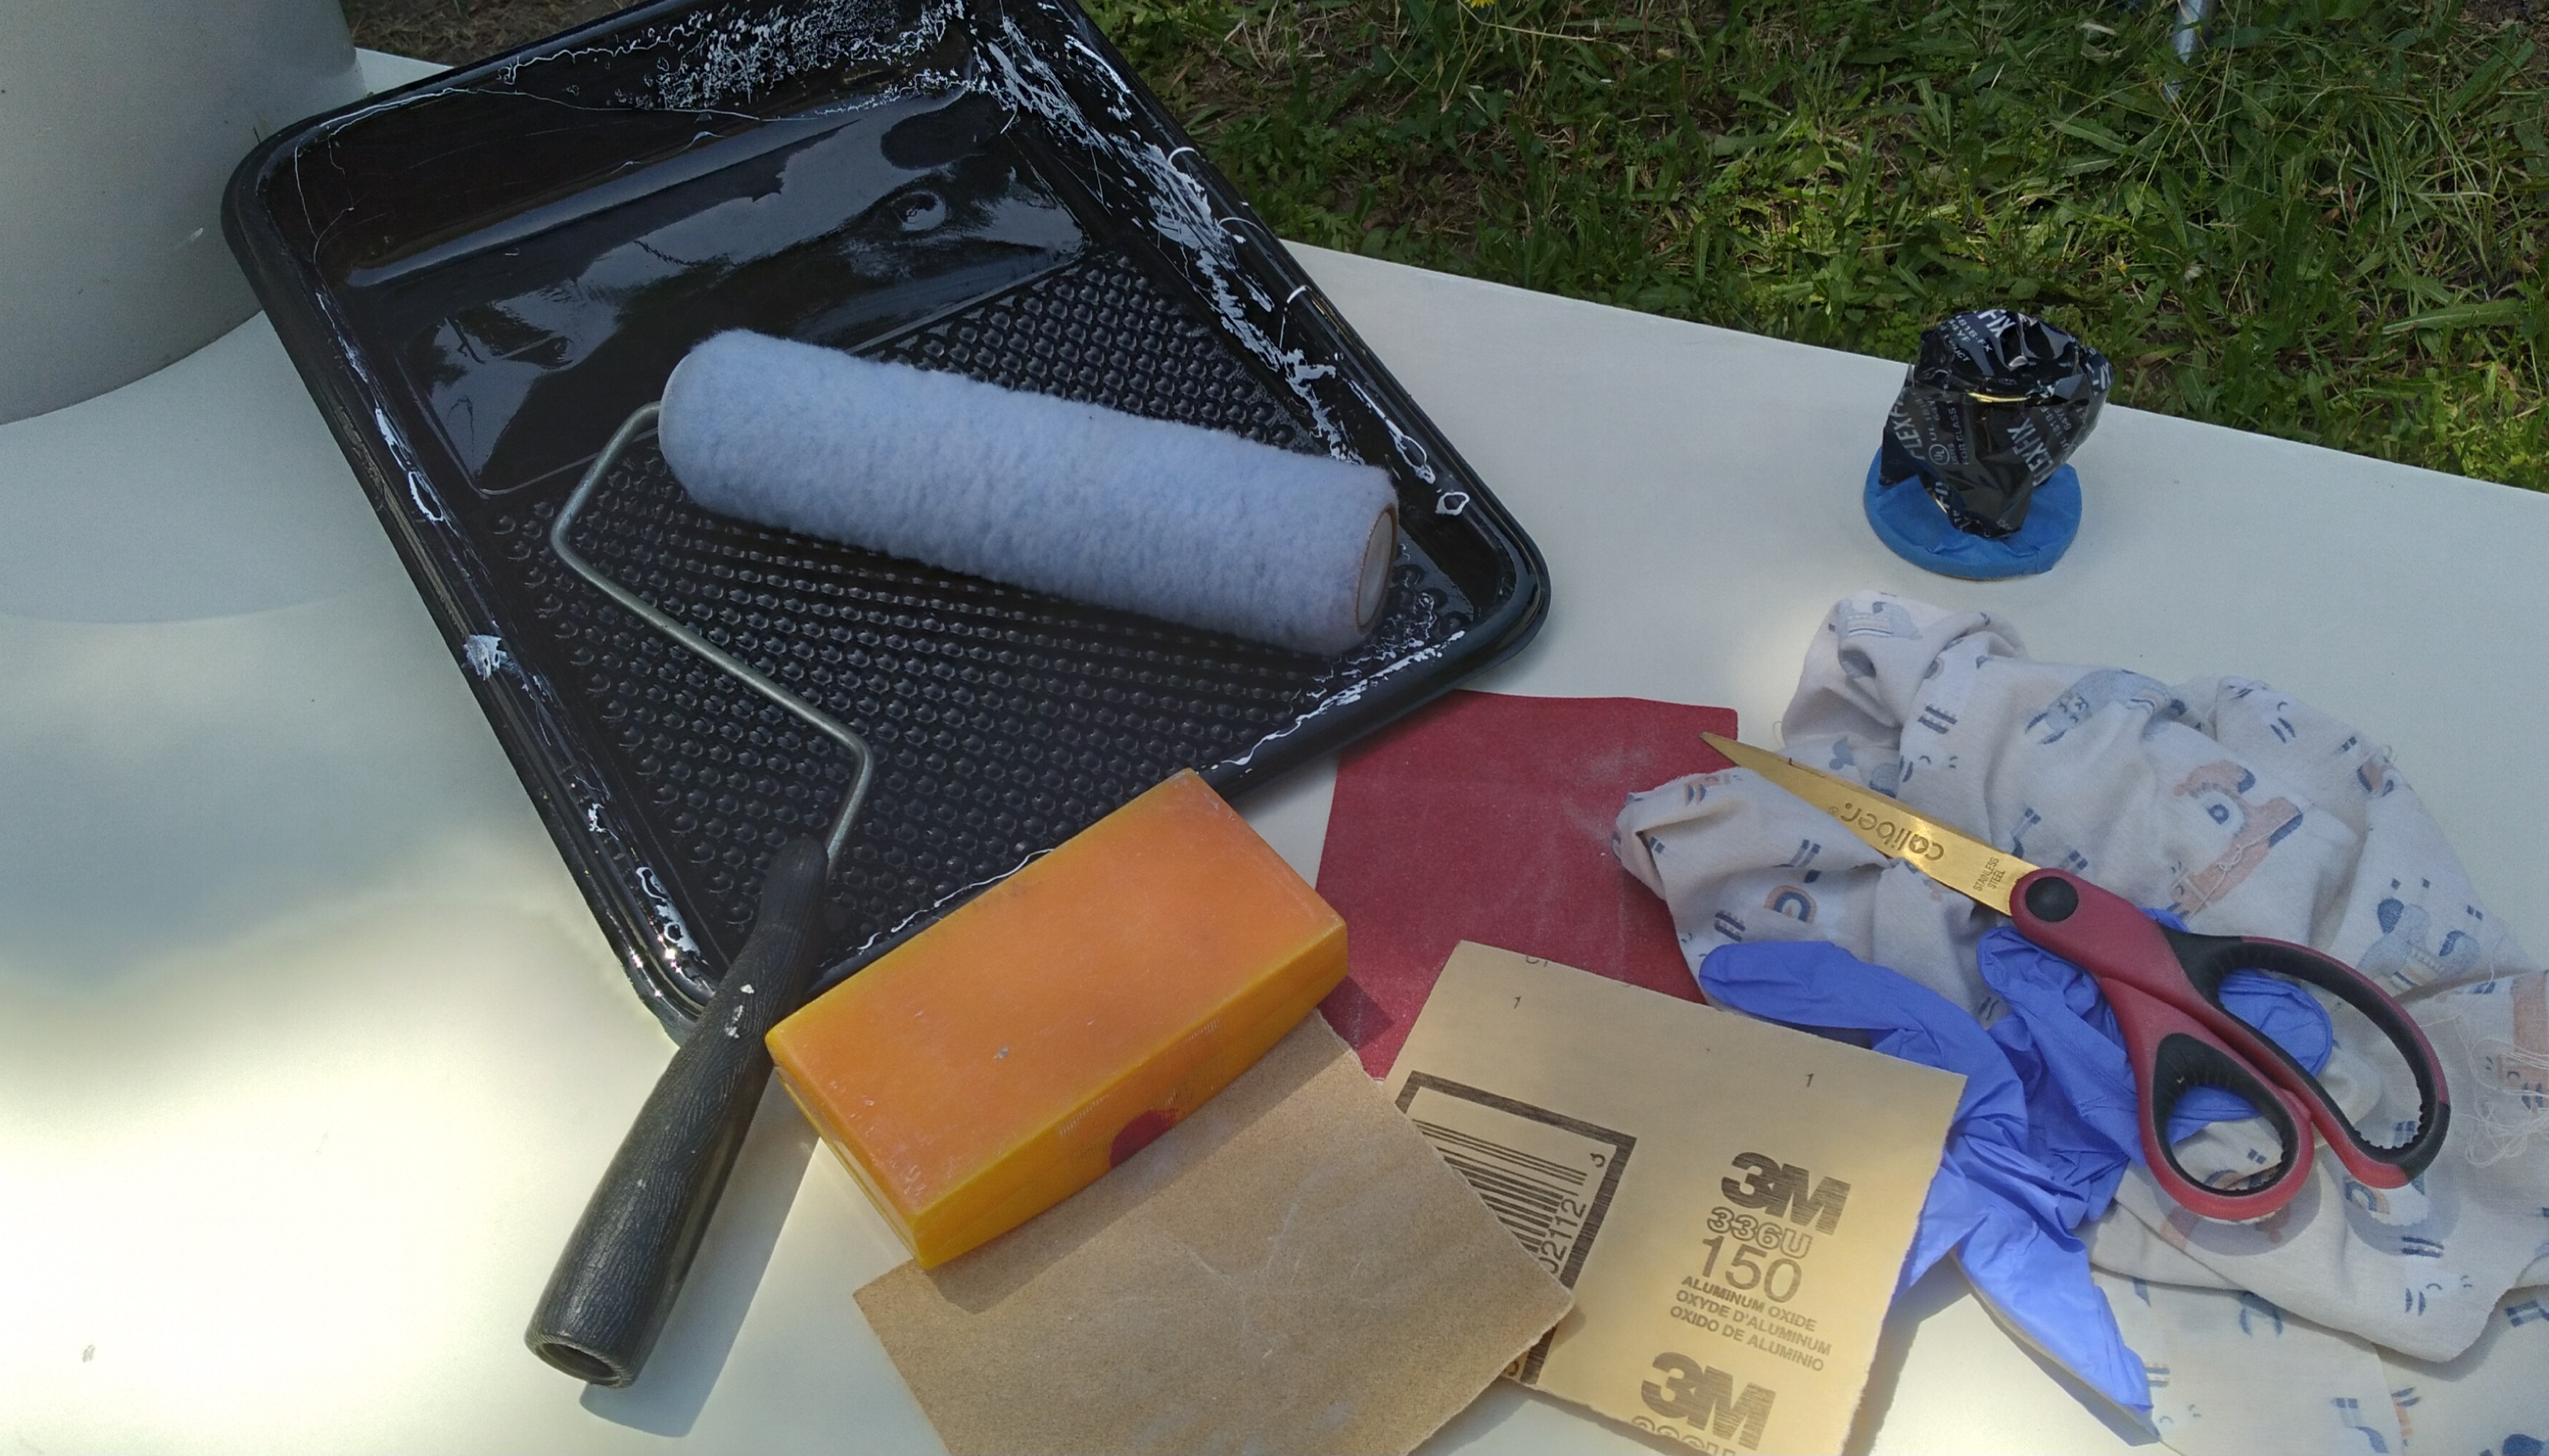
I do the brush work on corners and edges first, before I finish the panel centers with a roller. Leaving the fast and relatively easy roller work for later when I’m tired, smelly, hungry, and spotted like the milkman, white with foam.
Taking the shelving in and out requires brute force, stupidity and guile. Who designed this closet? Anyhoo… I’ll burn that bridge when I get to it.
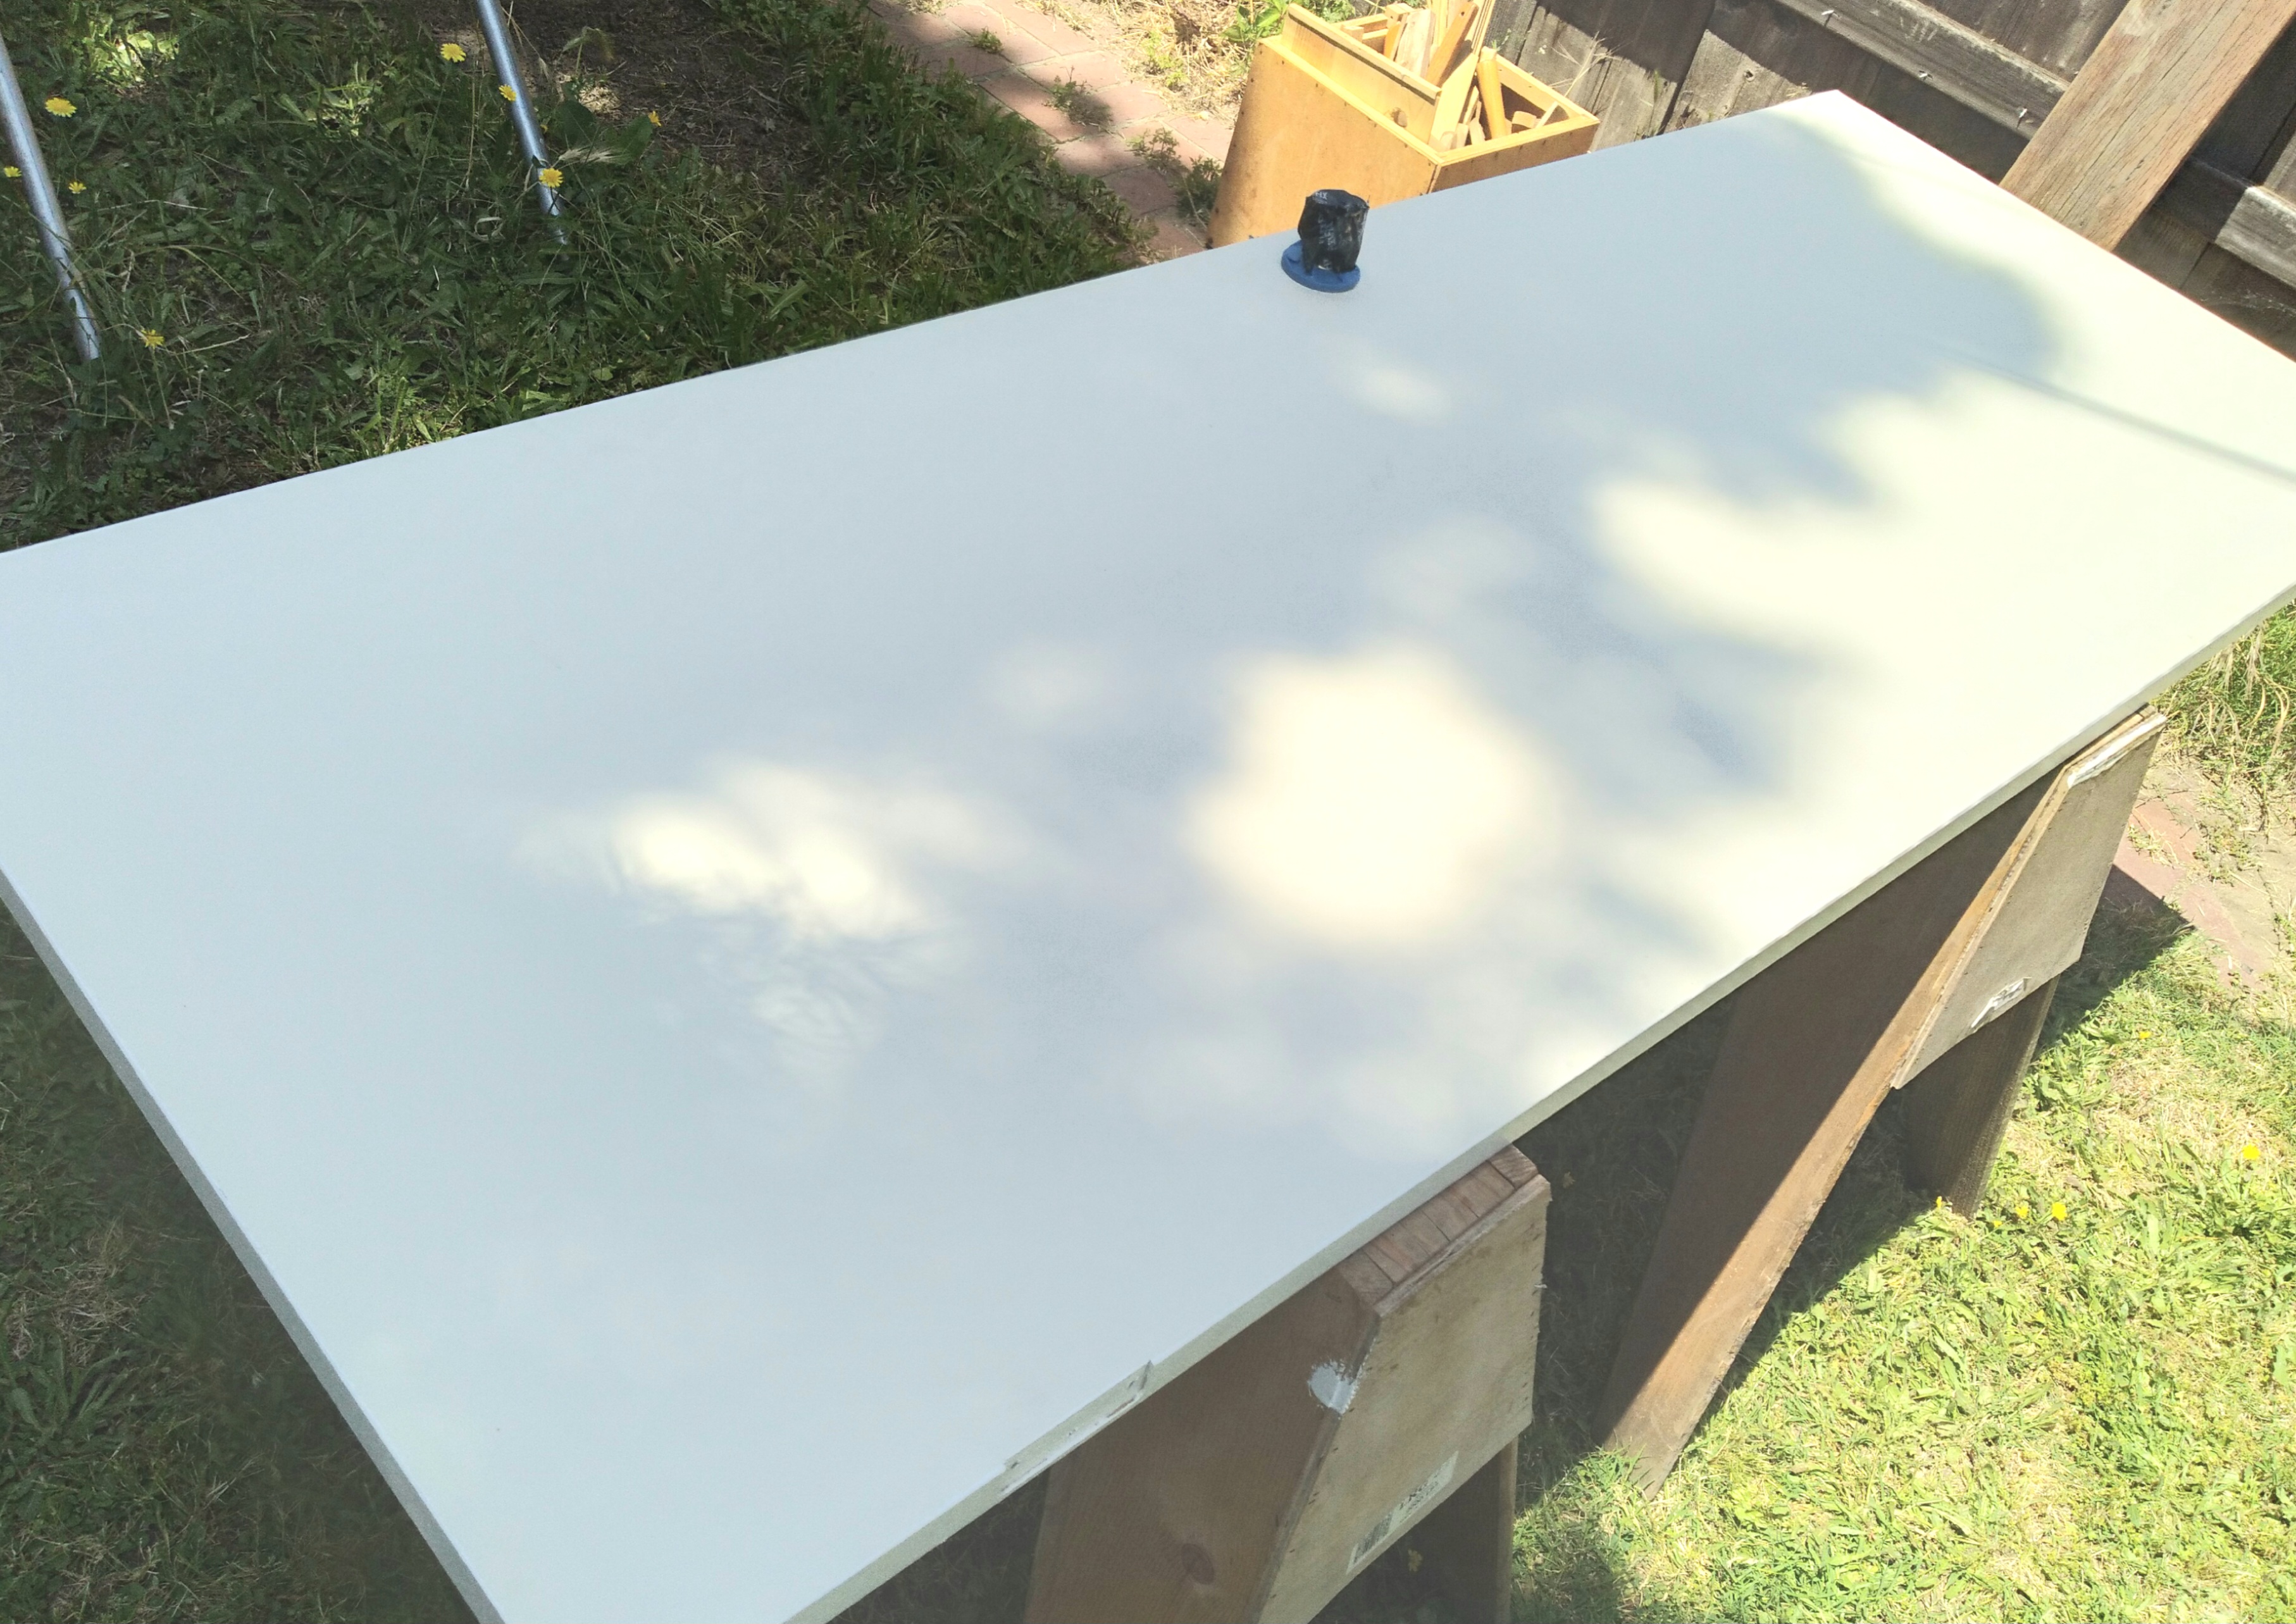
I toted the shelves and door down my probably eventually fatal back steps, and on to saw horses to lightly and briefly block and hand sand with 120 grit paper.
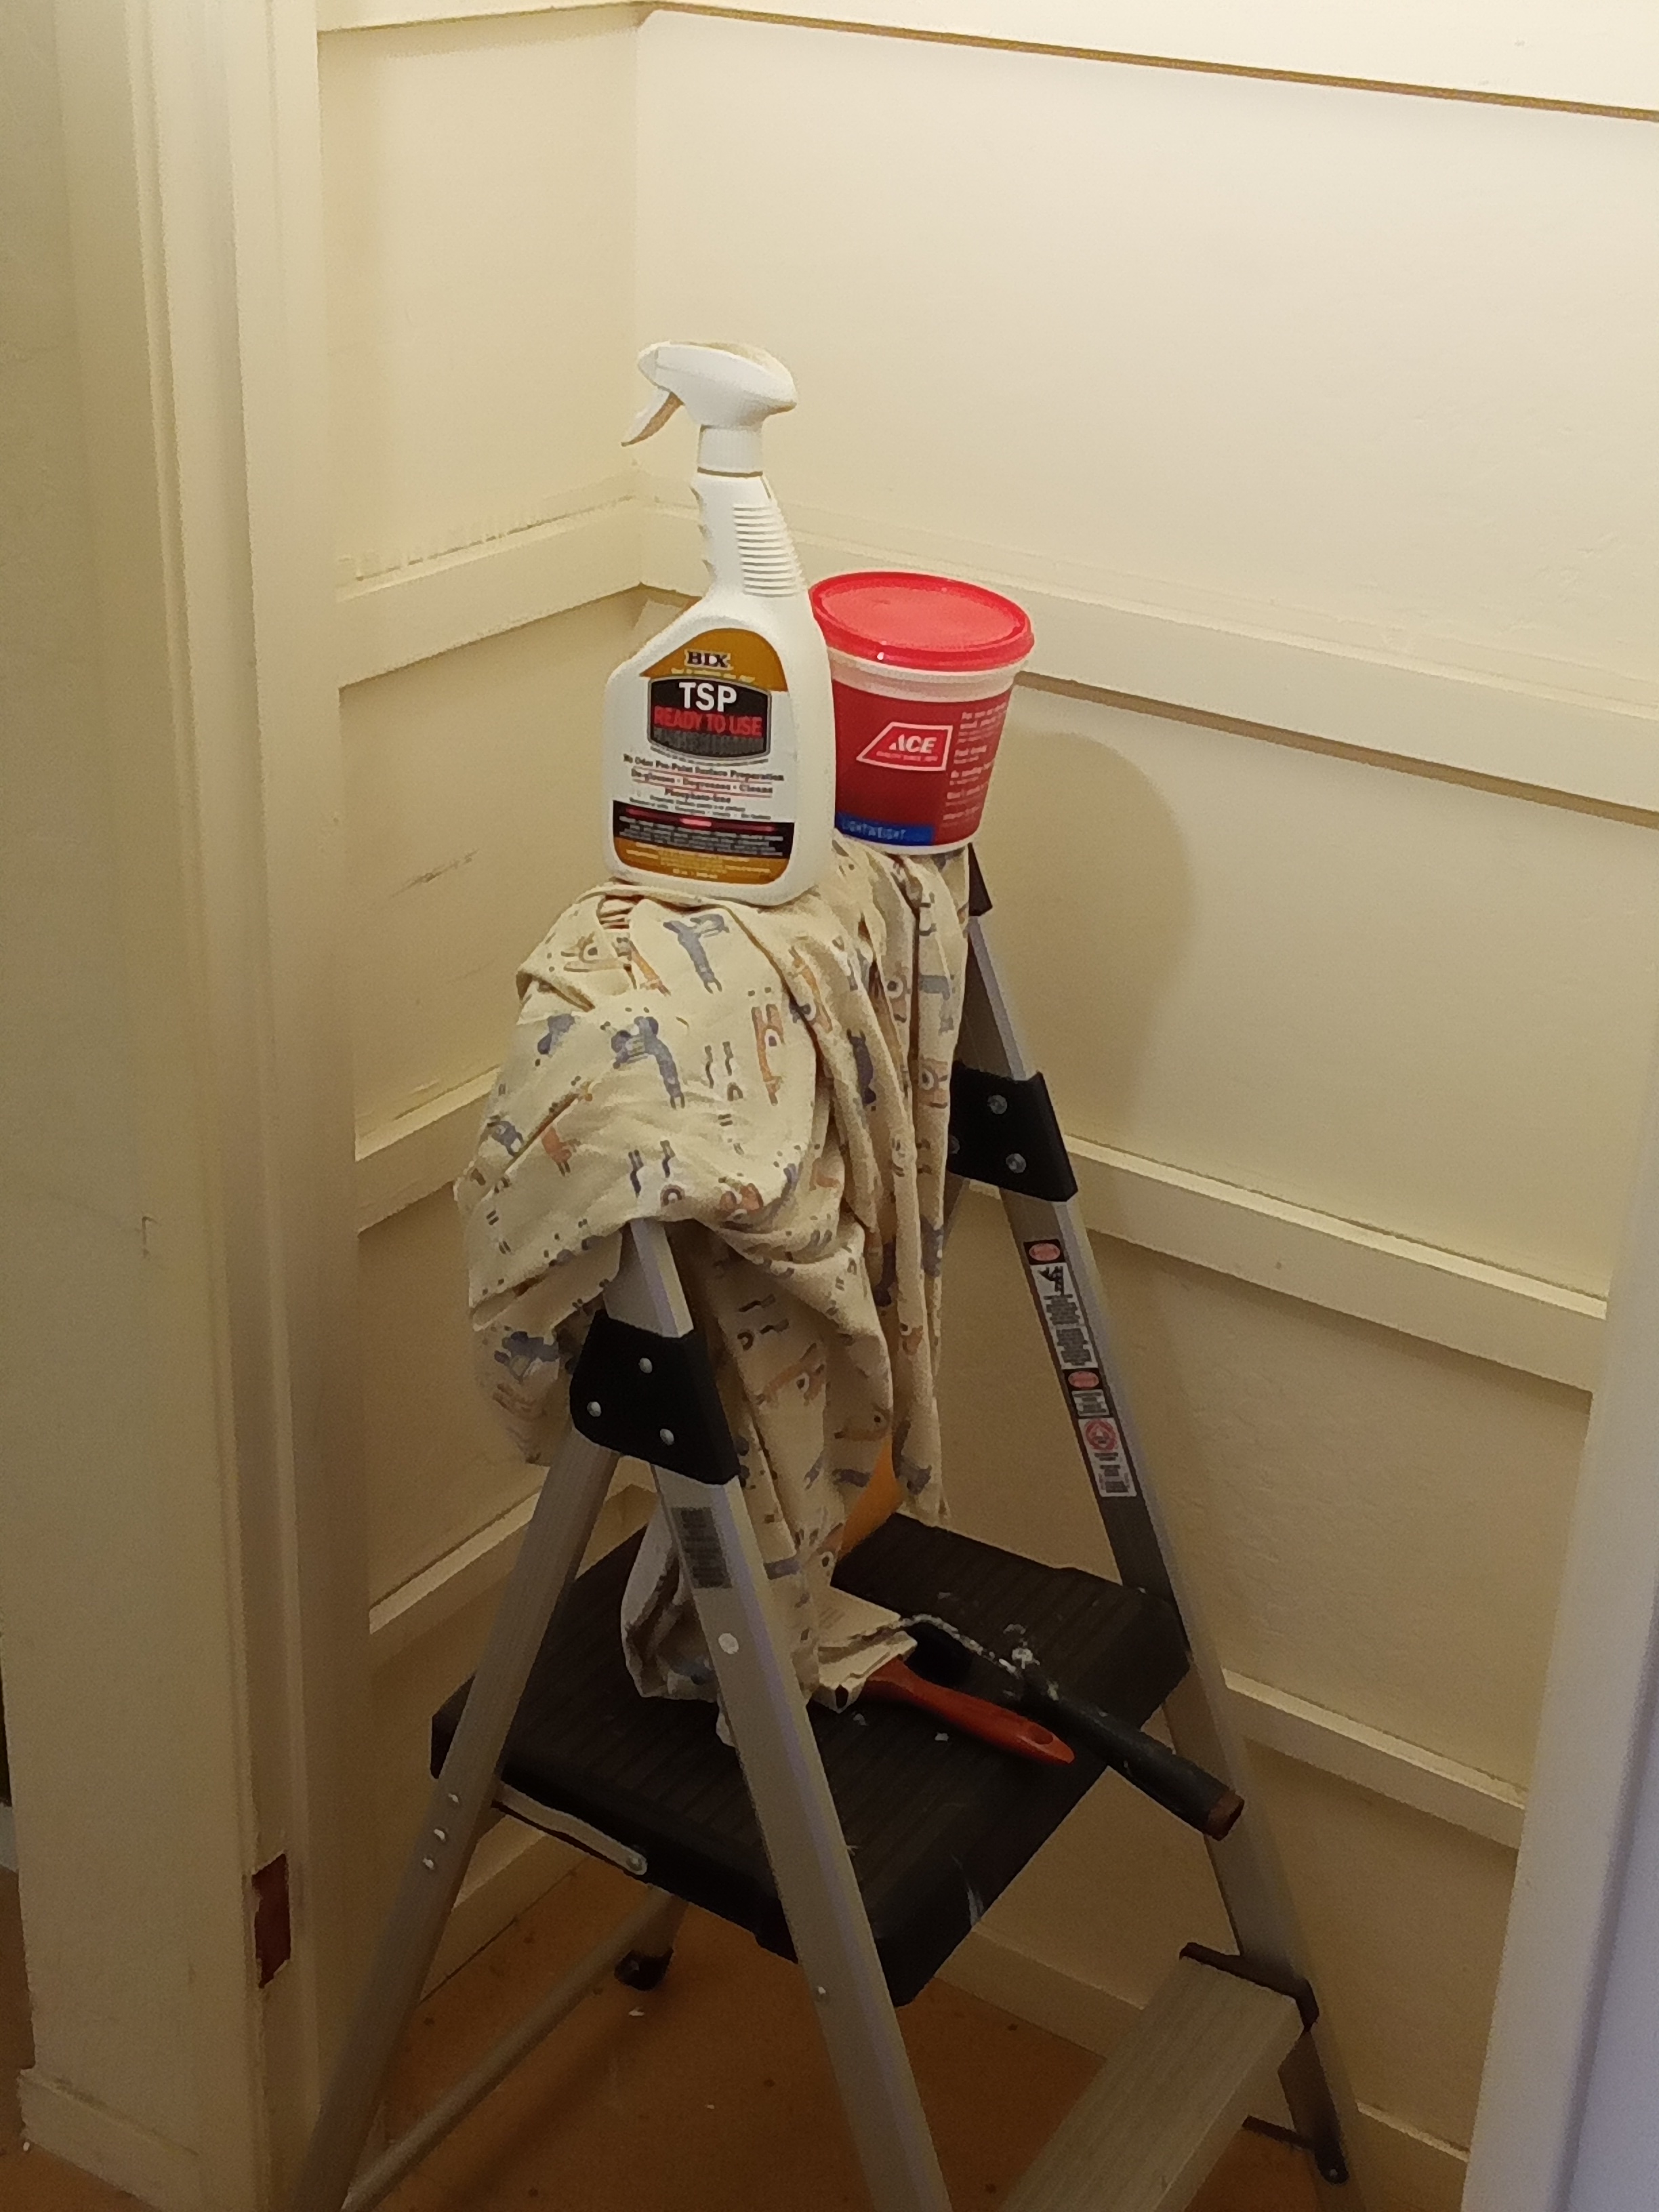
Wiped shelving and door down with fake TSP (not-tri sodium phosphate any longer) before roller painting. Only one coat necessary for white over old white.
Luckily the brush work went pretty fast before my near paralysis set in from forced bad posture.


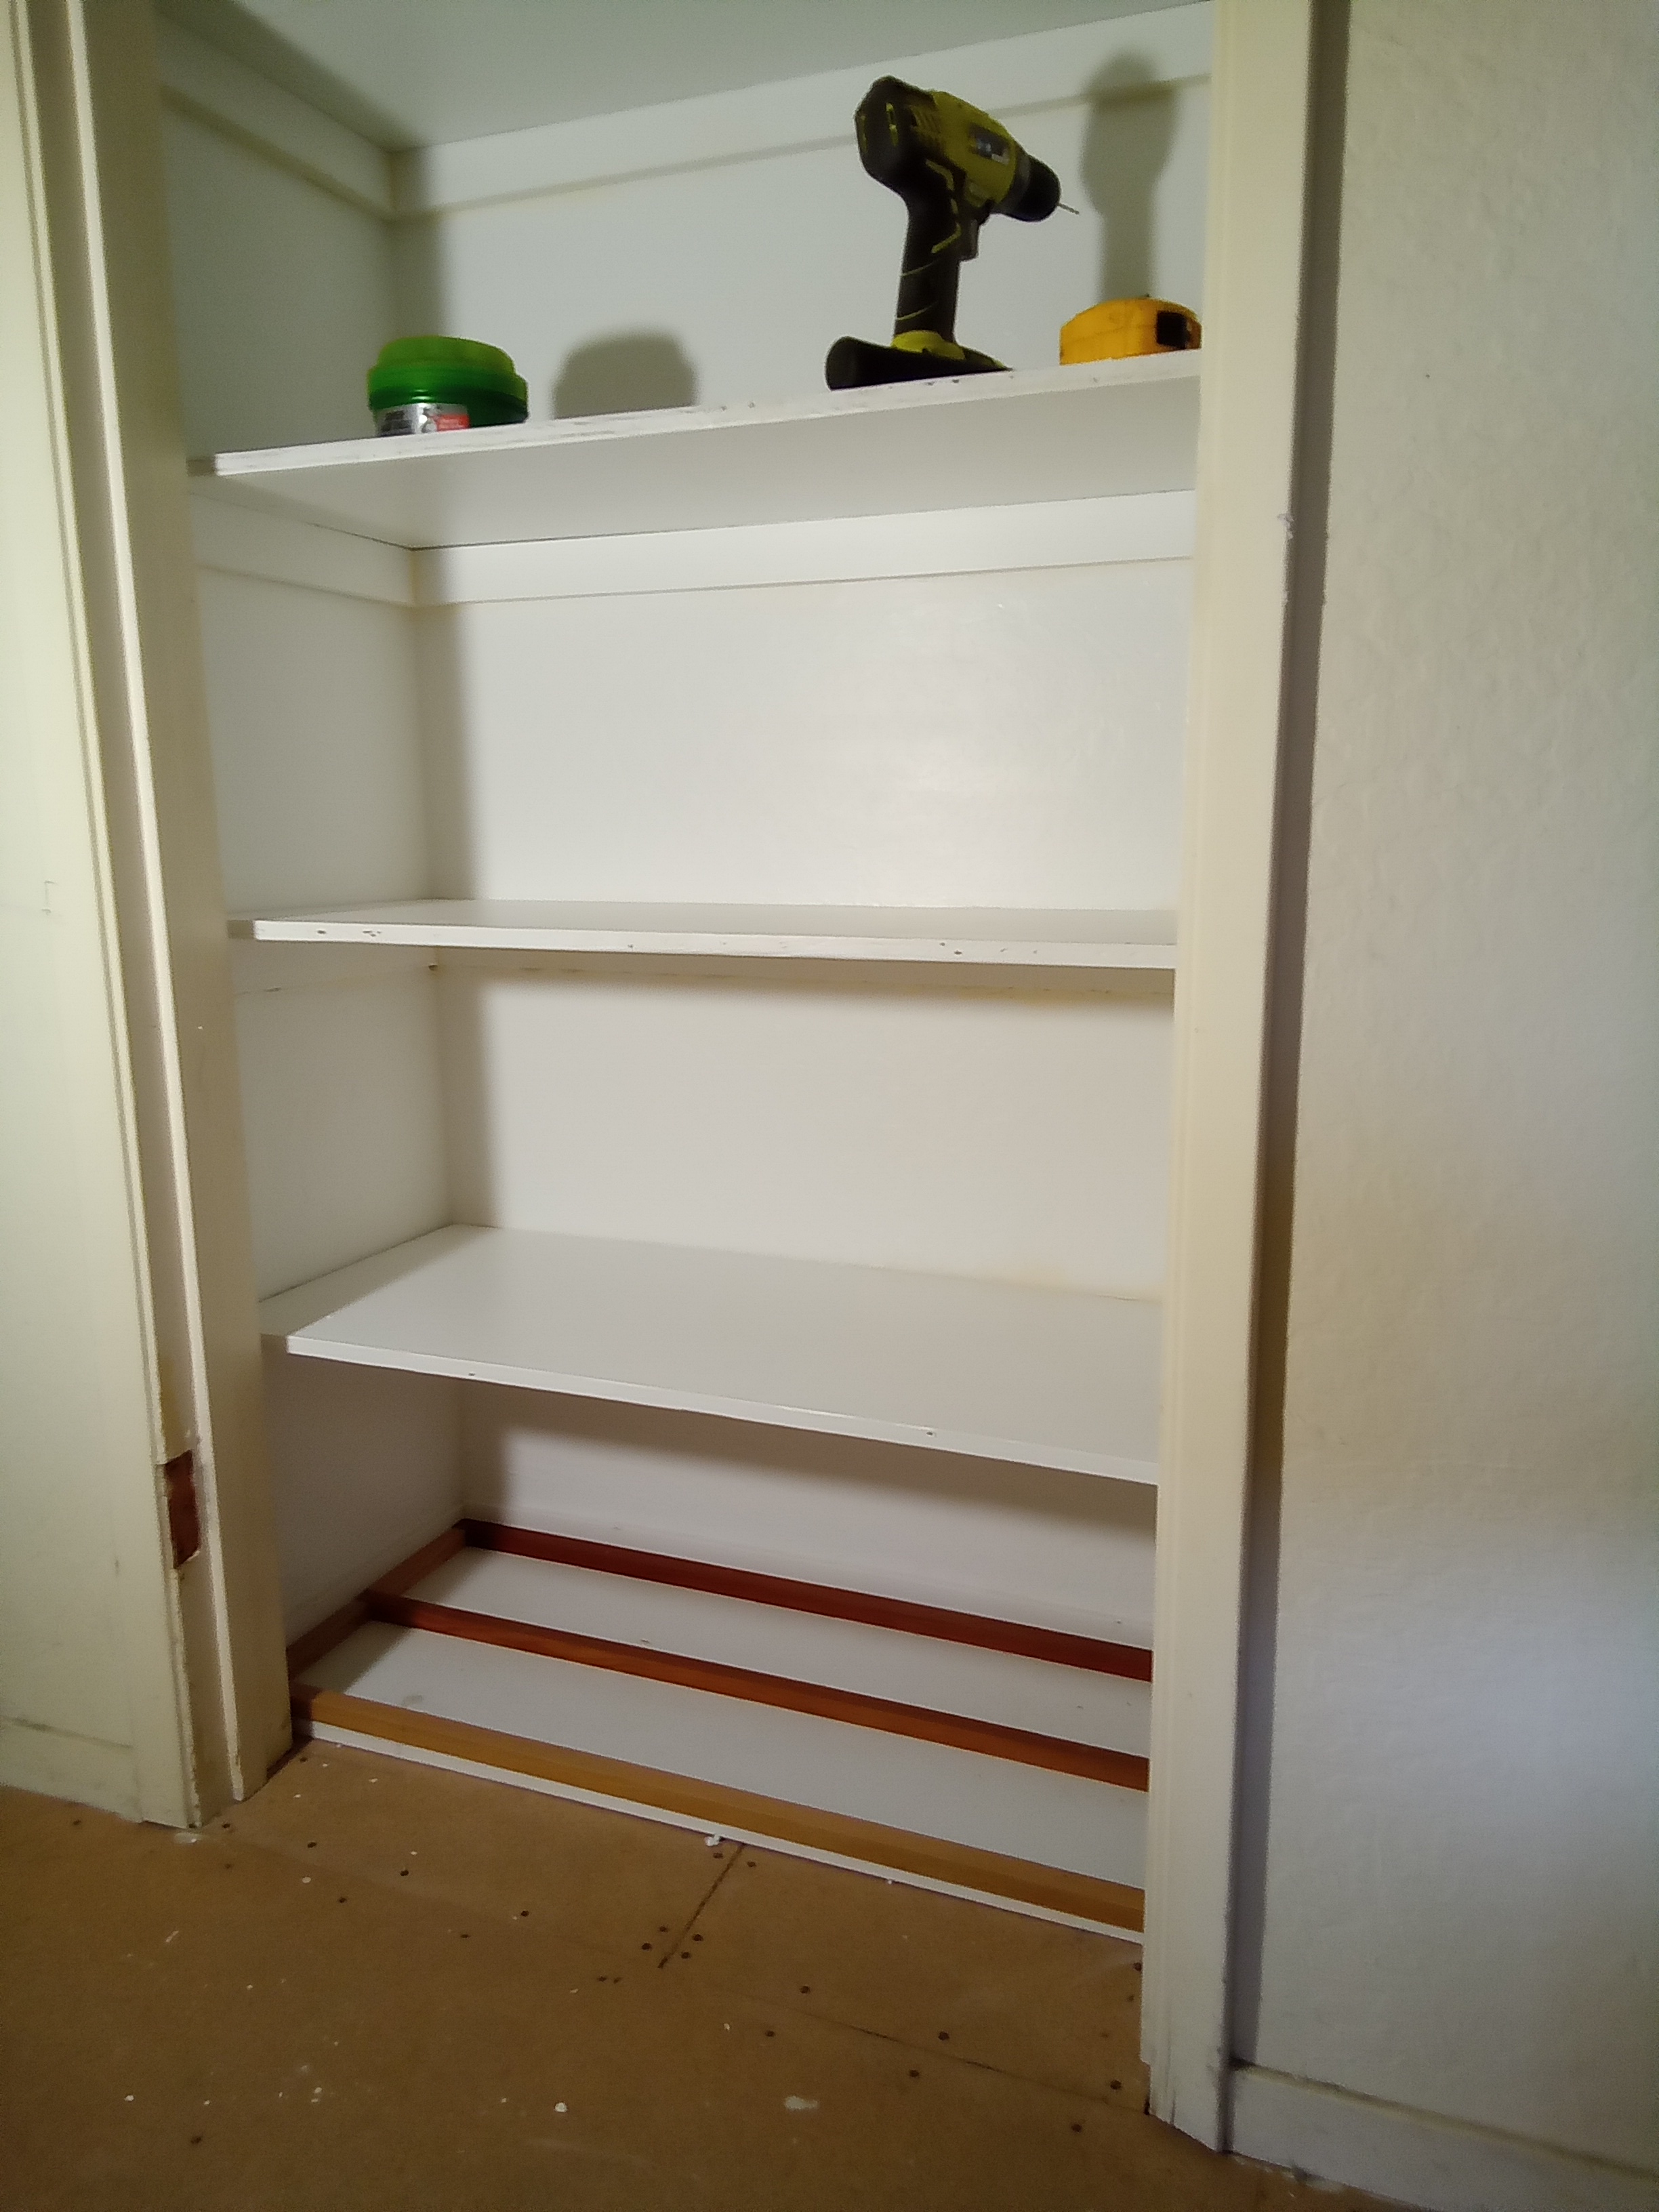
I found some of my dad’s white particle board book shelving in my garage so I decided to cut it up to make it the closet floor. The floor will closely match the shelving in color.
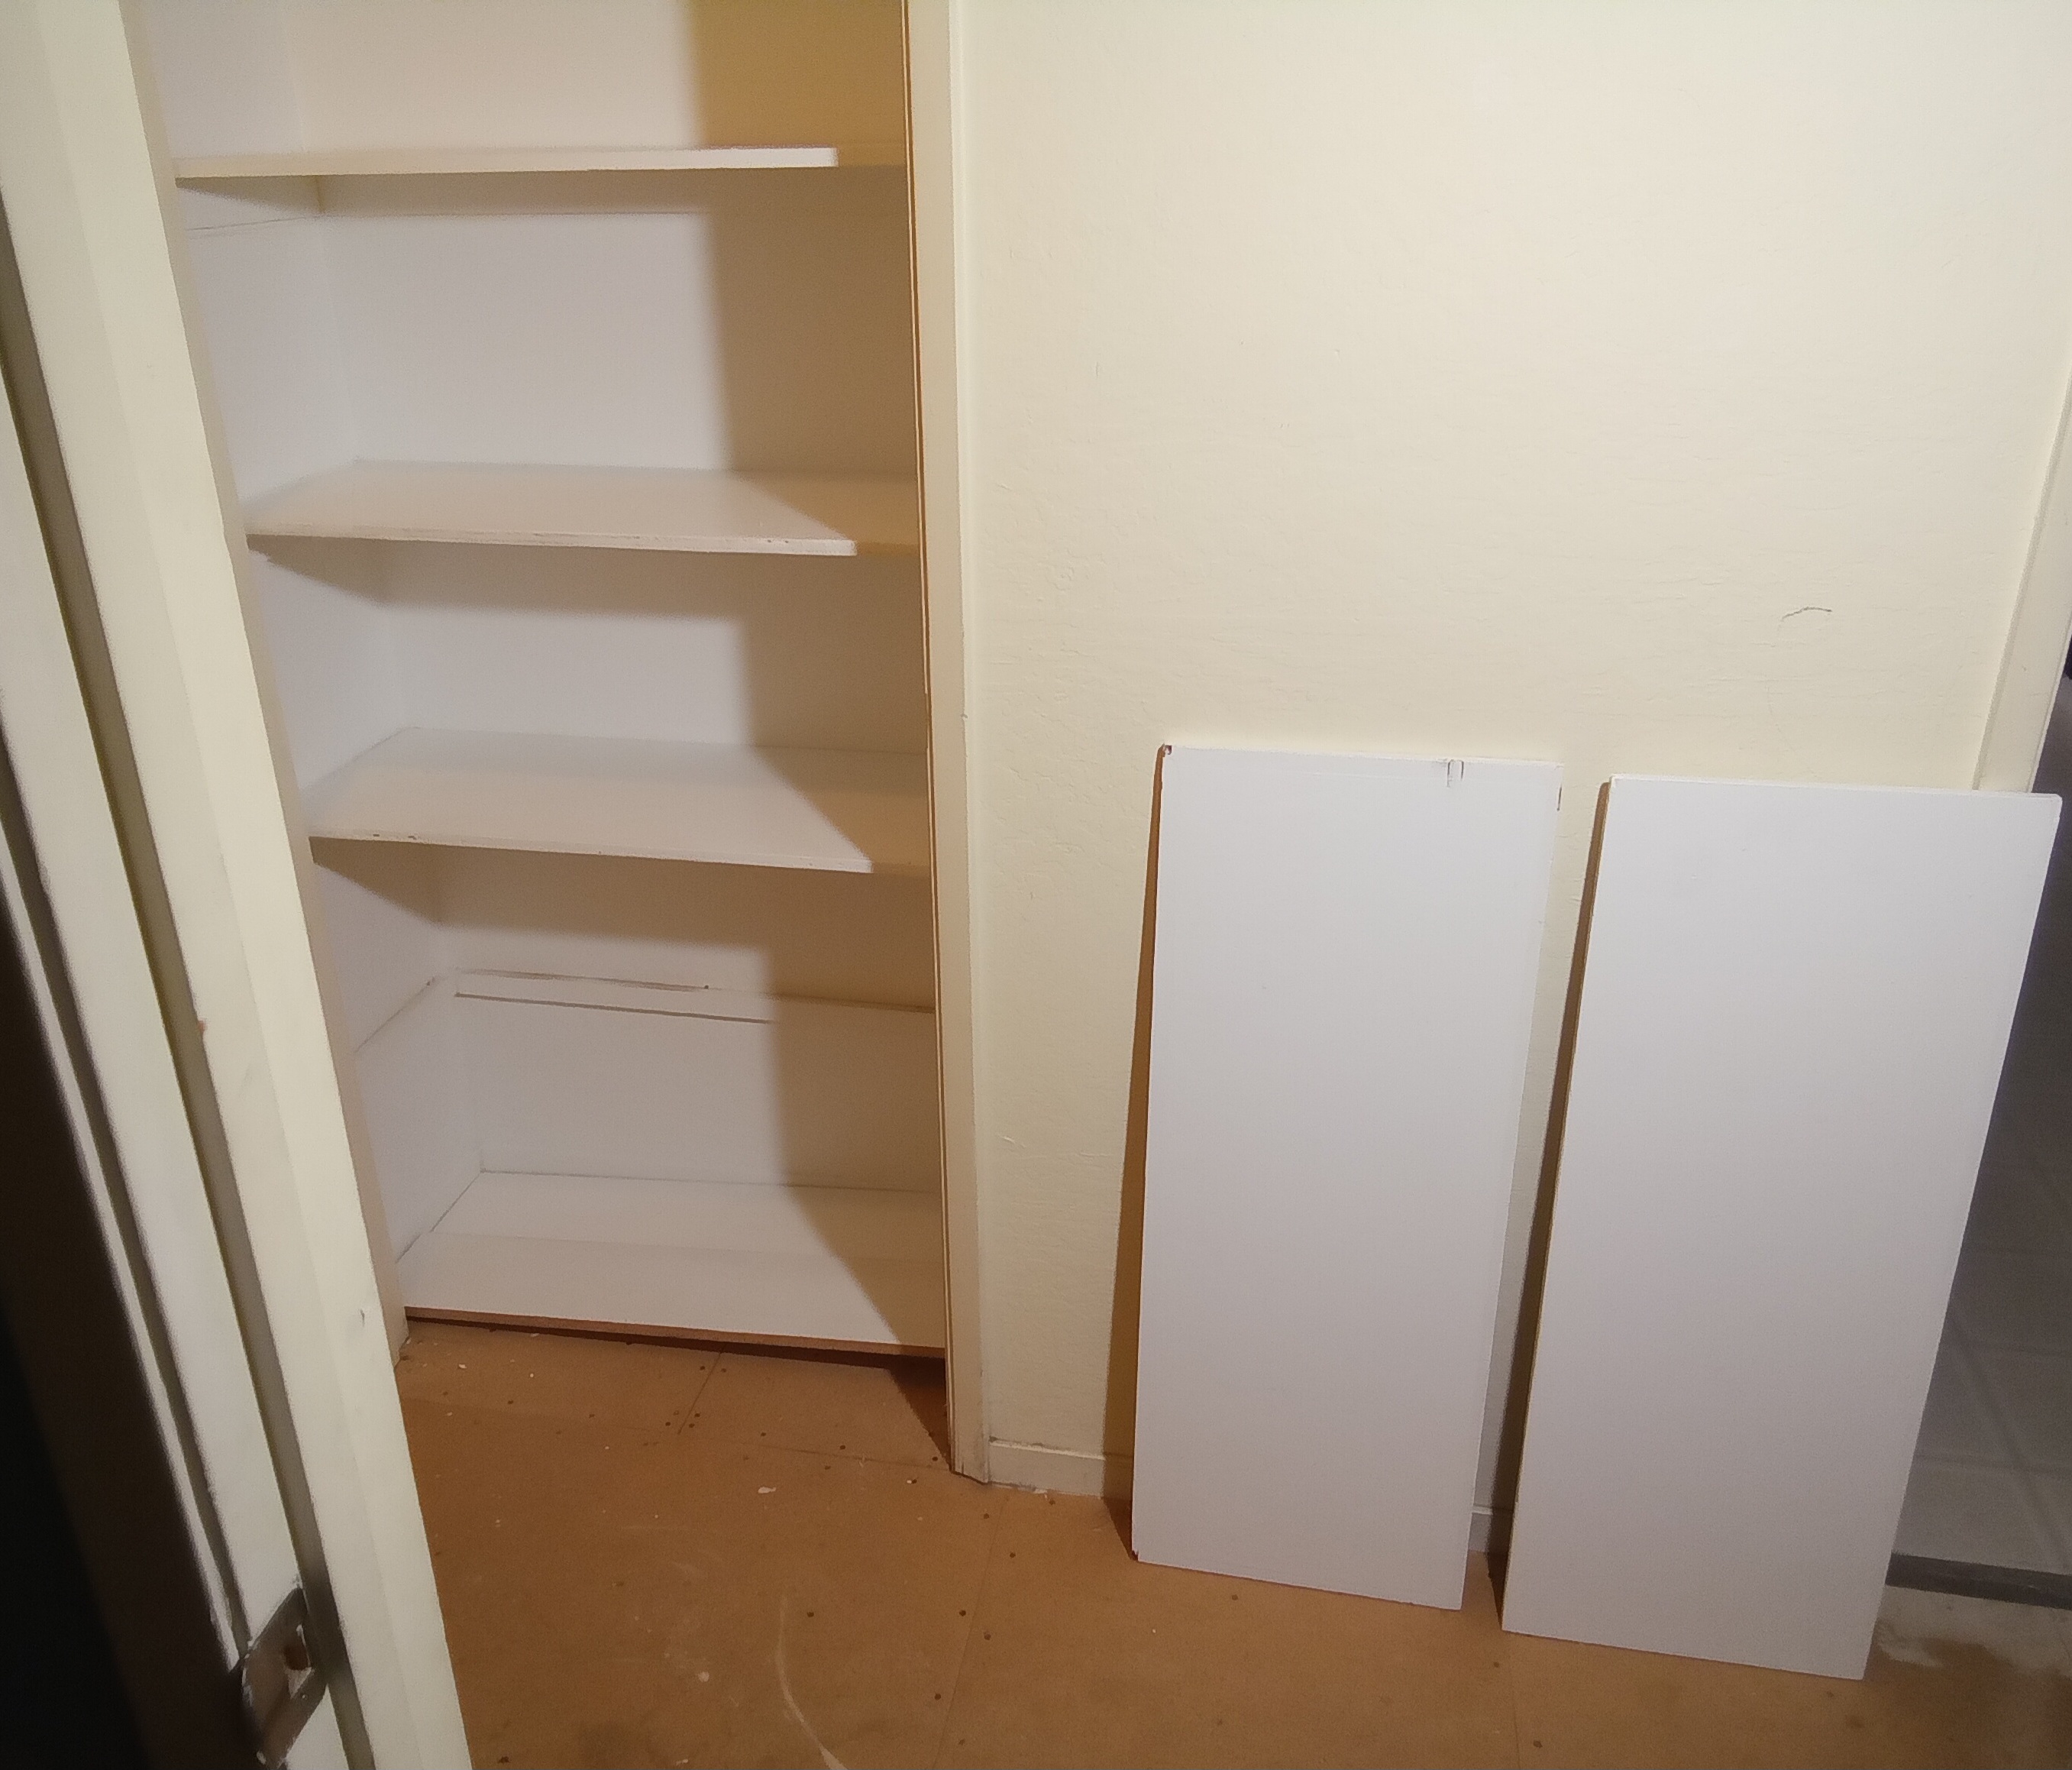
The bookshelves are 3/4″ thick particle board with vinyl coating, good for insulation and sound damping. Too bad I don’t have enough for the big front foyer closet floor.
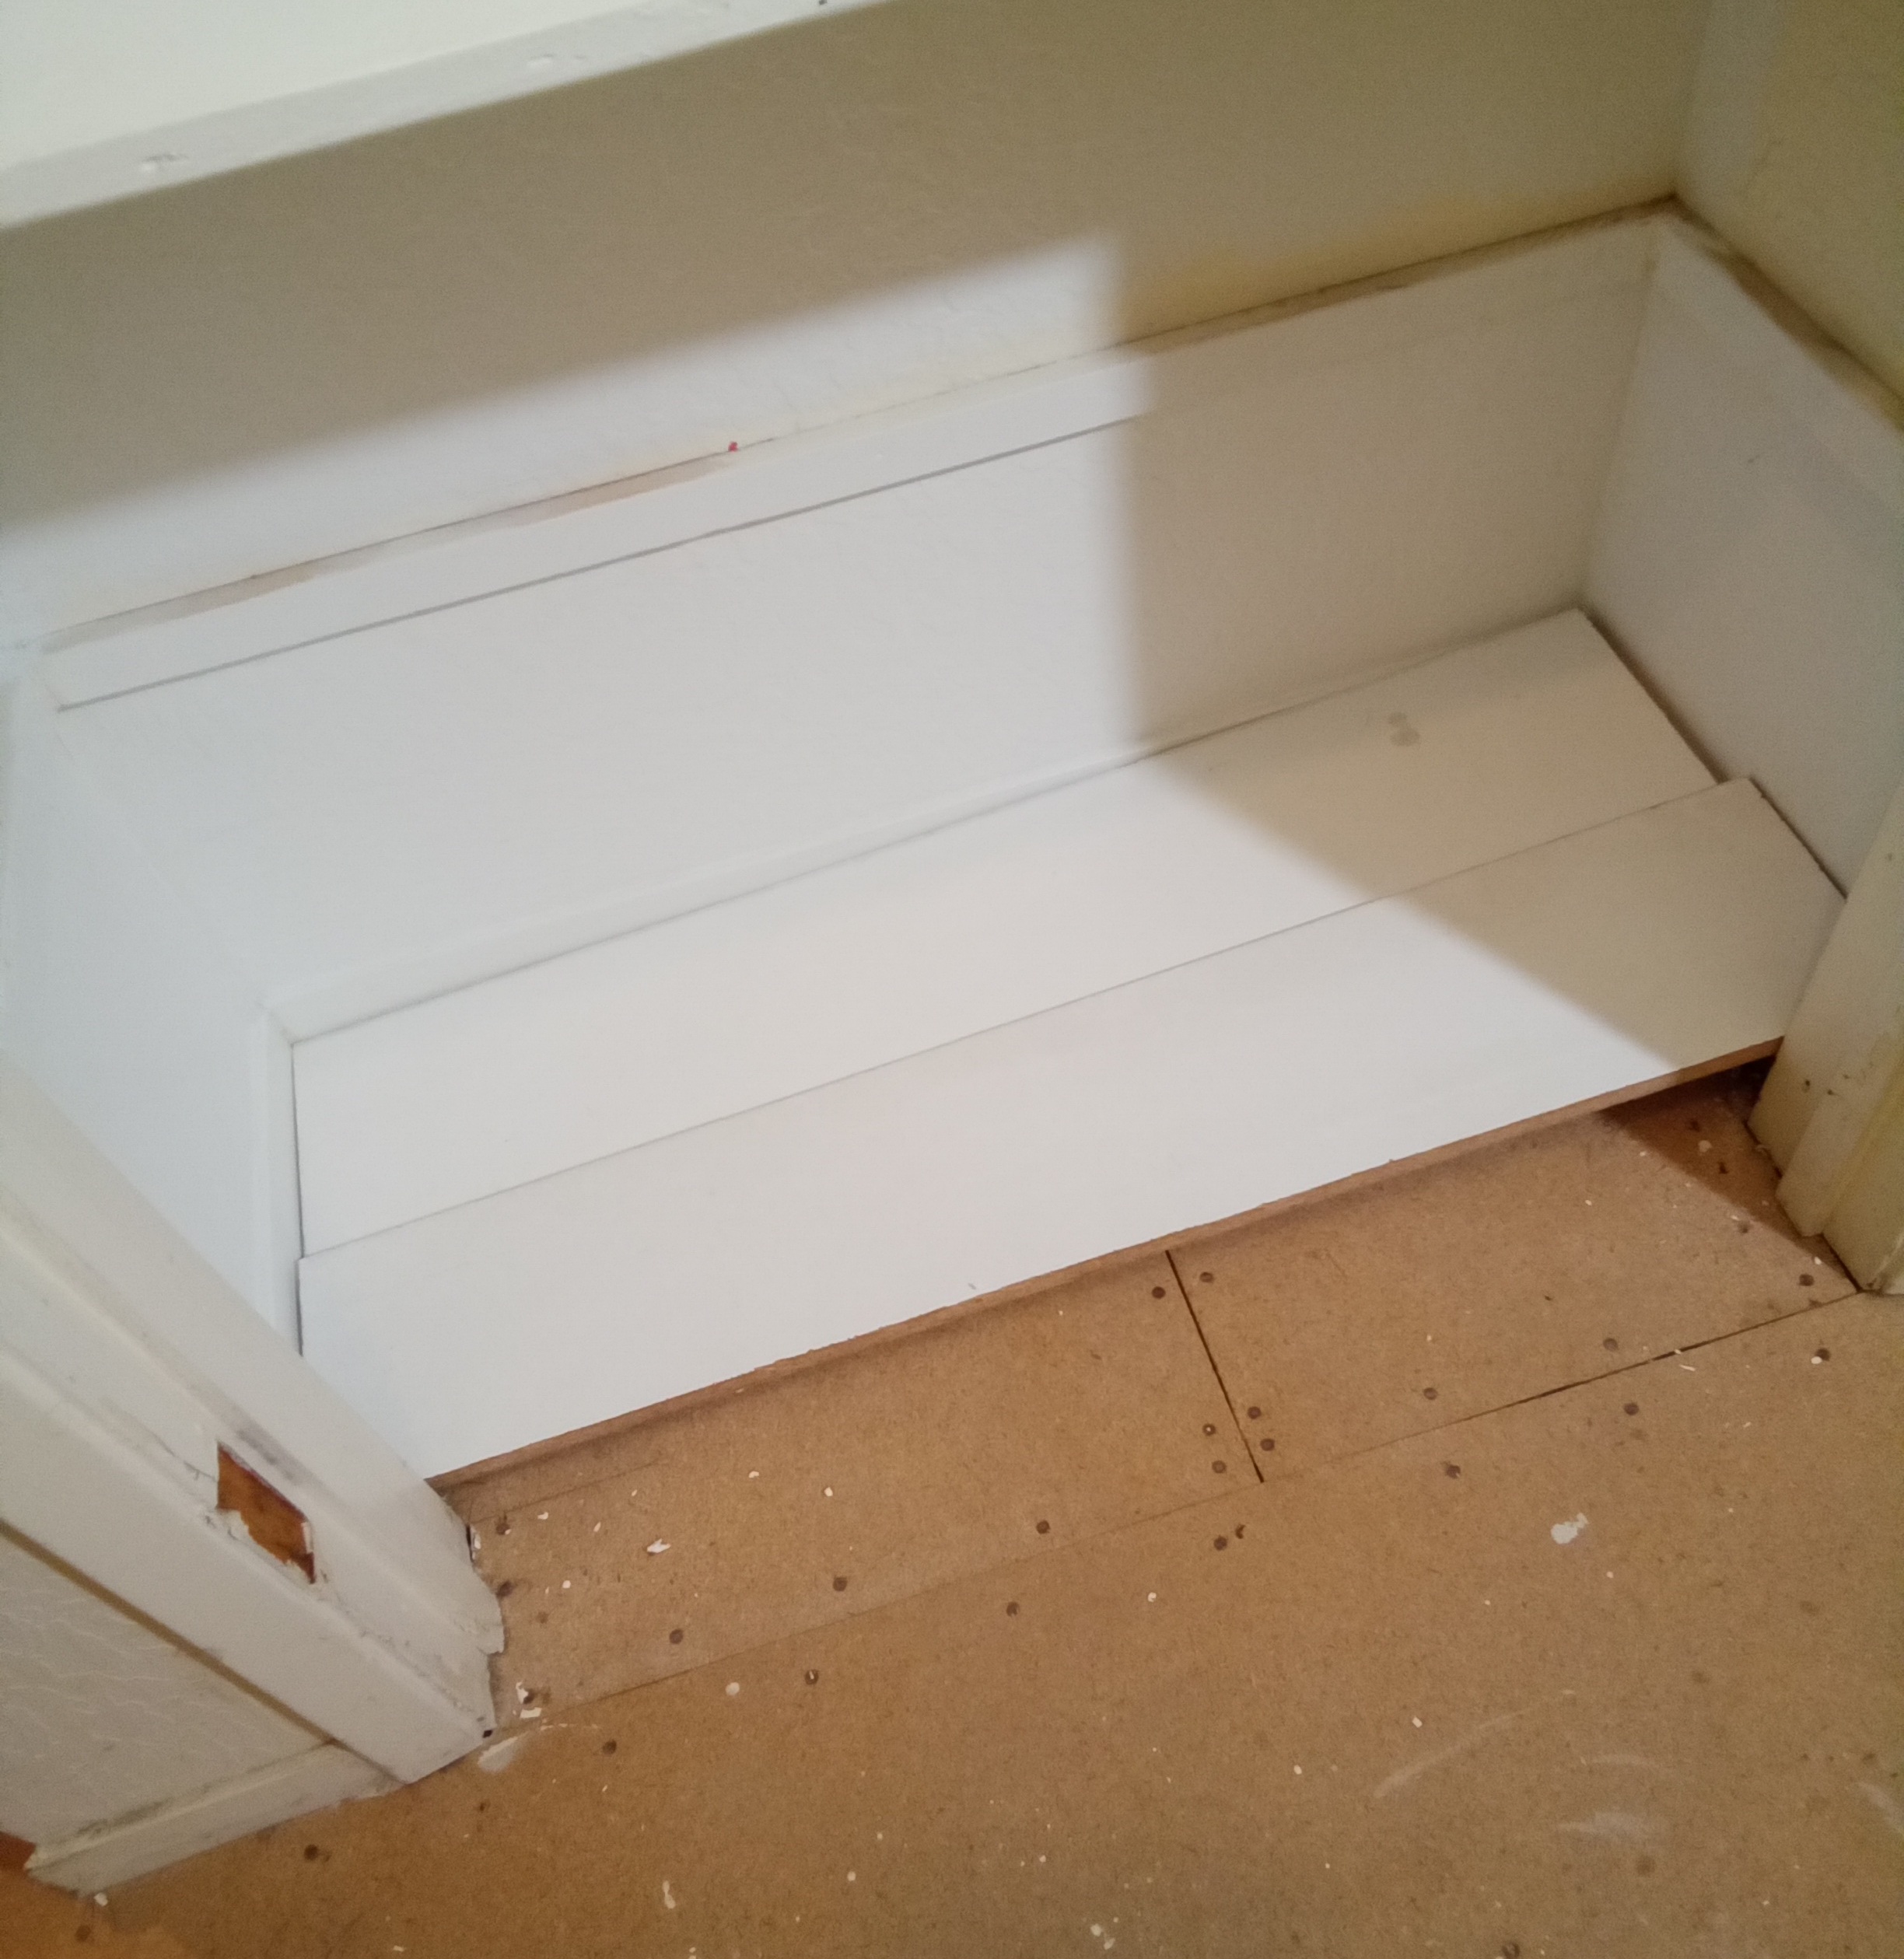
I have some nice square 3/4 inch trim pieces I’ll install last around the edges of the new floor planks to hide the cut ends and edges. Not sure if I’ll varnish the trim sticks or paint them white to match.
I varnished these initial two trim sticks but gave that up because of the polyurethane varnish smell. I used carnuba car wax on the rest of the trim after brief 120 grit block sanding.
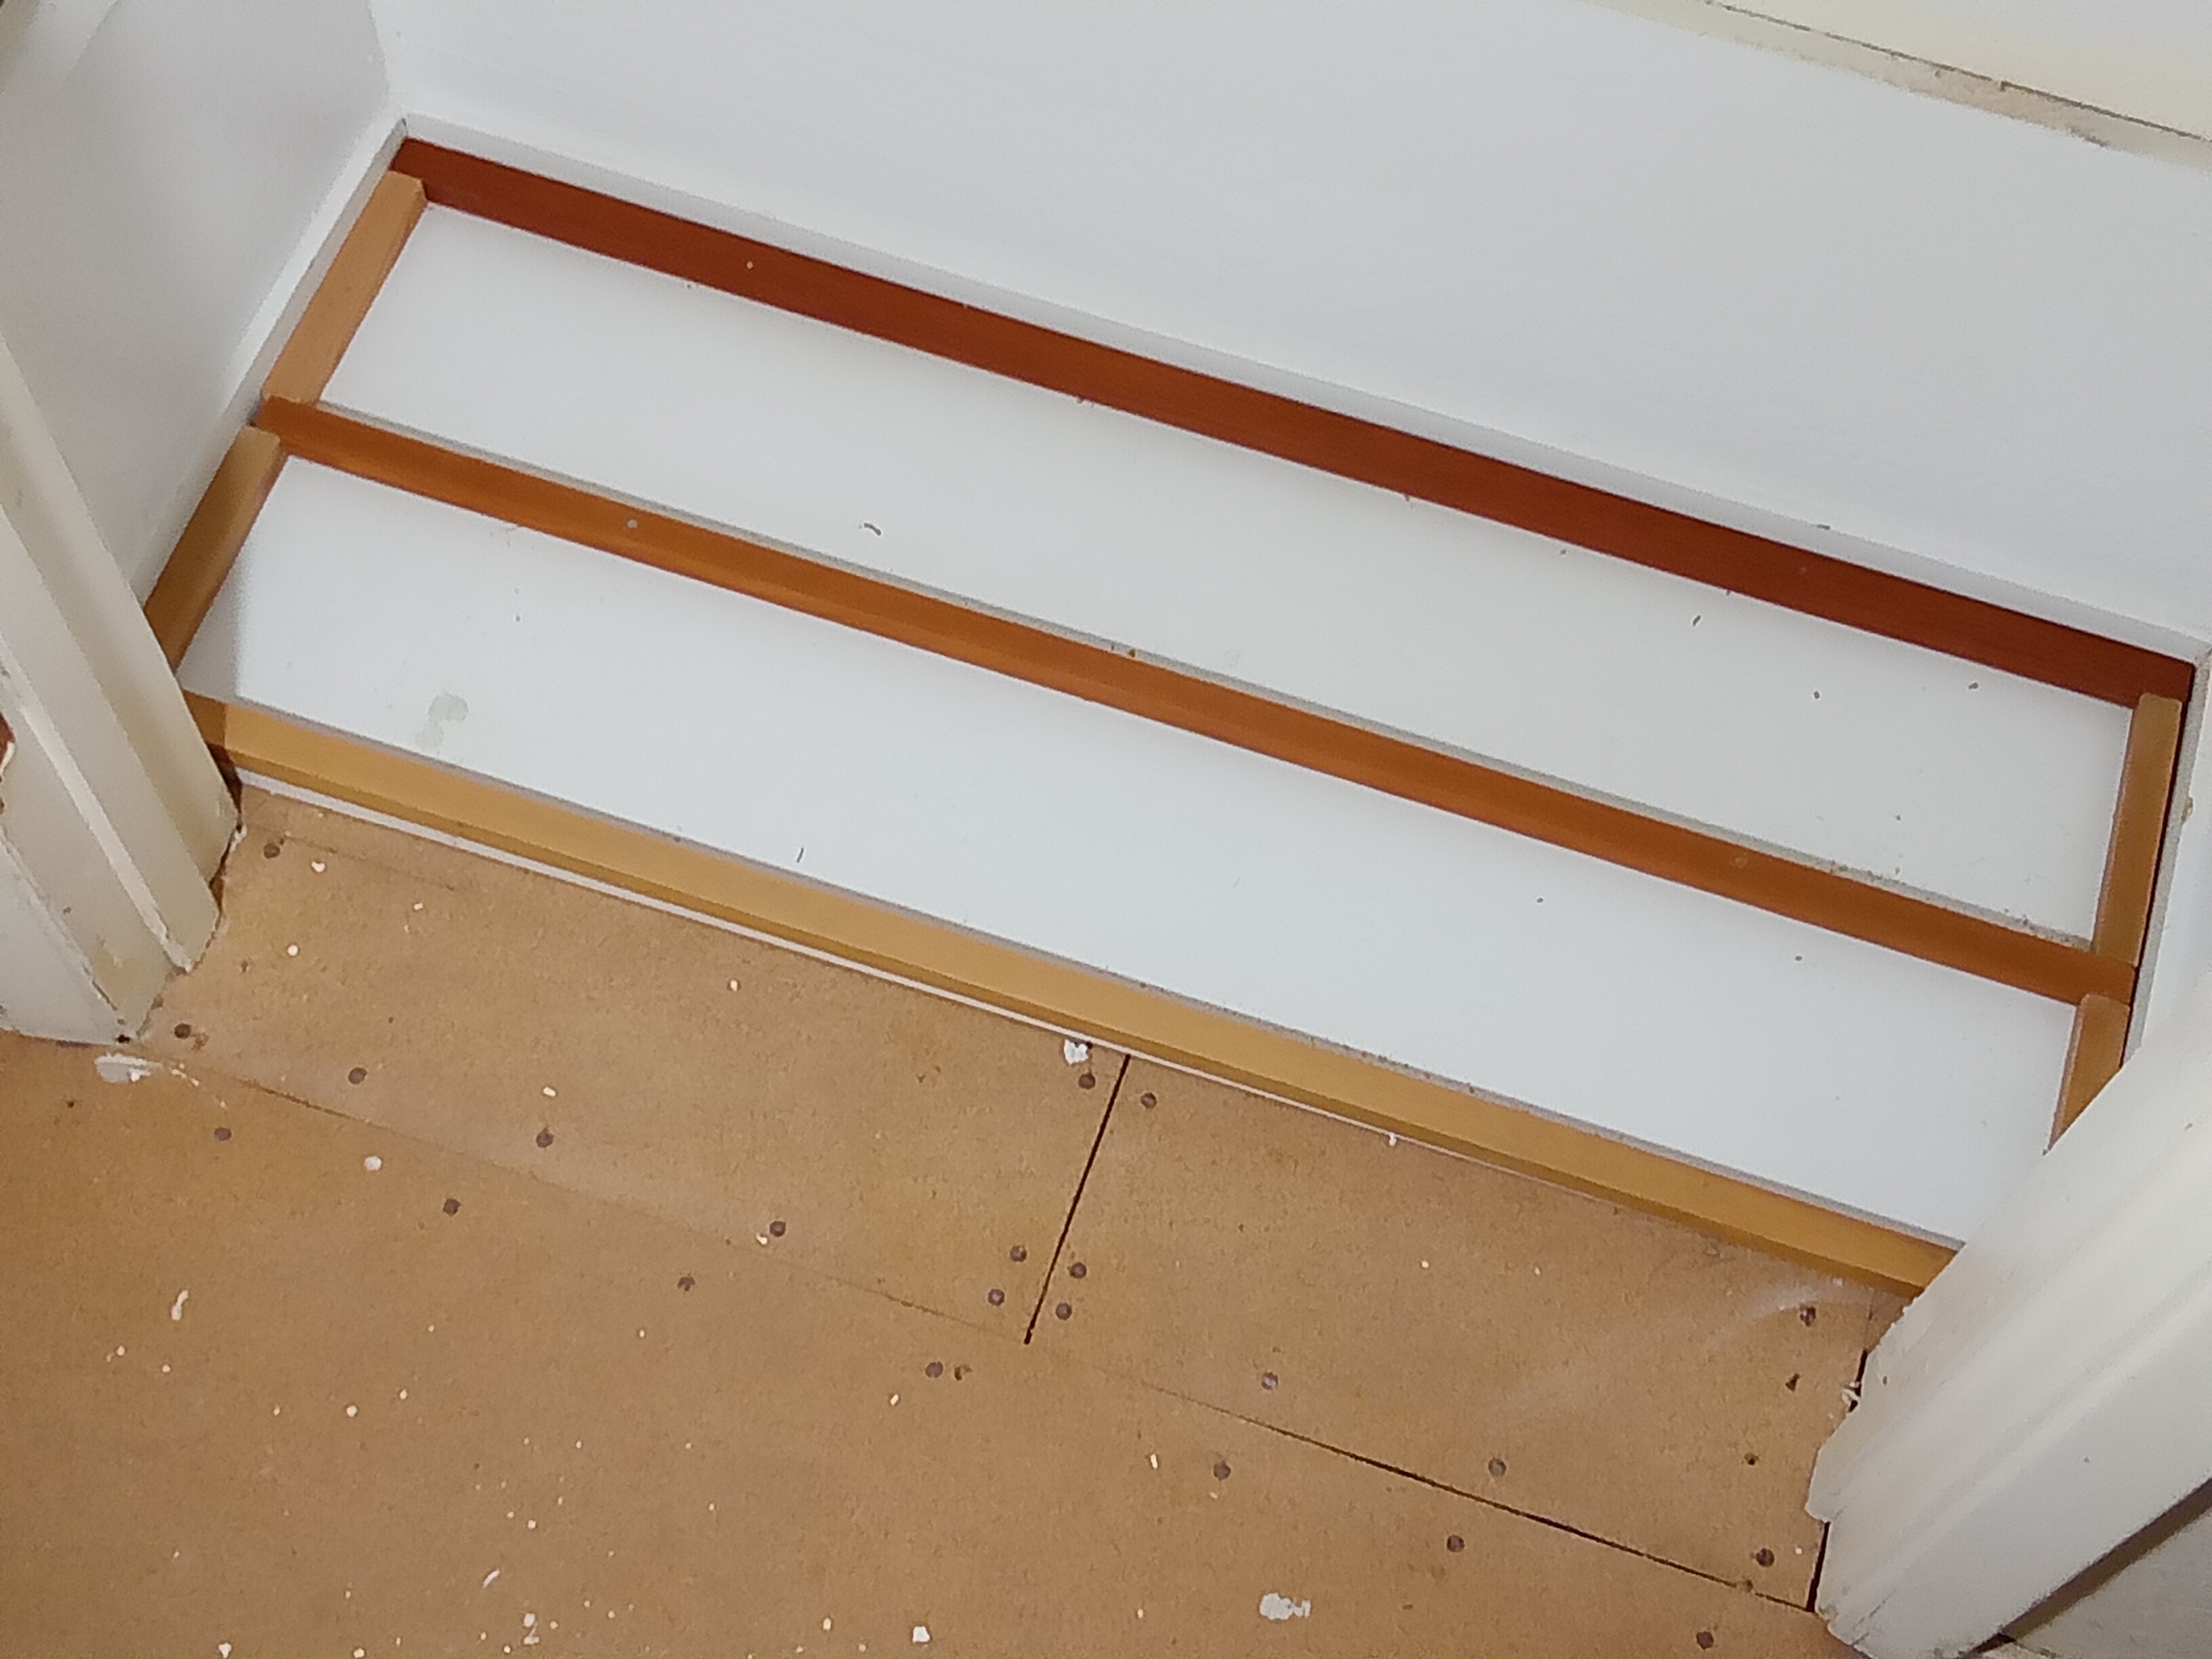
The square varnished trim is not strictly necessary, but it hides the particle board end cuts and disguises the board butt joints.
I’m stumping around lately on a right foot that’s somehow both numb and painful, torquing up with hammer-toe: and sideways with arthritis and neuropathy. PT is my only friend.
After bending over to nail down each trim nail for about 45 seconds, I had to pull myself upright and walk a spell down the hallway lest paralysis set in to hips and legs. But ain’t it the life. And I’m still moving every day.
I’ll need to cut the final plank to exactly fit the door casing and trim. And more white brushwork is needed on the door casing. Then I’ll rehang the door to finish the job.
Cost totals around $20 for tape, gloves, brushes, rollers and trays. The bookshelf planks and trim wood for the floor I inherited from my dad. The nice bright white interior paint came from a fled deadbeat former tenant. Thanks!
I wrote most of this post before my hammer-toe surgery, but I finally took pics and finished it just now.
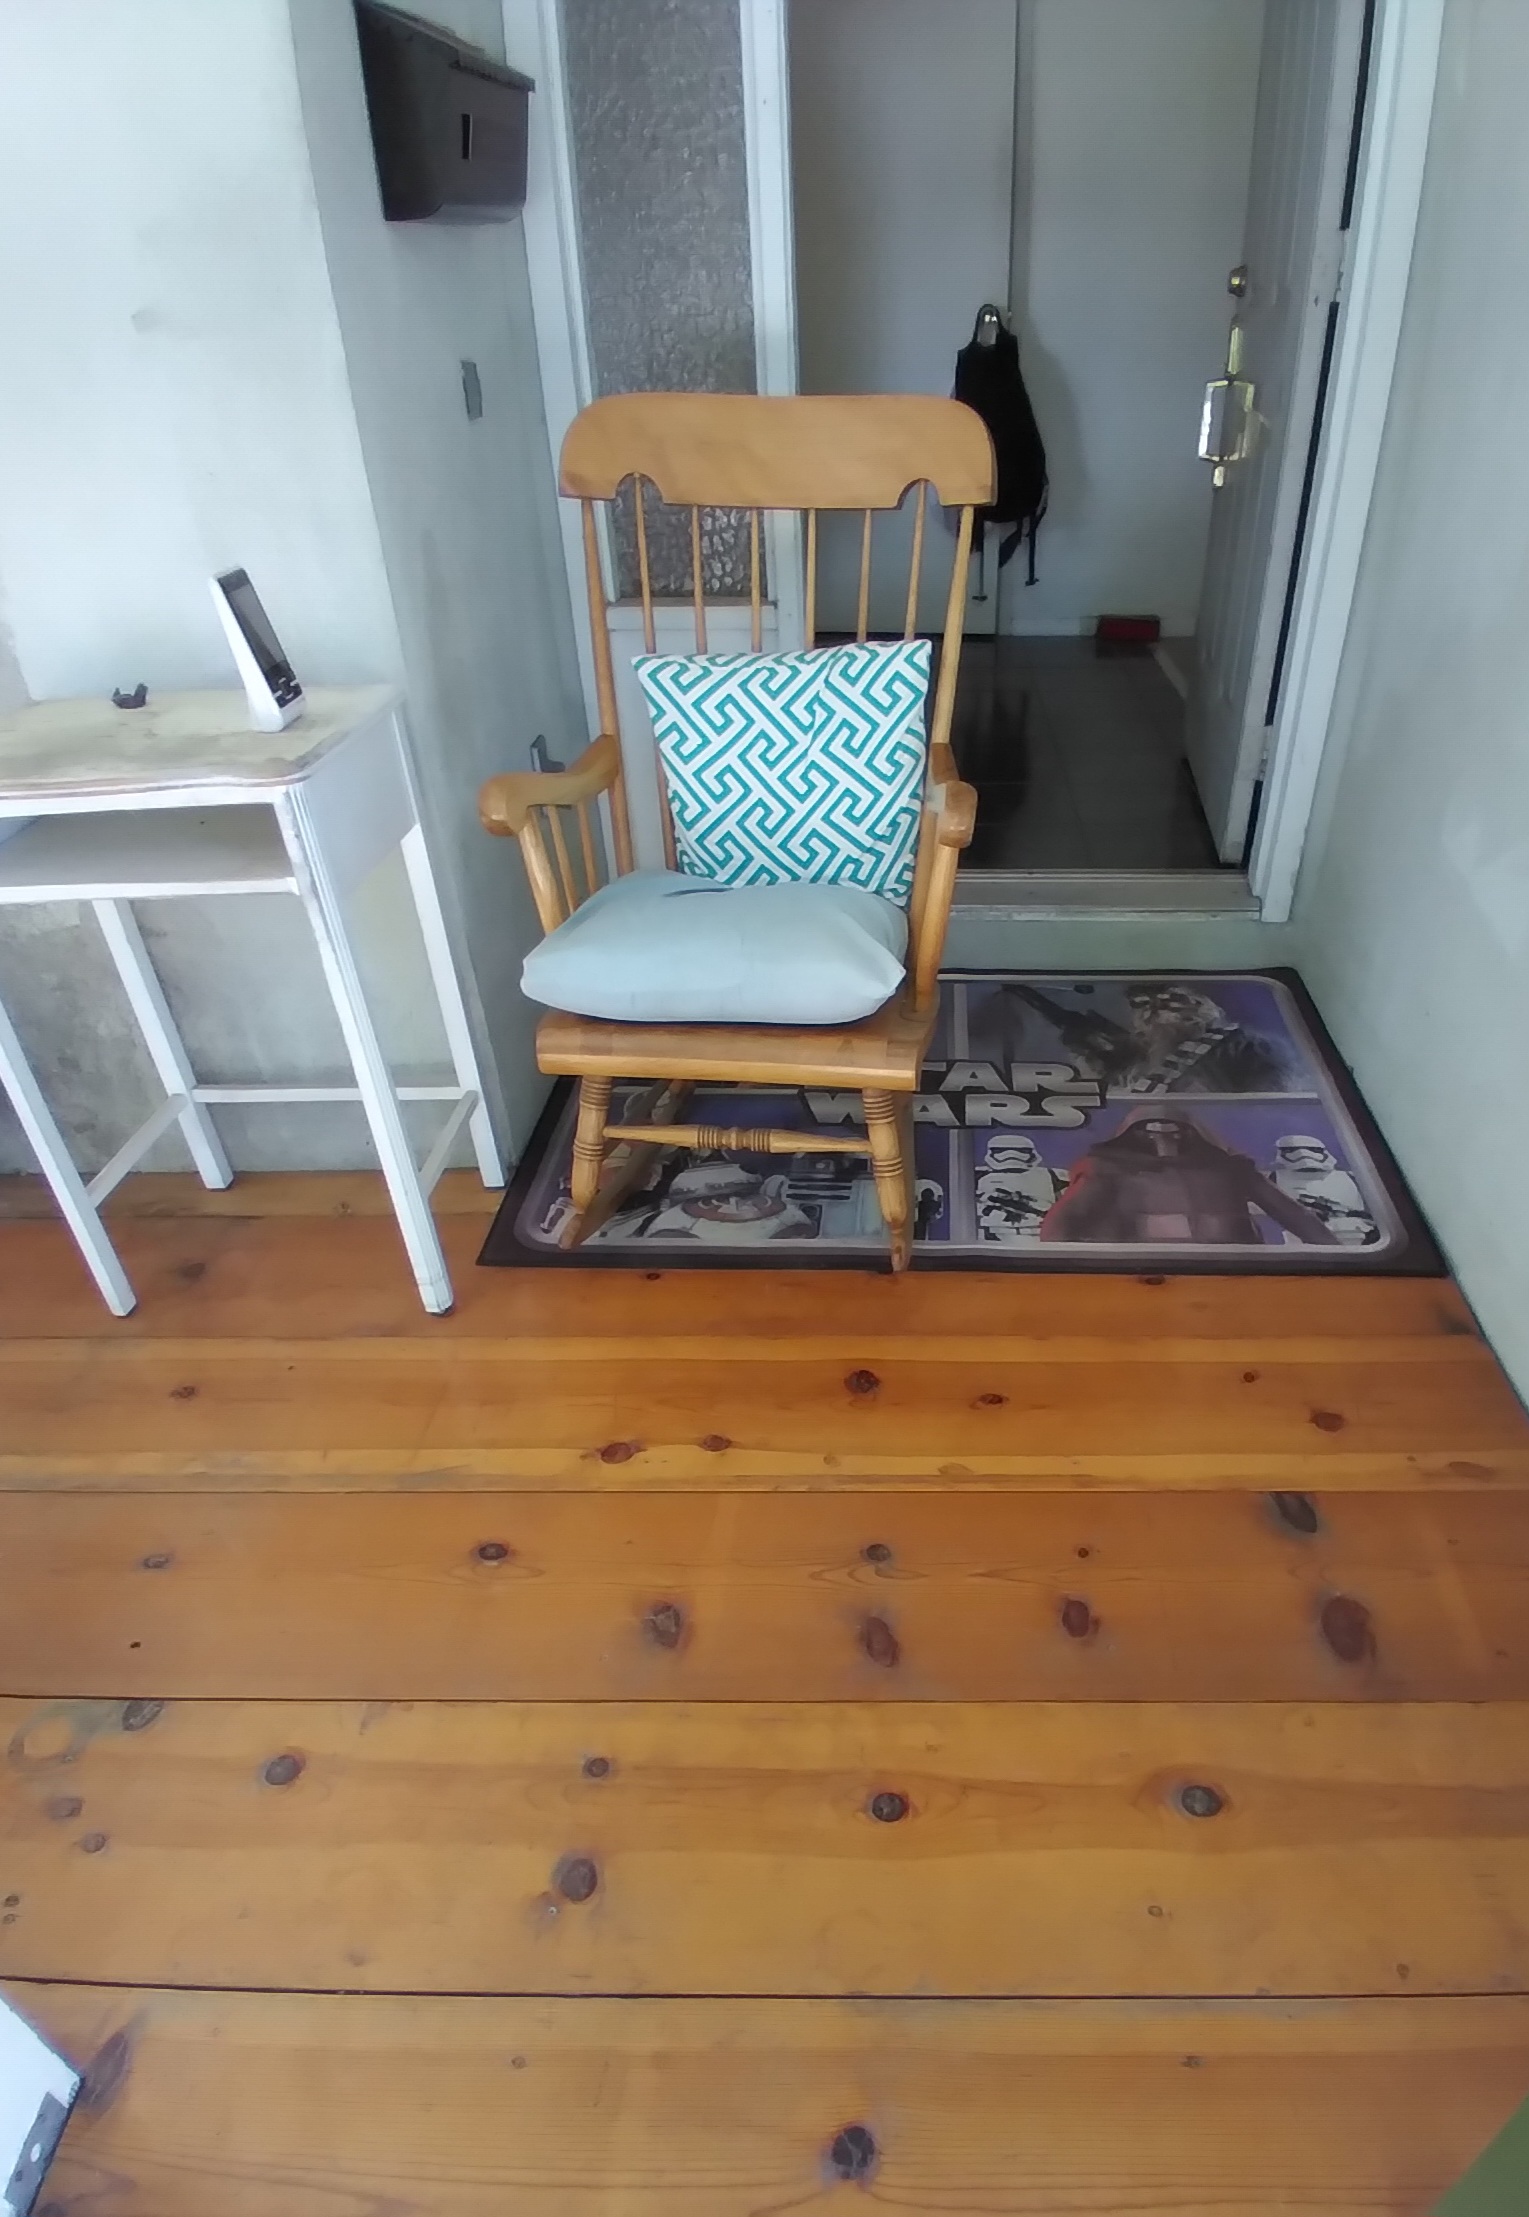
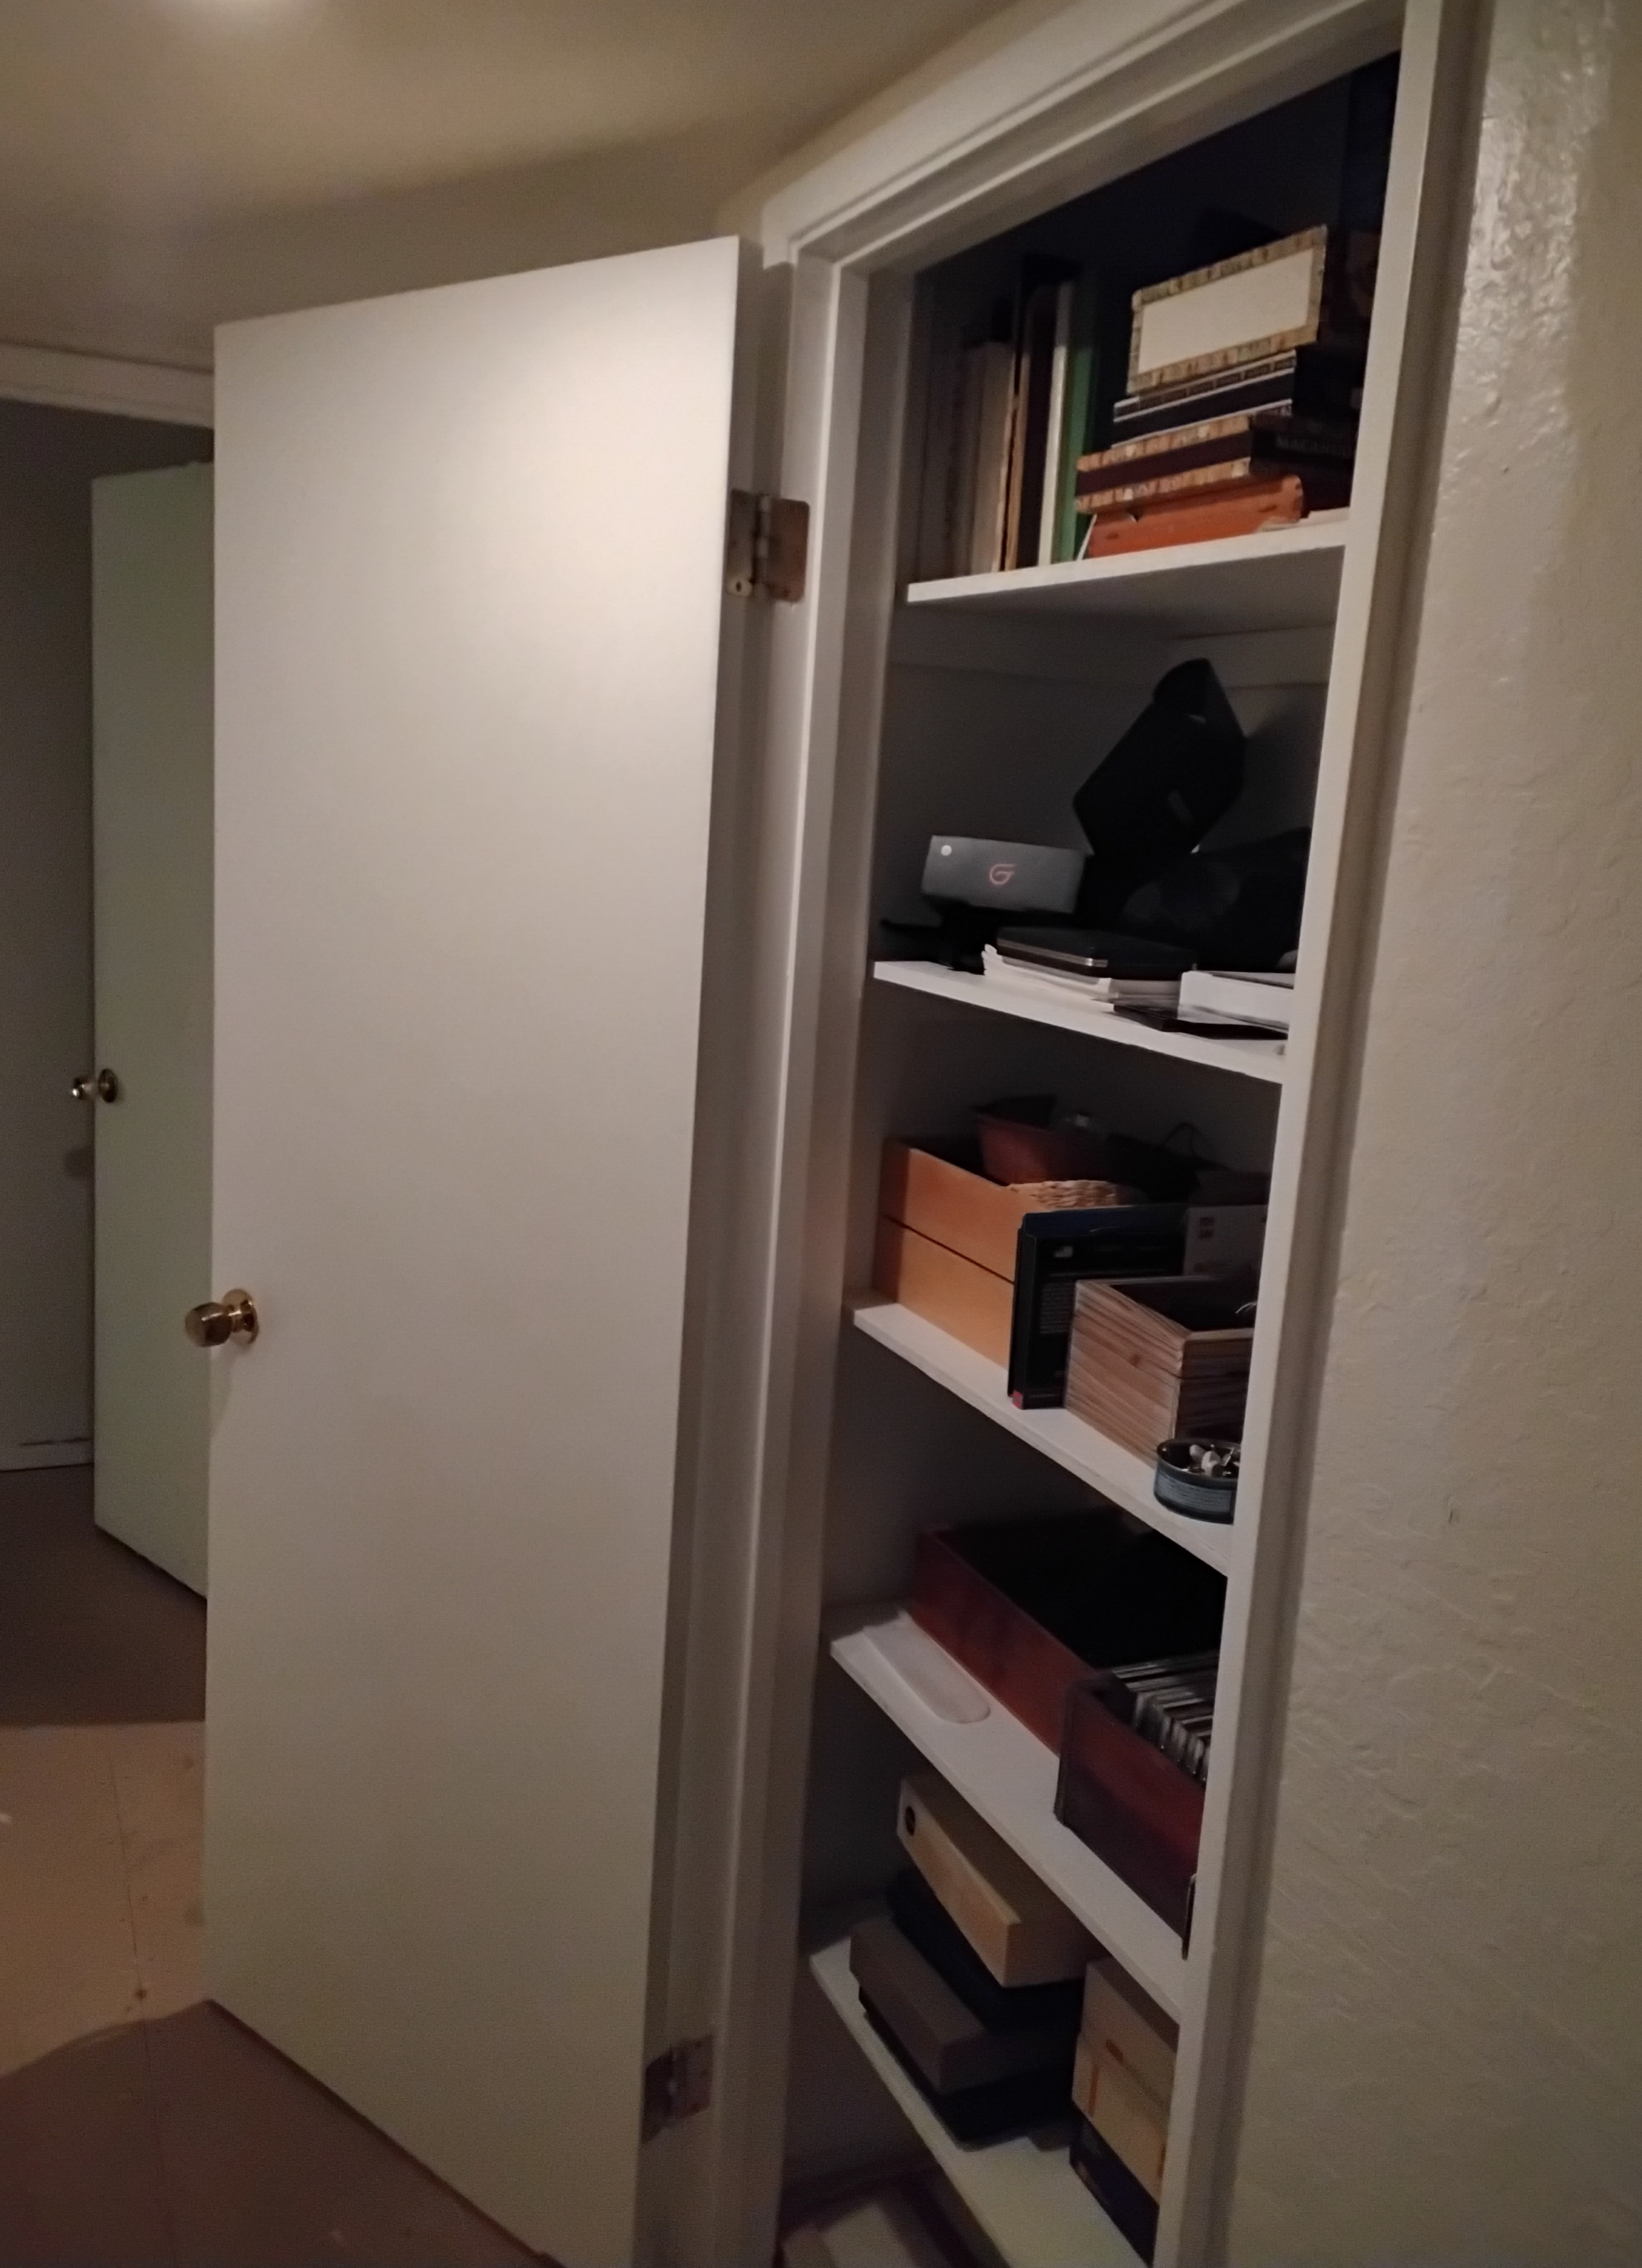
Here it is all painted, floored and partly loaded with my junk. Next paint job will be the middle bedroom.
Unless noted, all text and images by todgermanica.com.

Good job
>