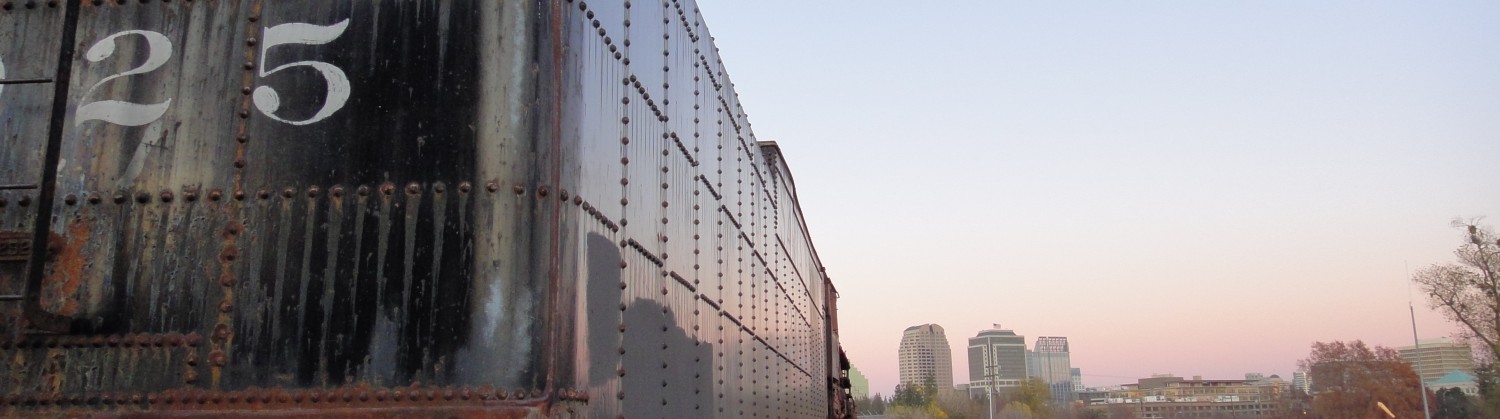
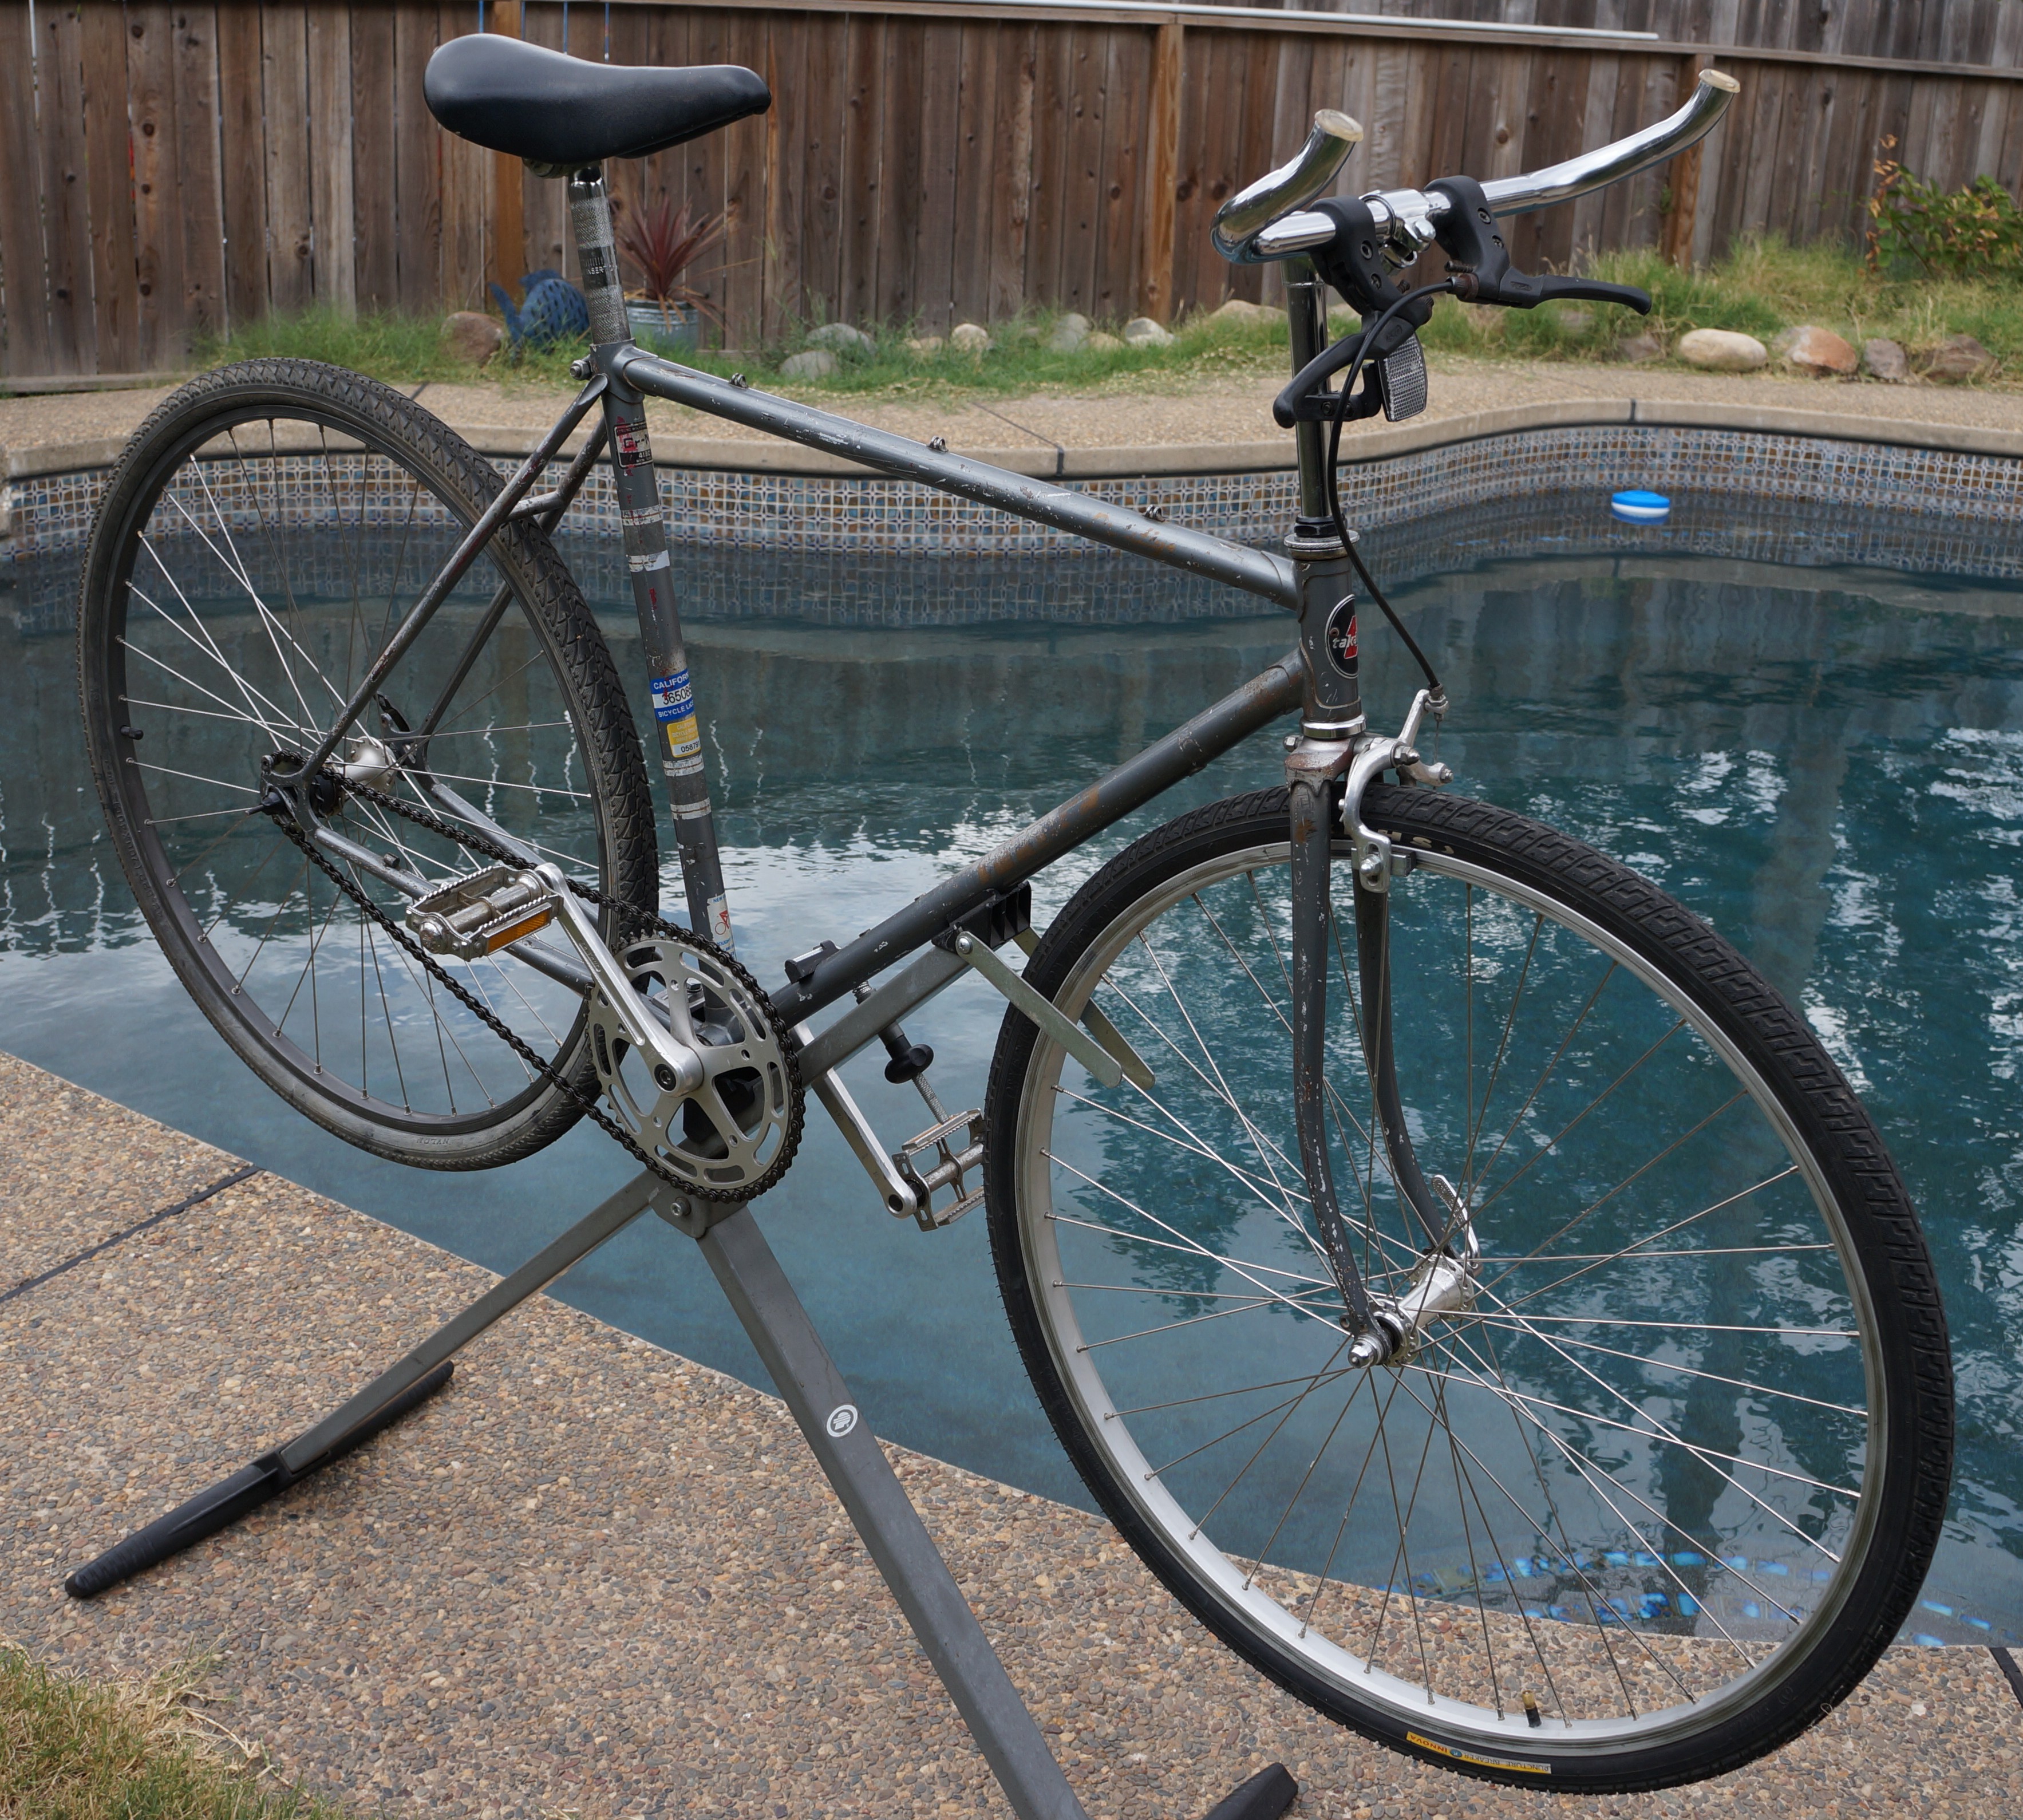
 It’s interesting to search the web for your bike marque to discover its history. Take this $25USD Takara bike frame. It looks to be about 54cm tall, made of 4130 Chromoly steel main tubes butted into lugs and brazed together.
Not much is known about Takara, which might well mean ‘gift’ in Japanese, it’s another obscure brand from the ‘bike boom’ years in the USA.
From oldroads.com: “Takara bicycles were made to spec for an Oklahoma firm, Takara Bicycle Co. The company survived well into the 80’s and possibly beyond. Though not confirmed, the bicycles were probably made by Kawamura, the same company that manufactured Nishiki. Ads showed base and immediate models. Road tests from the period vary in opinion from “average” to “outright bargain”, depending on the model, though they had nicer than average paint”.
Taking off unneeded parts like derailleurs, gear levers, cables, guides, etc. should take no more than an hour or so unless the bike is very corroded. Spray with penetrating oil and wait a bit to dismantle.
I saved the decent Suntour derailleurs and the nice alloy SR crank and chain-ring to donate to the Sacramento Bike Kitchen, an outfit doing a lot of good getting people mobile in downtown Sacramento. Save your parts for them and volunteer if you have spare time.
 The cheapest and easiest 1-gear bike is the ‘hillbilly singlespeed’ conversion where you remove the rear derailleur and shorten the chain to fit whichever gear on the cassette that lines up with the chain-ring. It’s heavy because you still need the cassette, it’s hit or miss on gearing, and it’s not the safest.
Next is the close-to-stock conversion using as many original parts as possible. The front wheel is used as-is, the rear is converted to a ‘suicide’ fixie or is fitted with a singlespeed freewheel. Builders keep the stock dropped ‘ram’s horn’ handlebar or ‘chop and flop’ to make ‘bull horn’ bars.
But neither fit my arthritic hands and wrists, I only ‘clipped and flipped’ here to show how it’s done. Use a dremel moto tool or hacksaw with metal-cutting blade after laying down a ring of masking or electrical tape to guide your cut. Cut straight down, then rotate the handlebar and cut straight down again several times, following the tape line. Trust me, you won’t get a level cut sawing through in one go. File the ragged edges, install brake levers and cables, add bar tape or grips for padding, cap the bar ends and you have steering and braking.
The minimalist builder uses the original ‘cup and cone’ bottom bracket because it’s cheap and works well enough. But often the stock BB spindle will protrude too much to line up with the single cog in back. In that case you’ll need to remove the stock BB and use a modern sealed unit which come in various lengths. You can usually remove the threaded side of the old unit but not the fixed side, the jaws are narrow and it’s not only tightly fastened but also probably corroded.
Take the frame to your LBS and they’ll remove the fixed side for a slight fee and will also measure the BB shell to ensure you buy the right part, usually either 68mm or 73mm with ‘English threads’. Remember, the drive side of the bottom bracket is reverse threaded!
You may be advised to have the BB shell threads ‘chased’ and the shell ‘faced’, that is leveled and cleaned up with a tap; but often you can thread the new sealed unit right in with some bike grease for lubrication. If you have trouble, the shop will install in for a fee.
The Shimano sealed bottom bracket here installed easily but, as usual, you must have the specialized bike tool to do the job. Your LBS can sell you the tool if you want to do it yourself. I bought this bracket so long ago the box was marked $16, but these days you pay $40 and up.
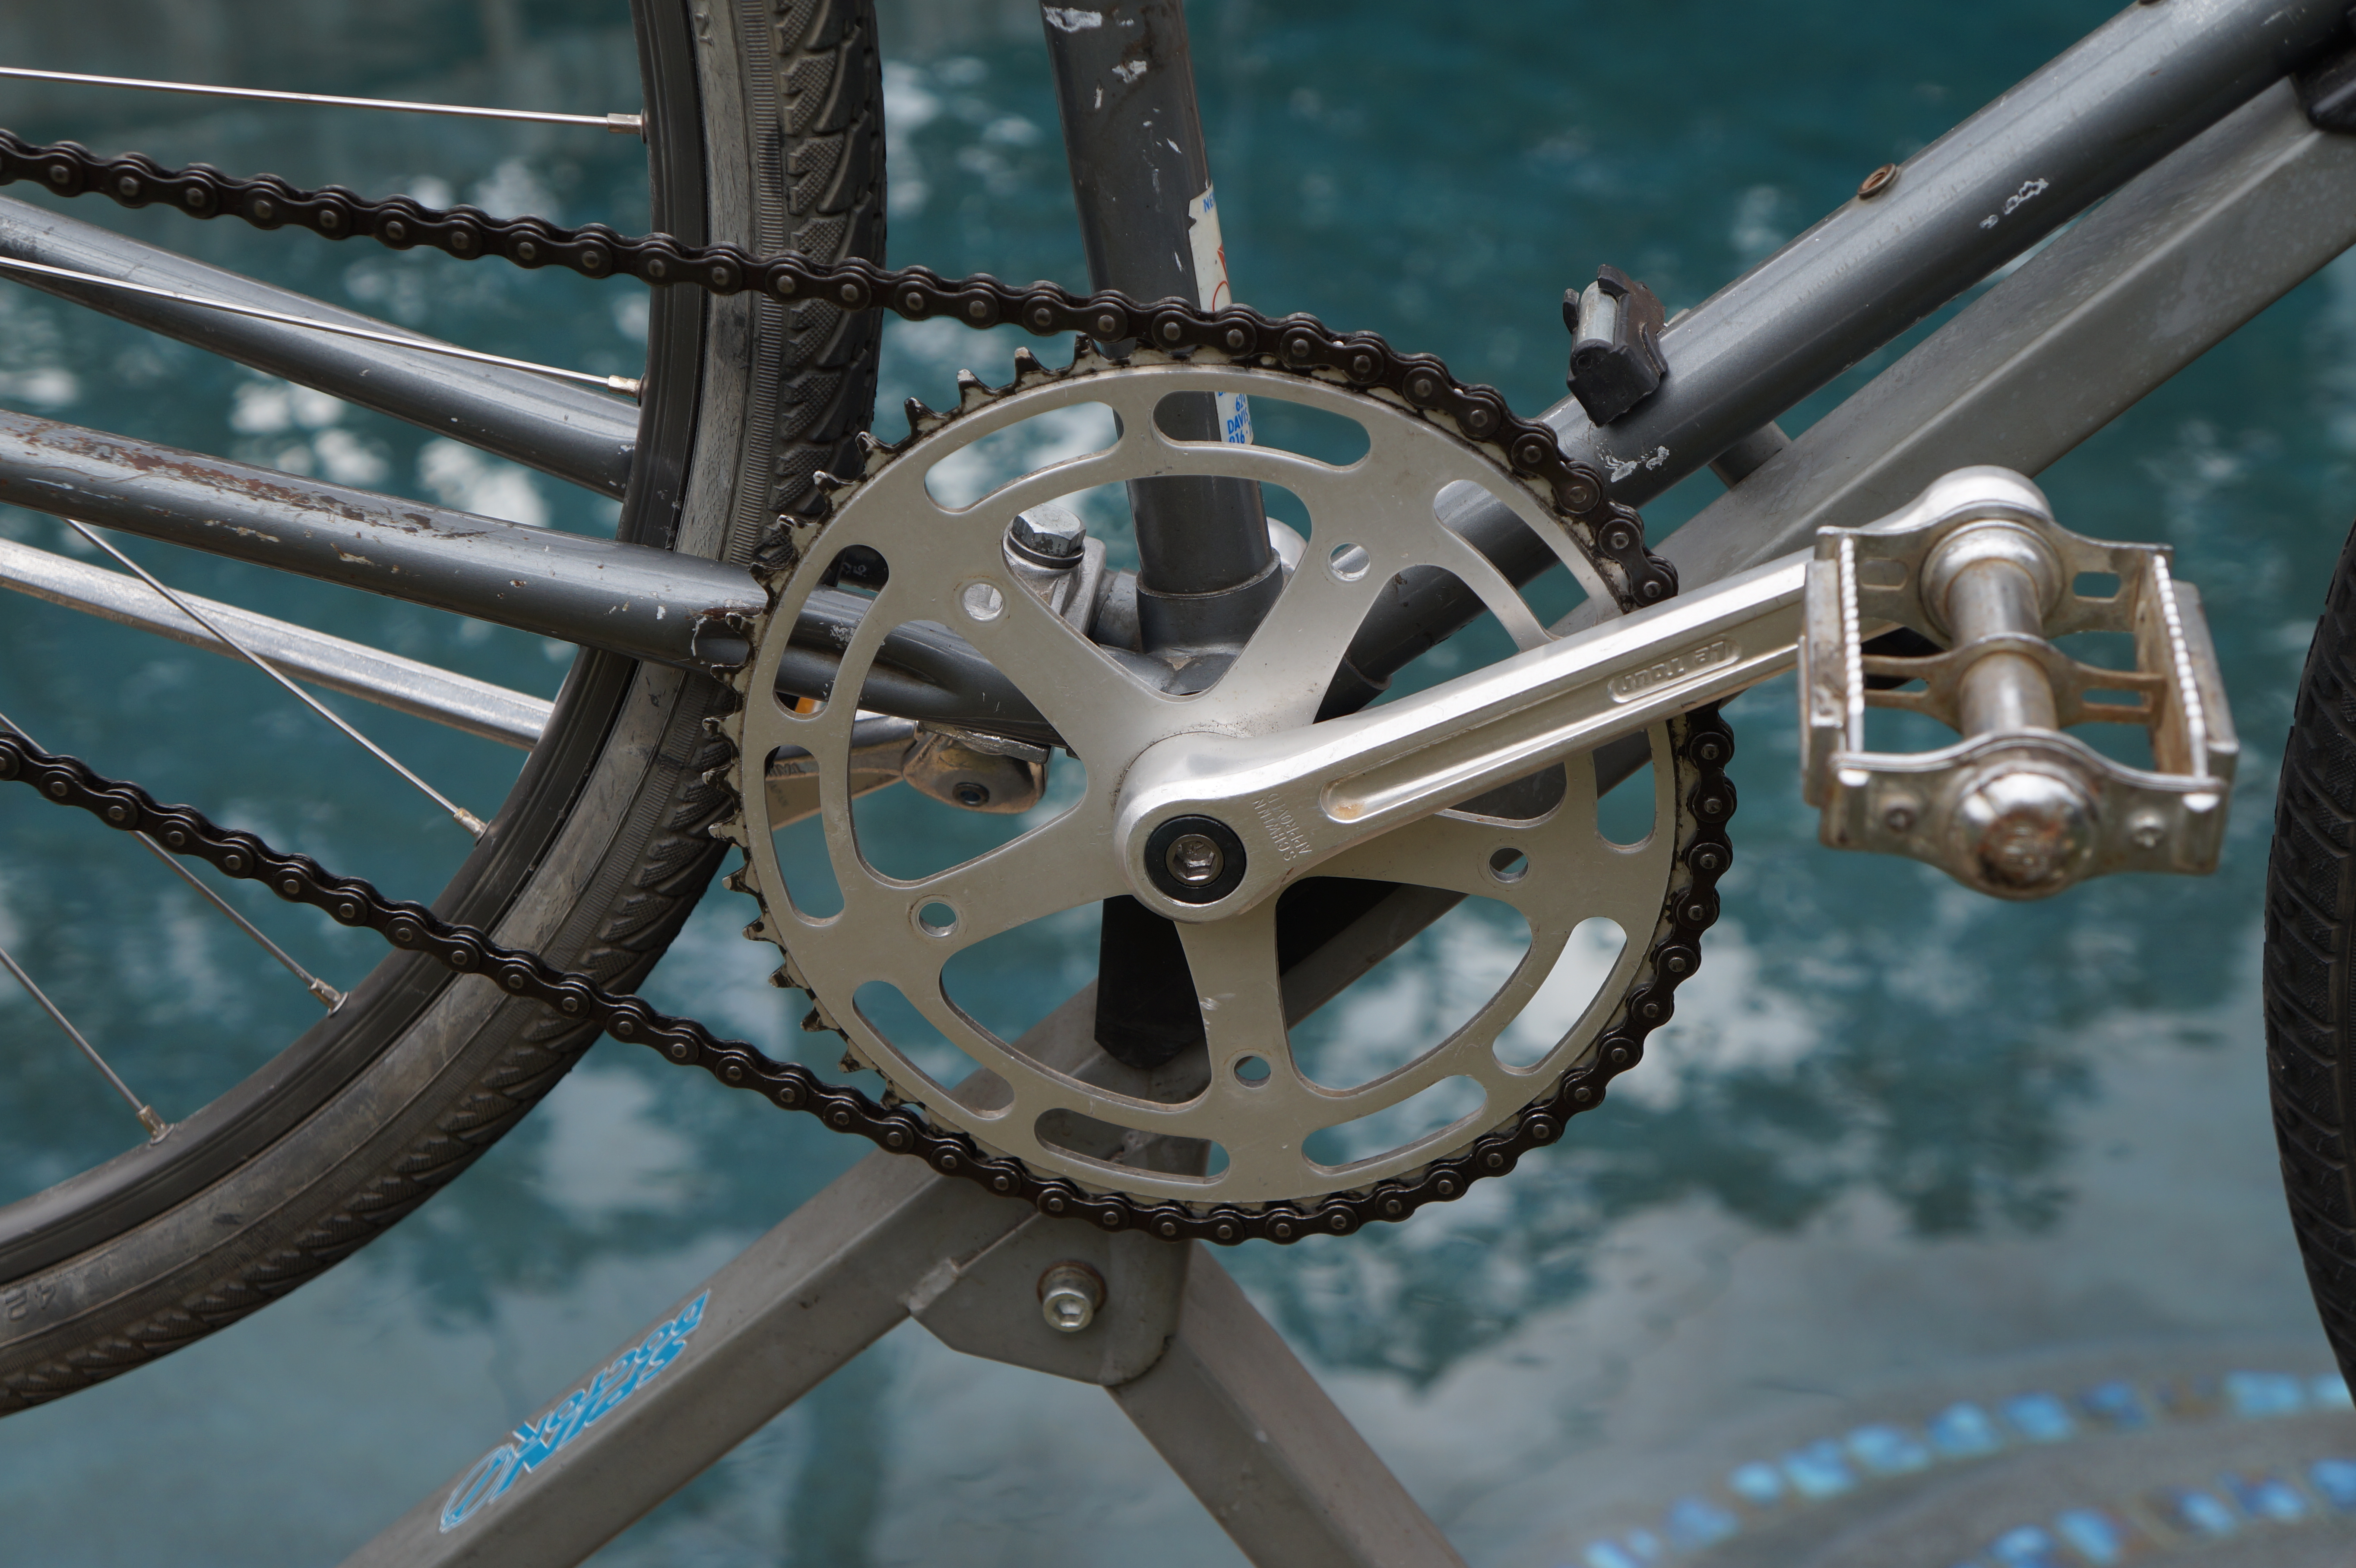 The stock cranks, spider, chain-ring and pedals can sometimes be reused but often they will be heavy, not line up with the rear cog or just be worn out.
Crank sets start around $45 or so and usually look good and are lighter than the often battered originals. They will also line up better with the rear cog.
On the Takara I am initially using the cranks, spider, chain-ring and ‘rat trap’ pedals I removed from a Schwinn. They’re light alloy, look good and line up with the cog, but have too many teeth, so I’ll swap them out on the second build for some Fuji 4-chain-bolt cranks I’ve moved from bike to bike through the years. They’re light, have fewer teeth, look nice and shiny and are not seen everywhere. For now the bike is ridable but with great effort, bit too much of a workout.
 The front wheel is a no-name I bought at Denio’s flea market for $20, wide with good tread for traction but it’s a bit heavy. Next rebuild I’ll find a lighter wheel to fit some fine German Continental Gatorskin tires I’m hoarding.
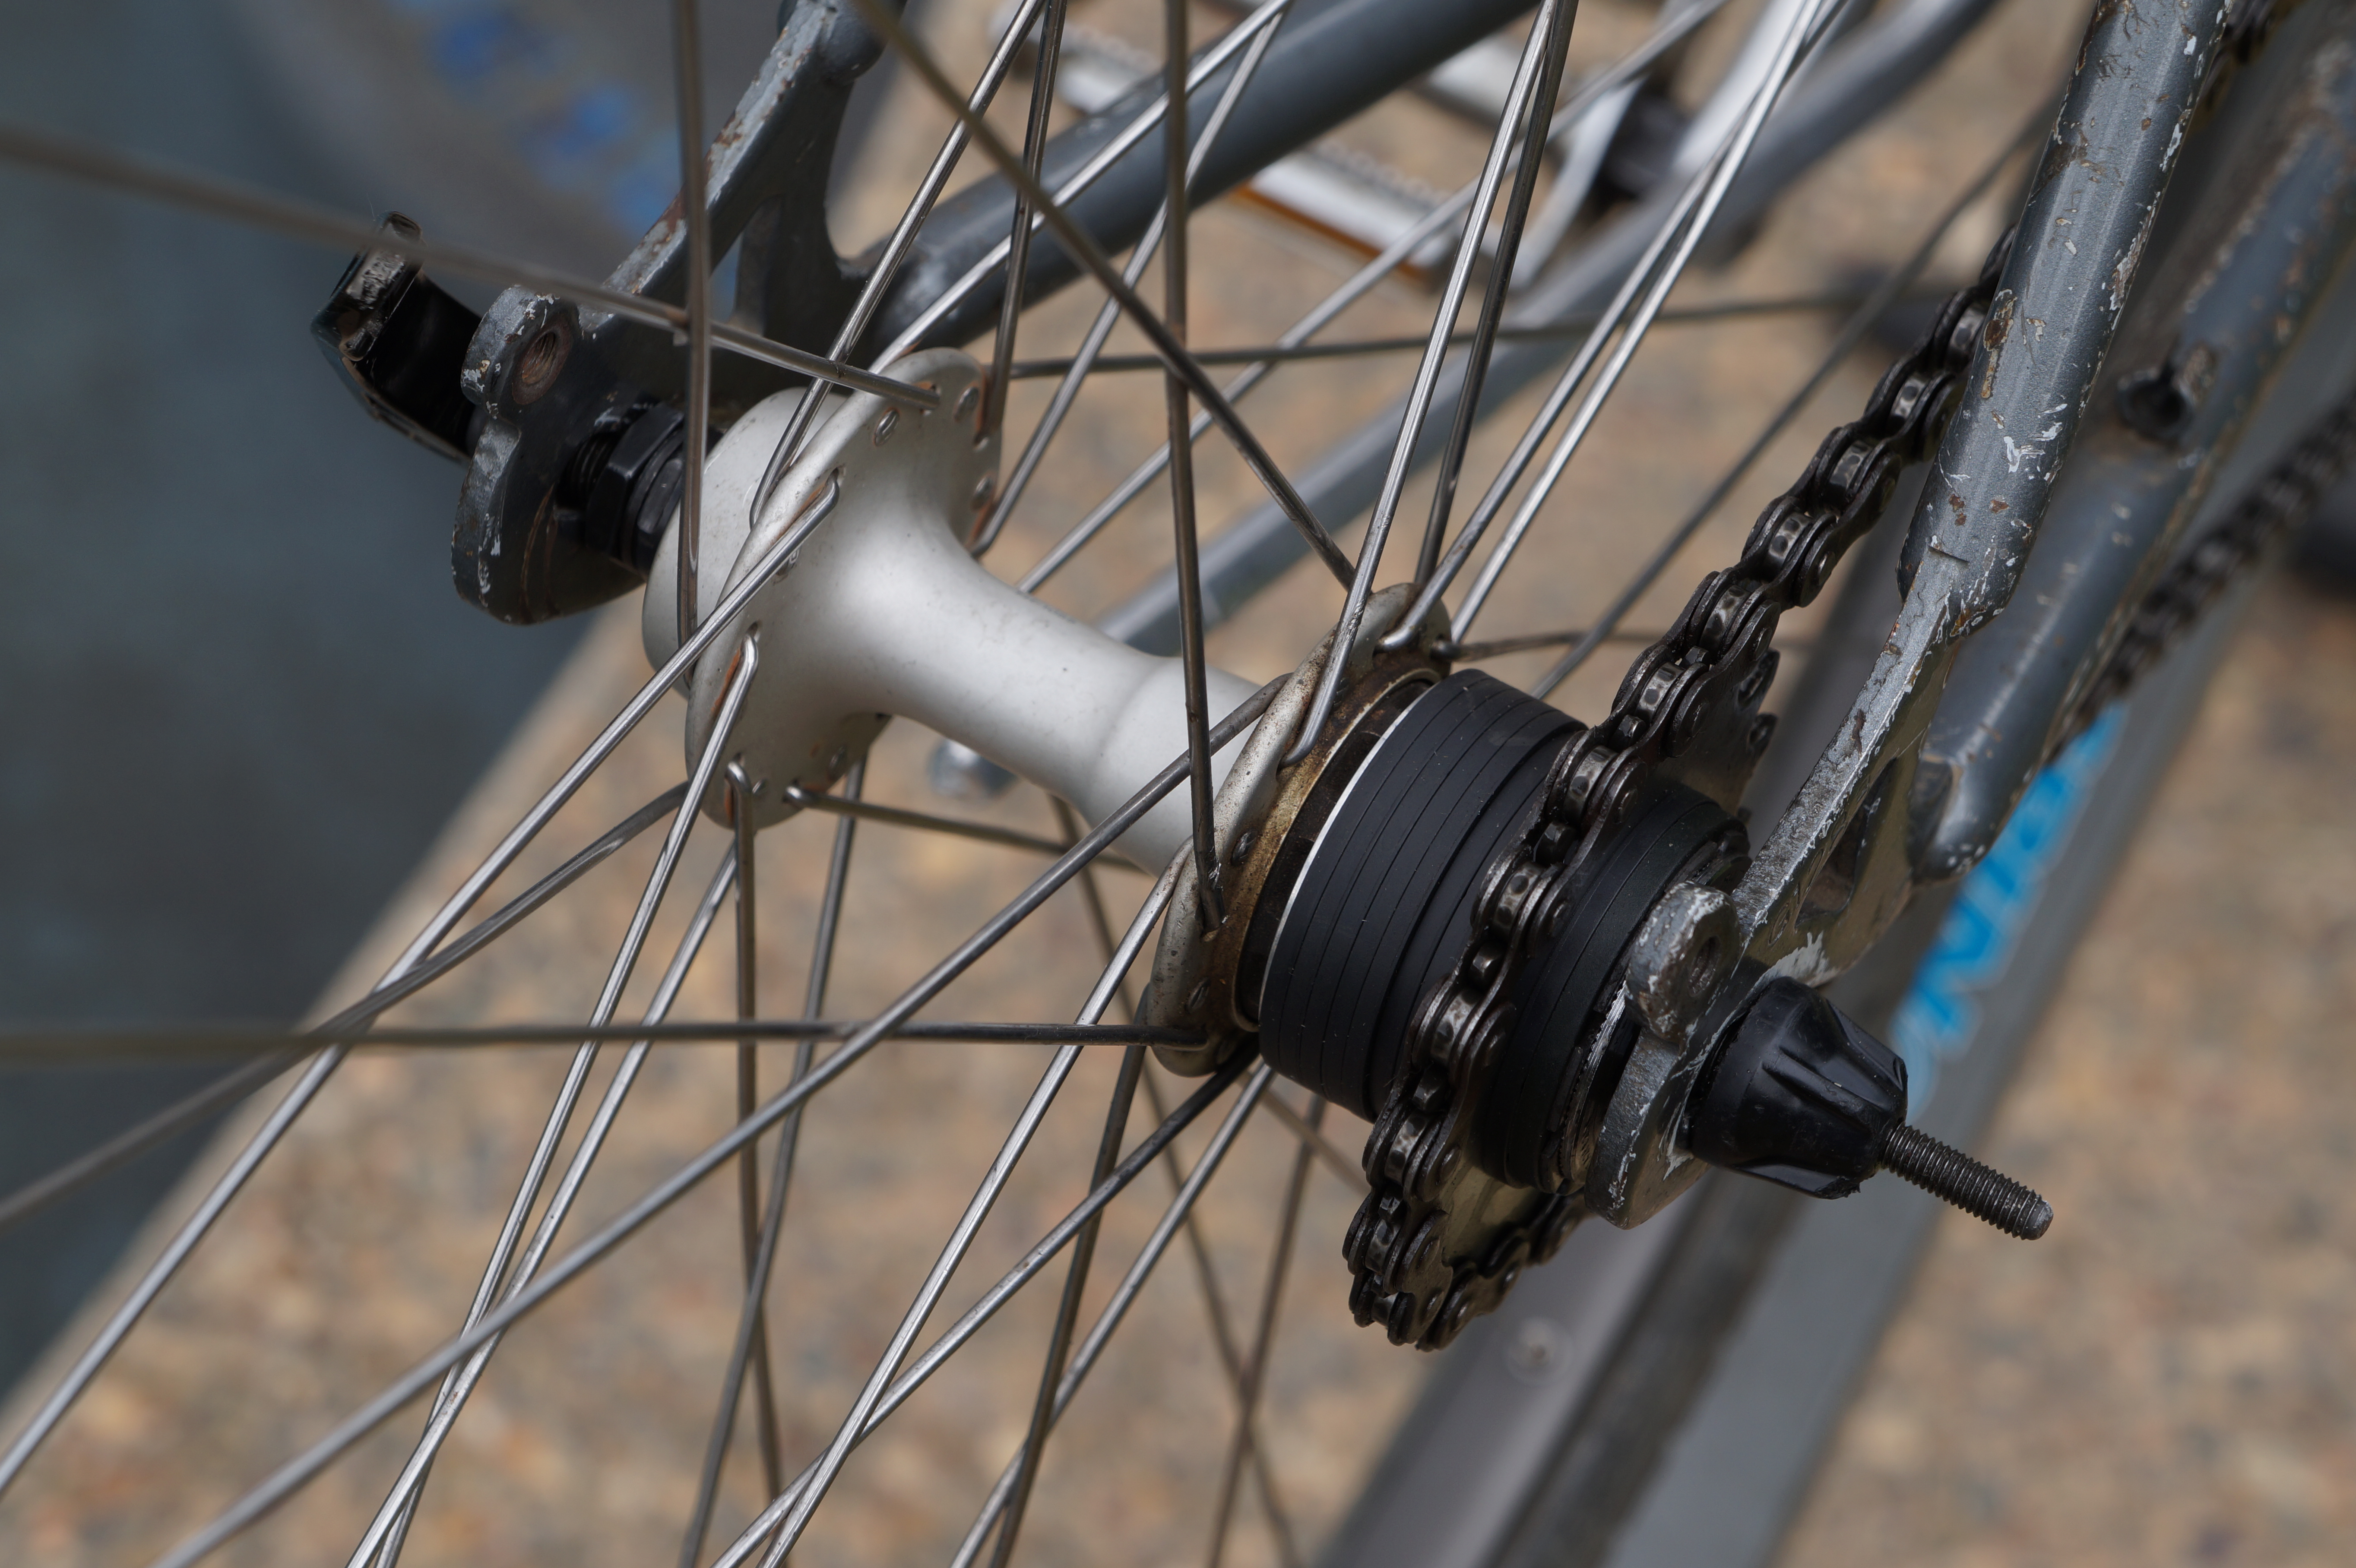
The present rear wheel is a Shimano 105 conversion with a French Wolber rim. Black plastic spacers position the single 17-tooth cog on the freehub. I’d like to replace this wheel with a flip/flop wheel so I can use my Gatorskin tire and also have the fixie option.
Often newer wheels won’t align with stock brake calipers. If the height is wrong you’ll need to swap out the brakes for ones with a shorter or longer reach to match rim height. The old Weinmann center-pulls are often a good fit. If all else fails you can fabricate ‘drop bolts’ or ‘rise bolts’ to help alignment.
The slightly too big seat post is just a jam fit in the frame and the seat is a beyond vintage lapidarian Schwinn ‘Approved’ from when dinosaurs roamed the earth, so I’ll need to buy a post and seat. I’ll fit a rear brake too as you really need one on a singlespeed, for redundancy and added effectiveness and for redundancy.
I ordered a semi-ape hanger handlebar with a 6″ rise at Bob’s Cycle, $23 ($8 shipping!), due in 5 working days. I use this same bar on my mixte Schwinn and it works well for my neck, hands, wrists and butt. I already had the Very Long quill stem from another build, heavy steel and not that pretty but you use what parts that fit for bikes this old.
Here are the costs so far:
Frame-$25
Frnt Wheel-$20
Rear Wheel-$20
Bottom Bracket-$16
Cog spacers-$10
Total=$91
 I’ll post changes to the Takara singlespeed build in the future but I won’t be bike building for a while as I am scheduled for flight training in early August.
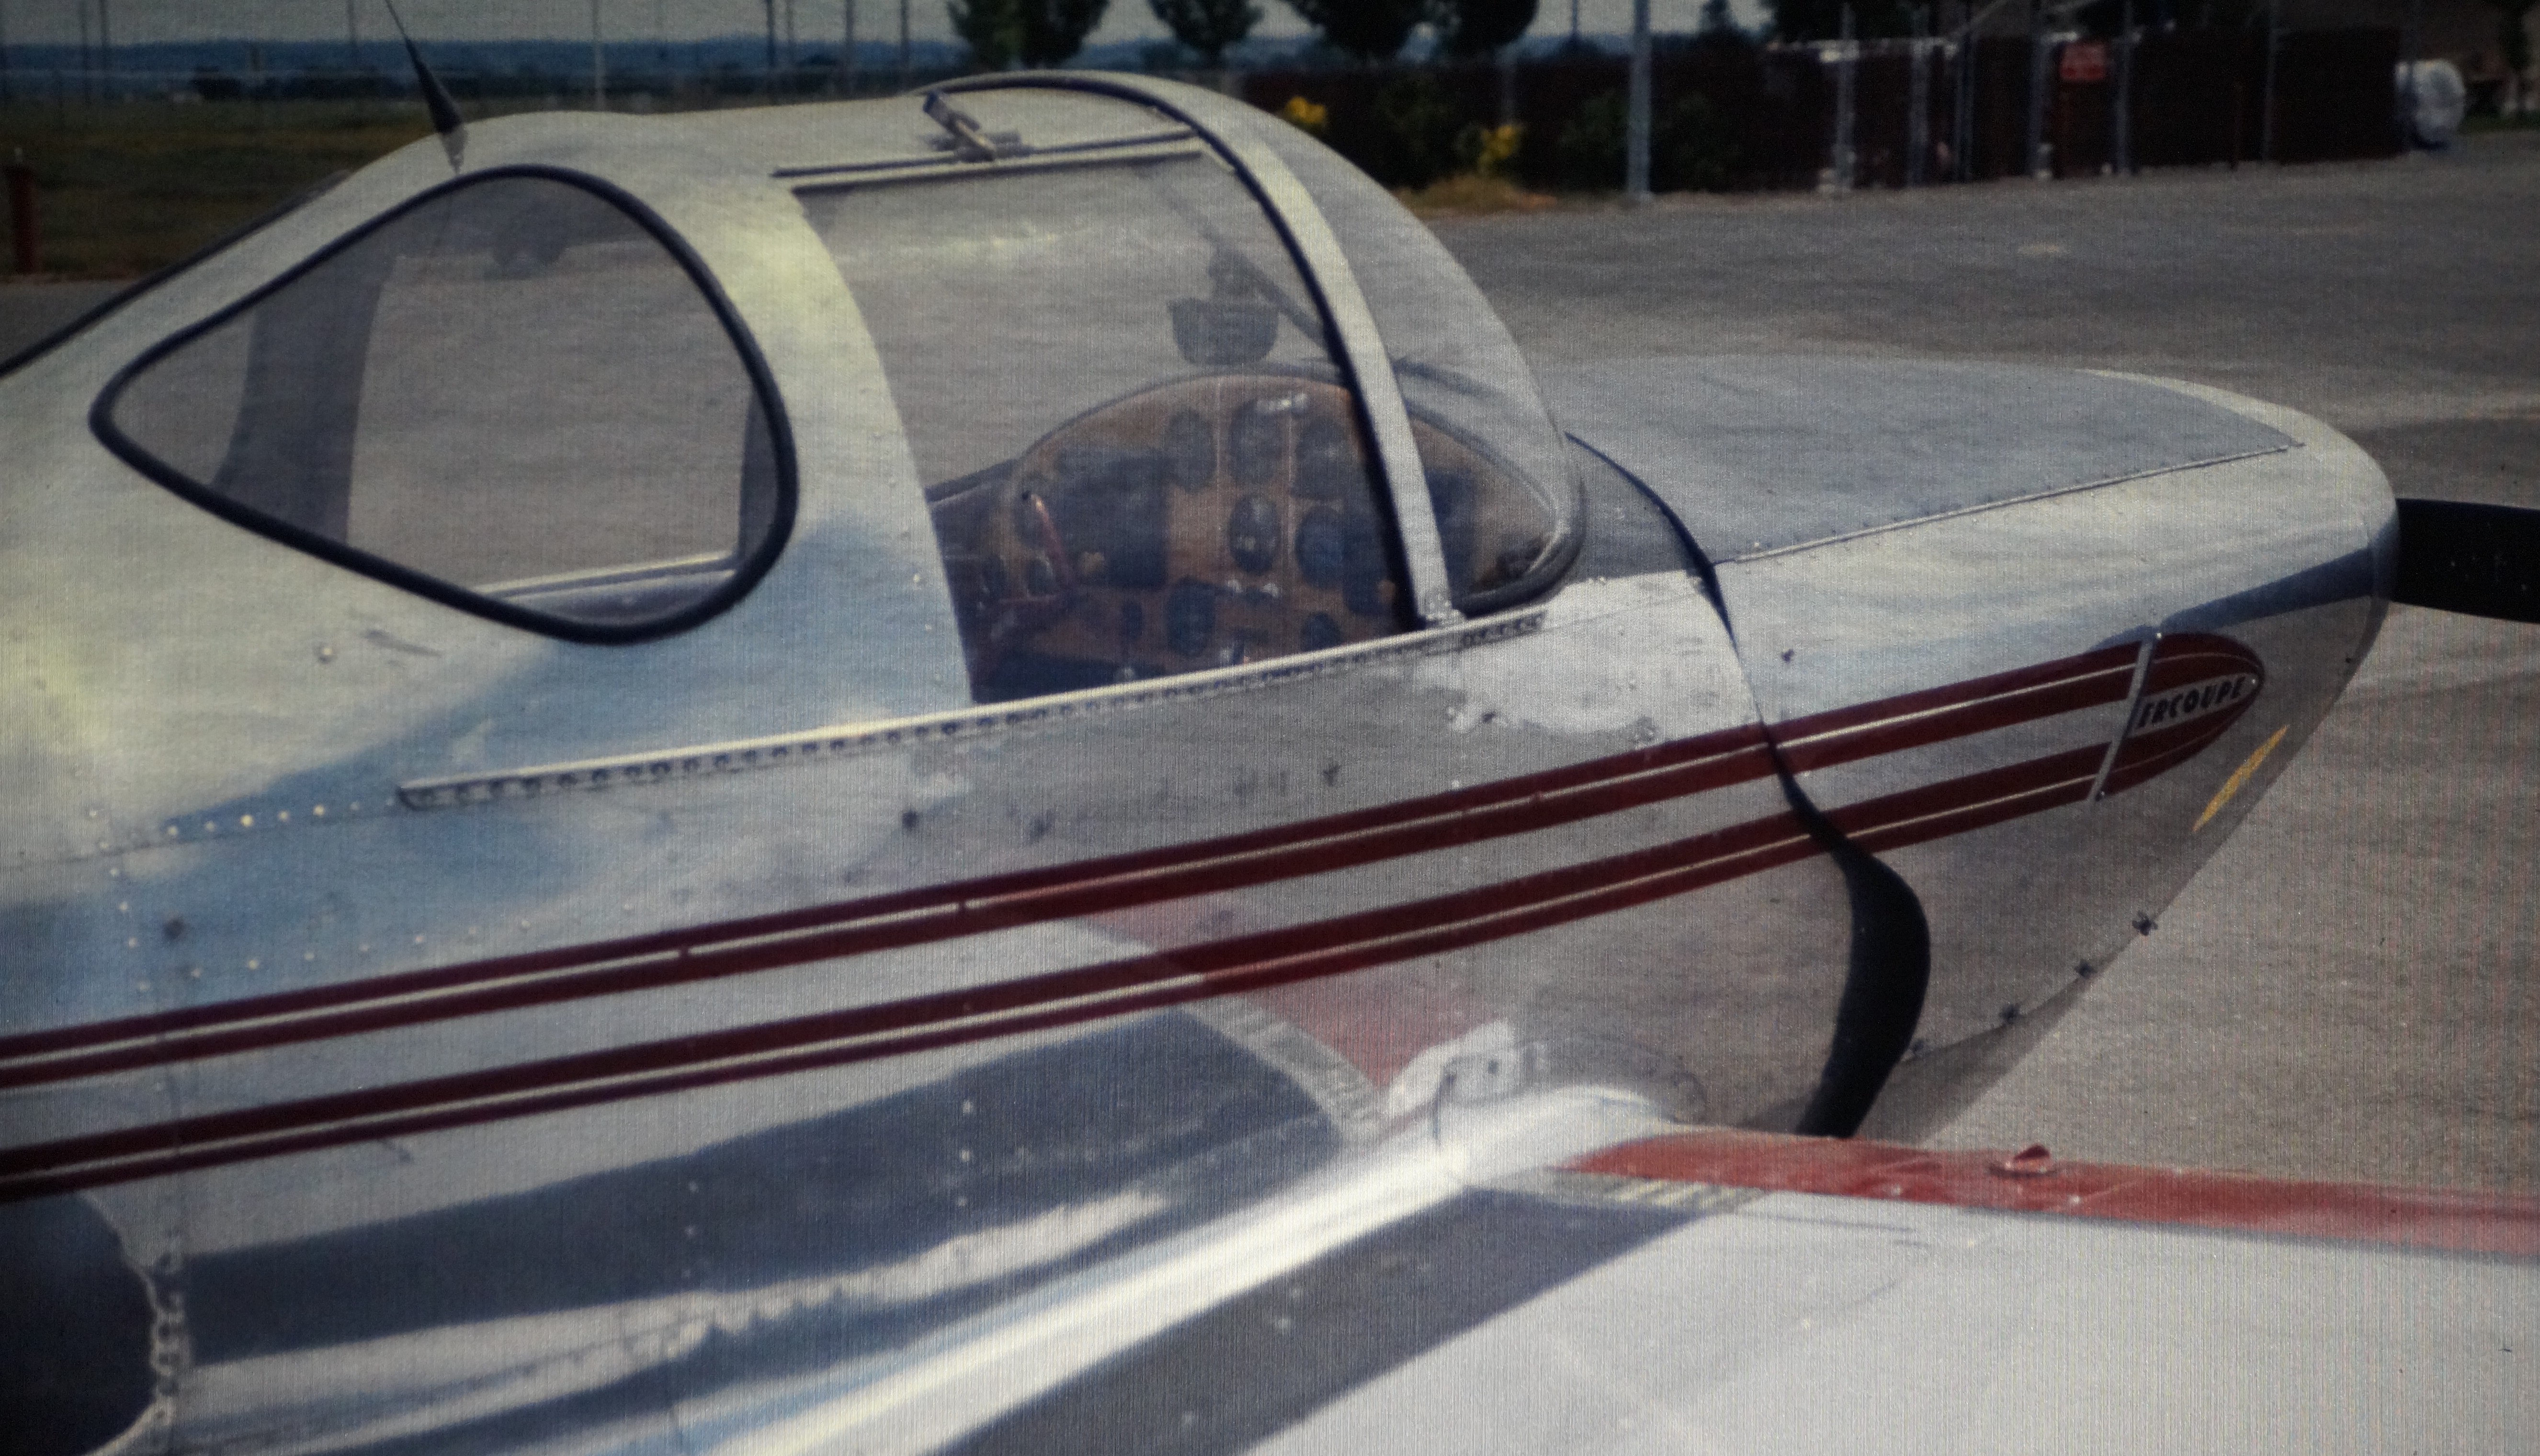
I’ll be flying a Ercoupe 415C (with rudder pedals) in beautiful Southern Oregon so I’m stuffing my brain with Federal Air Regulations.
UNLESS OTHERWISE NOTED, TEXT AND IMAGES WERE PRODUCED AND COPYRIGHTED BY TODGERMANICA.COM AND ARE FREE FOR NONCOMMERCIAL USE WITH ATTRIBUTION. ANY ADVERTISEMENT YOU SEE HERE IS CHOSEN, PLACED AND MONETIZED BY WORDPRESS. I AM NOT CONSULTED NOR COMPENSATED.
