
This is my flea market 4-string Behringer Death Valley test mule bass guitar.
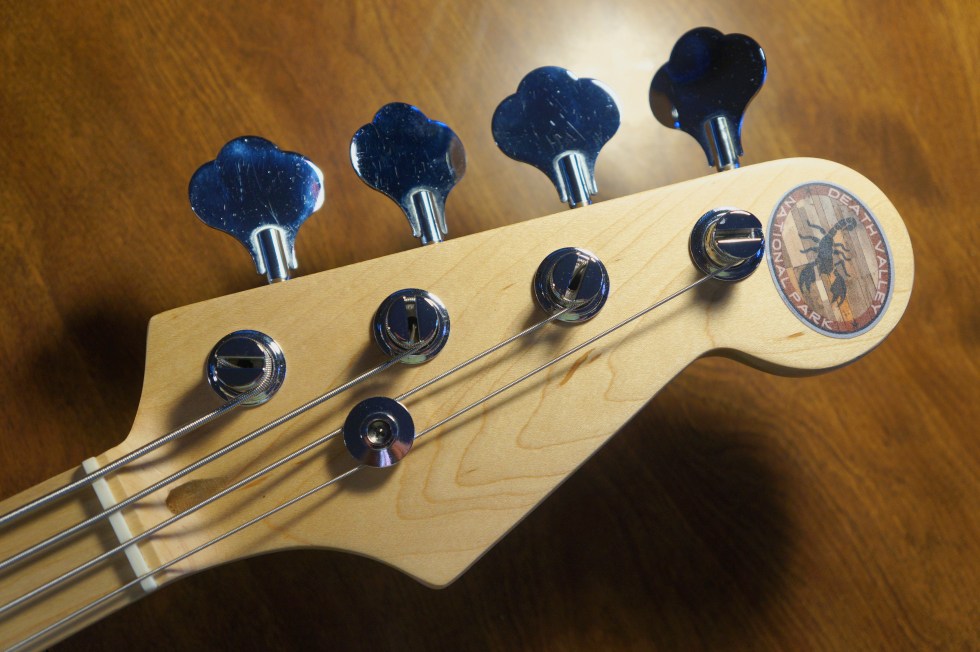
It’s student ax from a while back I bought cheap, fixed up cheap and now want to make actually usable.

Behringer makes tonnes of amps but very few basses.
This one was a seldom played closet case after someone broke the neck truss rod nut.

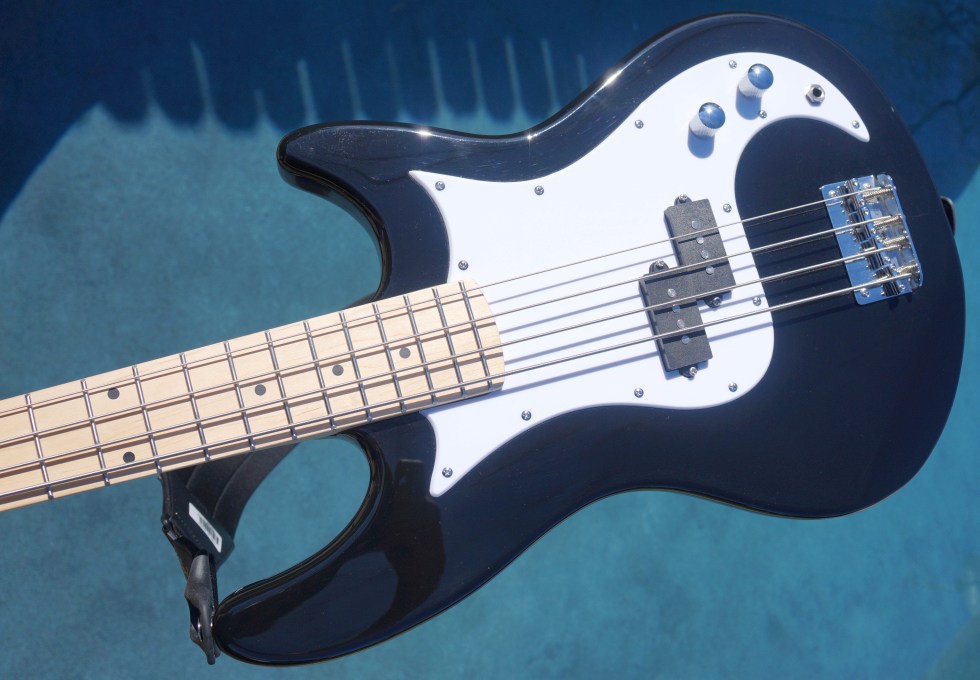
A $38USD maple Kmise Jazz Bass neck with maple fretboard sounded pretty good after I screwed it on.
But the nut was too tall and the fret ends too sharp for fun playing. Action was also far too high.
Worse yet, inspection revealed the Behringer had almost zero radio frequency shielding (Faraday cage) in the form of tape or special metal paint.

StewMac sells the pricey paint and copper tape with the conductive adhesive, $22USD.

But as I’m a notorious tightwad I’ll be using this Nashua brand aluminum tape I found in the garage.
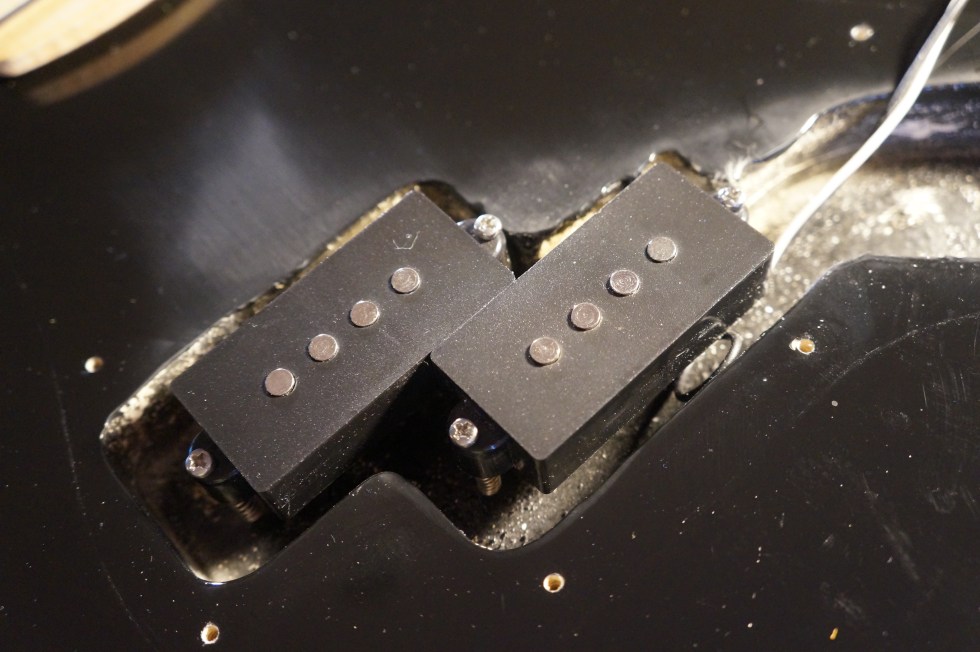
No shielding visible here.
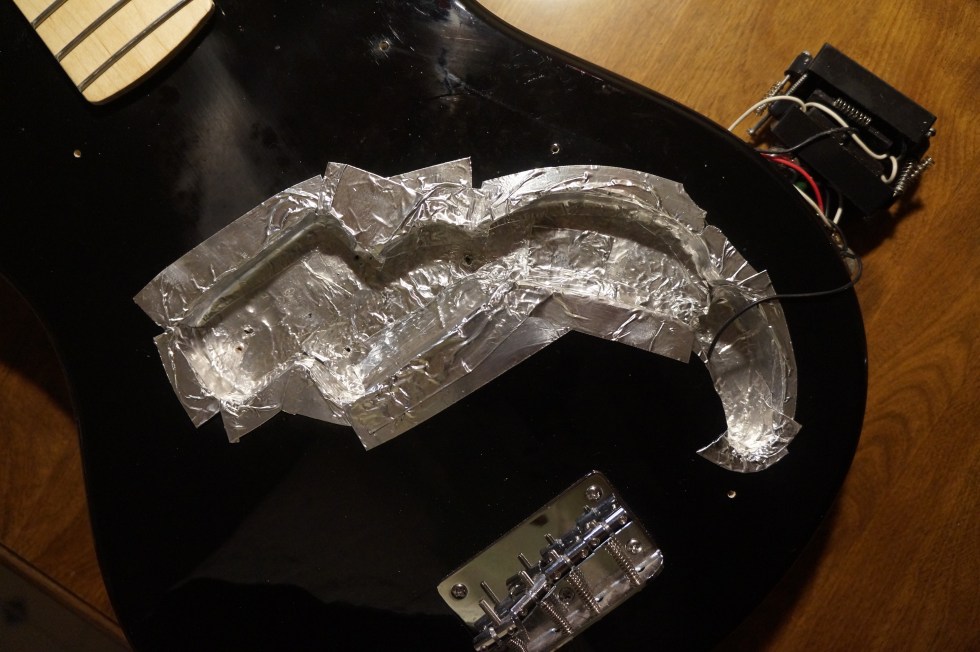
Because the adhesive is very likely non-conductive, I needed to fold back edges of each new piece of sticky foil to make sure conductive surfaces contact each other.
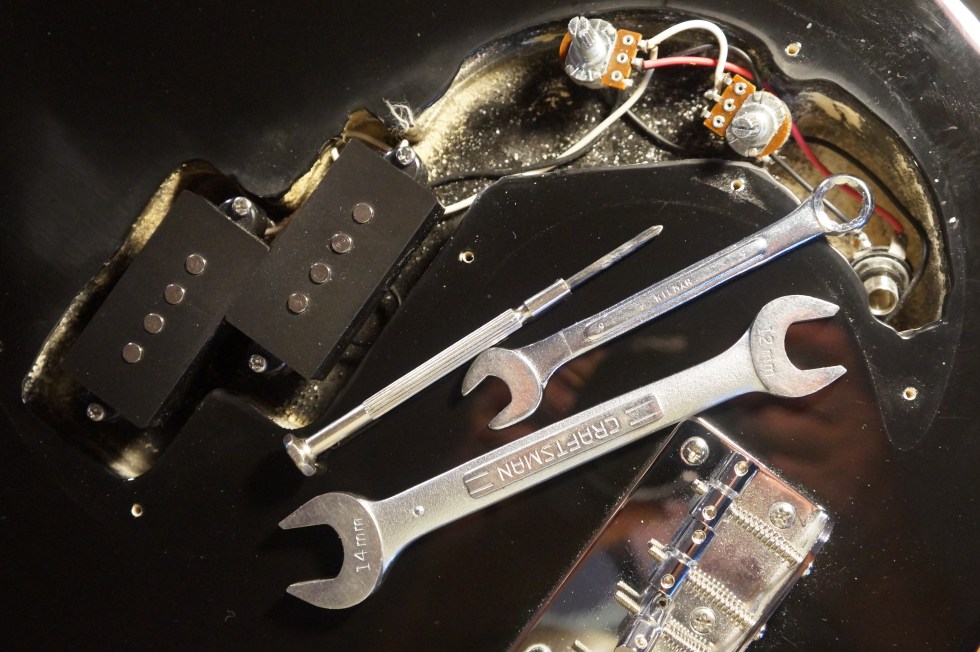
Small Phillips head, 10mm and 12mm needed.
I tried to ensure tape overlapped the top of the cavity to meet the conductive tape I’ll be sticking to the pickguard bottom.

Rough cavity finish with zero RF shielding.
I trimmed the tape where it stuck out from the PG but managed to bunch it in one spot on reassembly so I’ll need to remove the PG at some point to make it purty.

Same process for the PG taping, folding back edges and sometimes scotch taping it down to the previous tape piece to ensure contact.
Ready to reinstall pickups, pots, wiring, PG, knobs and then strings.
Use the 12mm and 10mm wrenches (spanners) to attach V/T and output jacks.
Must remember to use the electric drill next time, wrists about too sore to play.
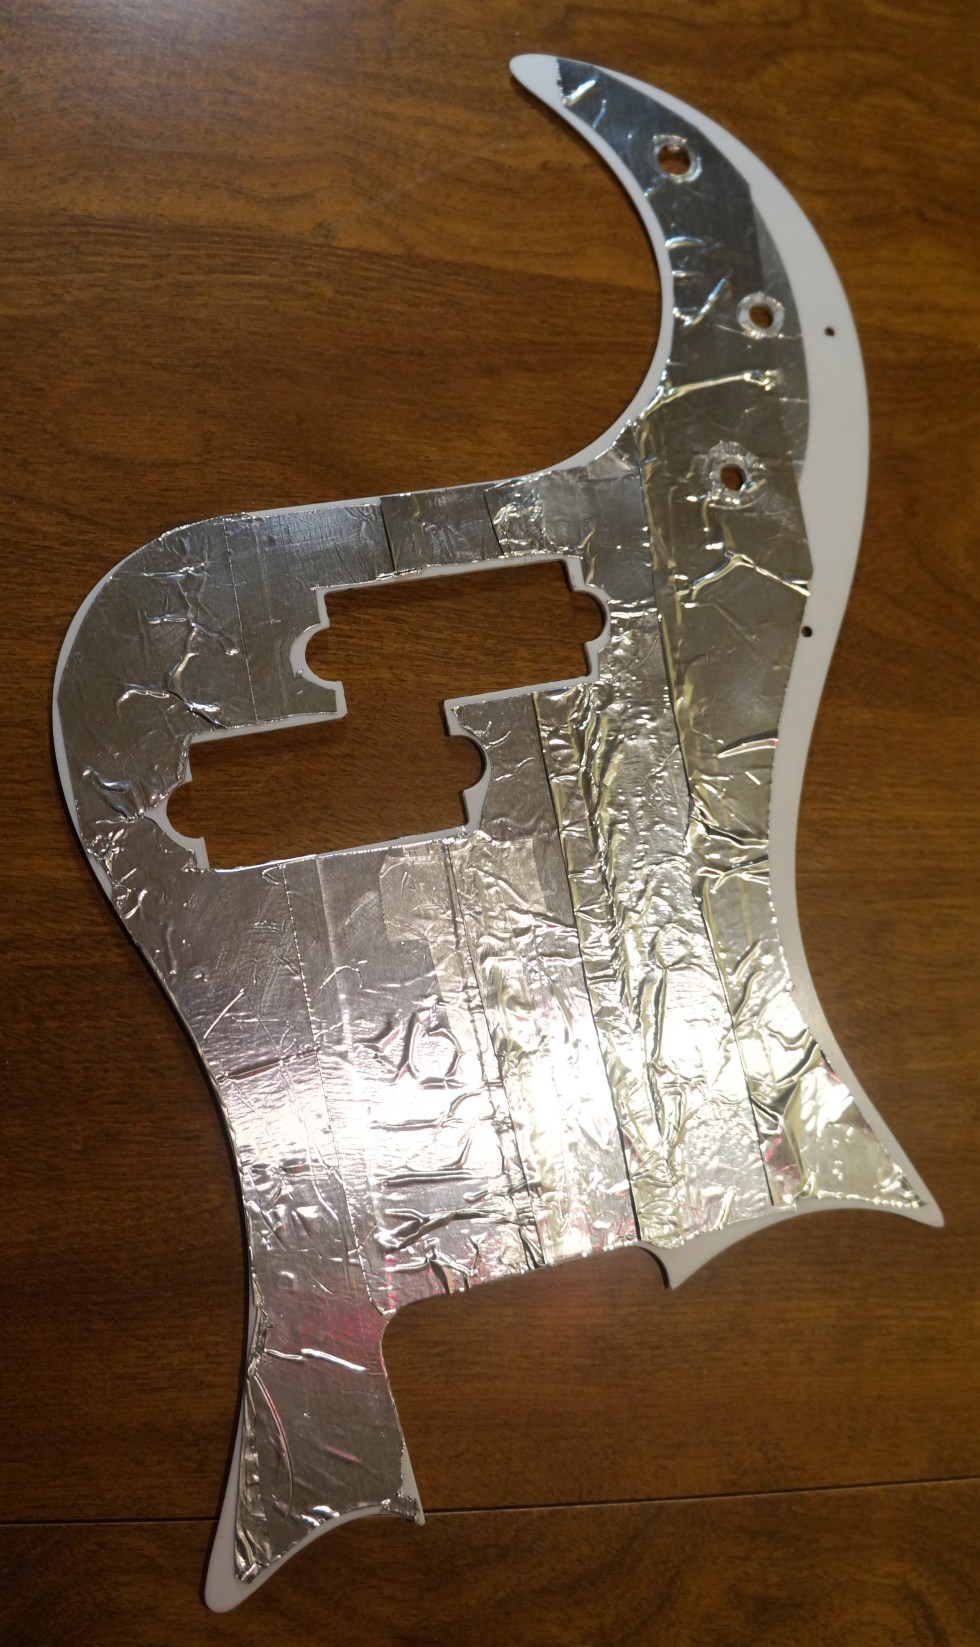
Underside of PG taped.
I have yet to put the strings back on and try it but I’m hopeful some hums got busted or at least bucked.
If the hums are mostly gone my next step toward better tone and playability will be rippin’ out those sharp frets and trying fretless bass.

If I wreck the neck I’m not out much money and if I succeed I get a super cheap student fretless.
After all, at my student stage I need to stare at the fretboard (fretlessboard?) constantly anyhow.
Unless noted, all text and images produced and copyrighted by todgermanica.com.
Non-commercial, nonpolitical, non-religious, non-ideological use free with attribution.

Pingback: DIY Bass Hum Busting-Part II | todgermanica.com